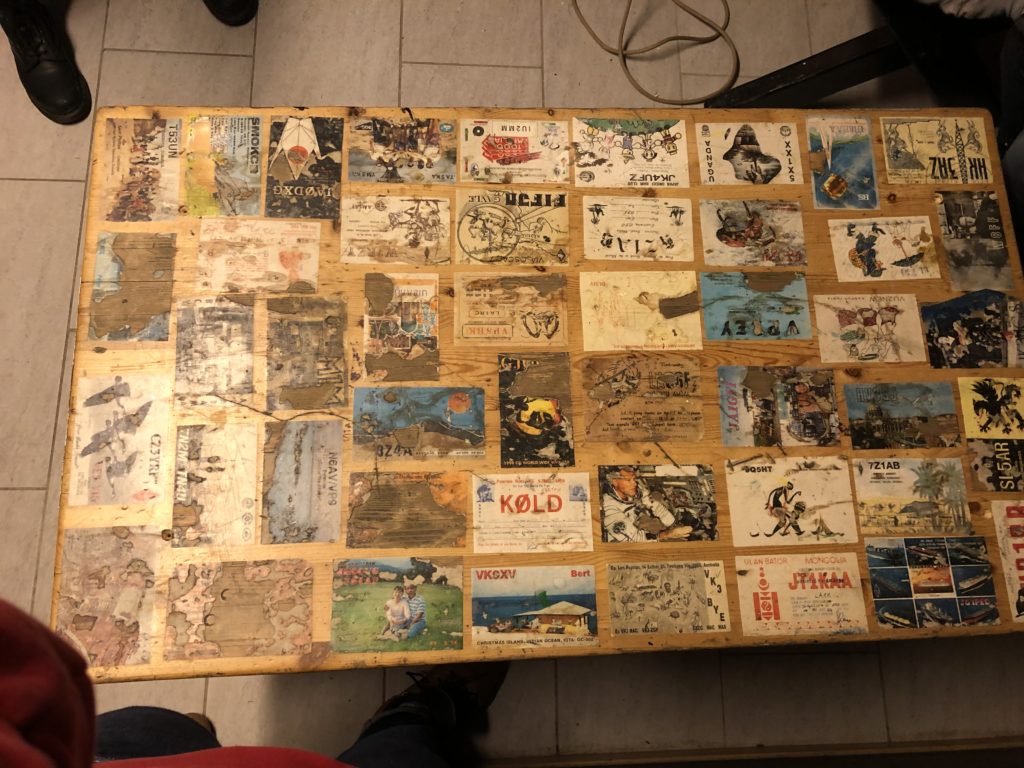
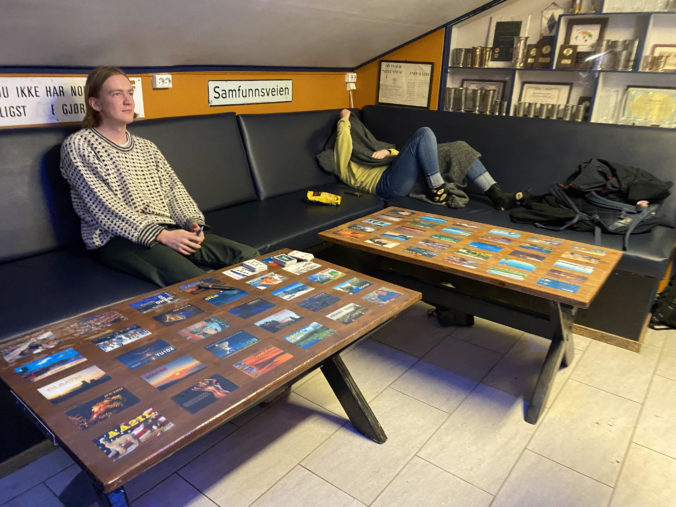
Back in January of 2020, three members of the newly elected ARK board, LB5PI, LB8LI and LB9WI decided to take on the task of refurbishing the two tables we have at our club area at the Student Society. The tables were originally decorated some years ago, covered in QSL cards and then painted over with floor varnish. The table quickly started to peel, and the makers realized that floor varnish was not the best solution for this kind of project. However, it would take a couple more years before anyone did anything about it.
The first step of this long project was to sand down the tables using first an electric hand planer and then two orbital sanders to reveal the bare wood underneath.
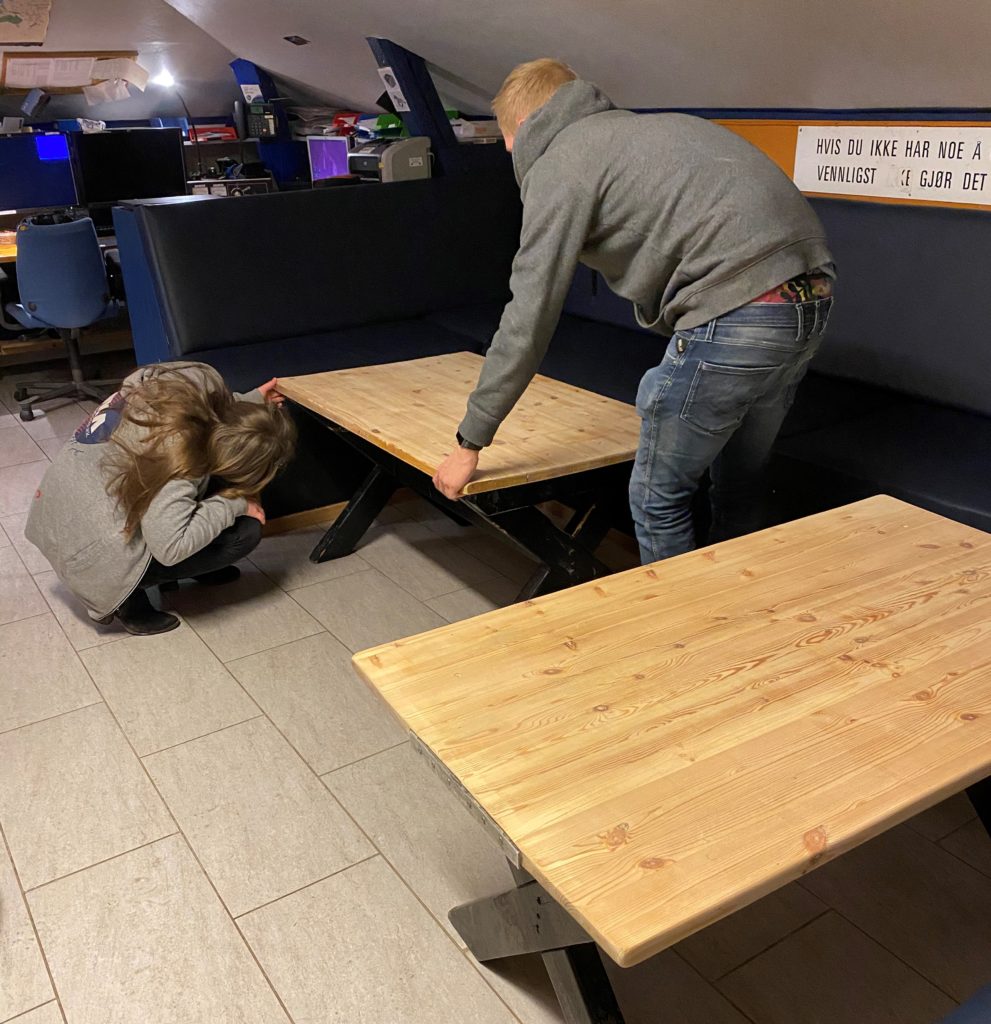
Photo: LB9WI
To be clear not an easy task – it took an estimated 12 hours to prep both tables for staining. This is also how we learned never to sand down tables indoors.
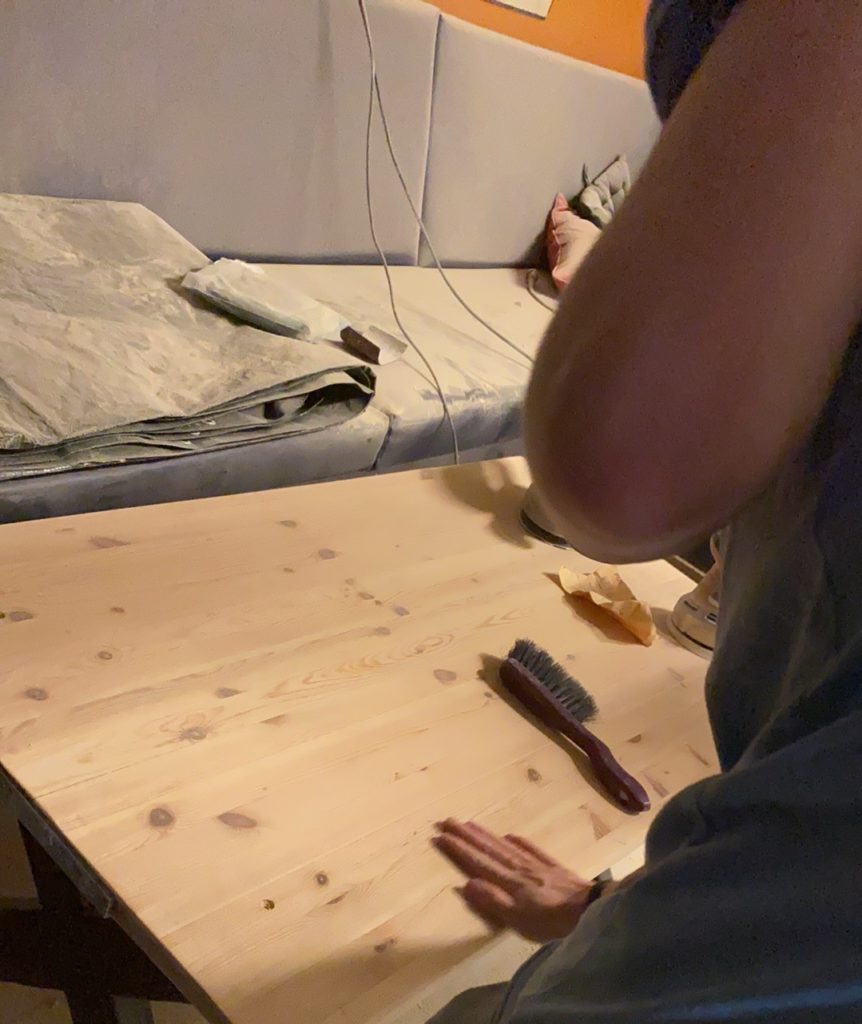
Notice the otherwise blue couch, covered in sawdust
Photo: LB9WI
Next, we applied two coats of dark wood stain, letting the first coat dry before applying the second. Just to darken the color of the tables a bit, to remove the “classroom”-vibes that the light wood was giving off.
After the tables were prepped, we had to make a choice regarding the best way to apply the QSL cards on the tables. We went through a few different options, from plexiglass to trying a new version of the floor varnish. We eventually settled on using epoxy to cast the tables, in combination with a decoupage medium called Mod Podge. We got the idea from a YouTube video titled How to add a clear epoxy finish to a photo board & tabletop | Alumilite.
The next step was choosing what QSL cards should go on the board, printing them out, and then using Mod Podge to glue them to the table evenly spaced. This may sound like an easy task, but LA1K has a lot of QSL cards in their archive so it took a few hours to go through them all and select the nicest ones.
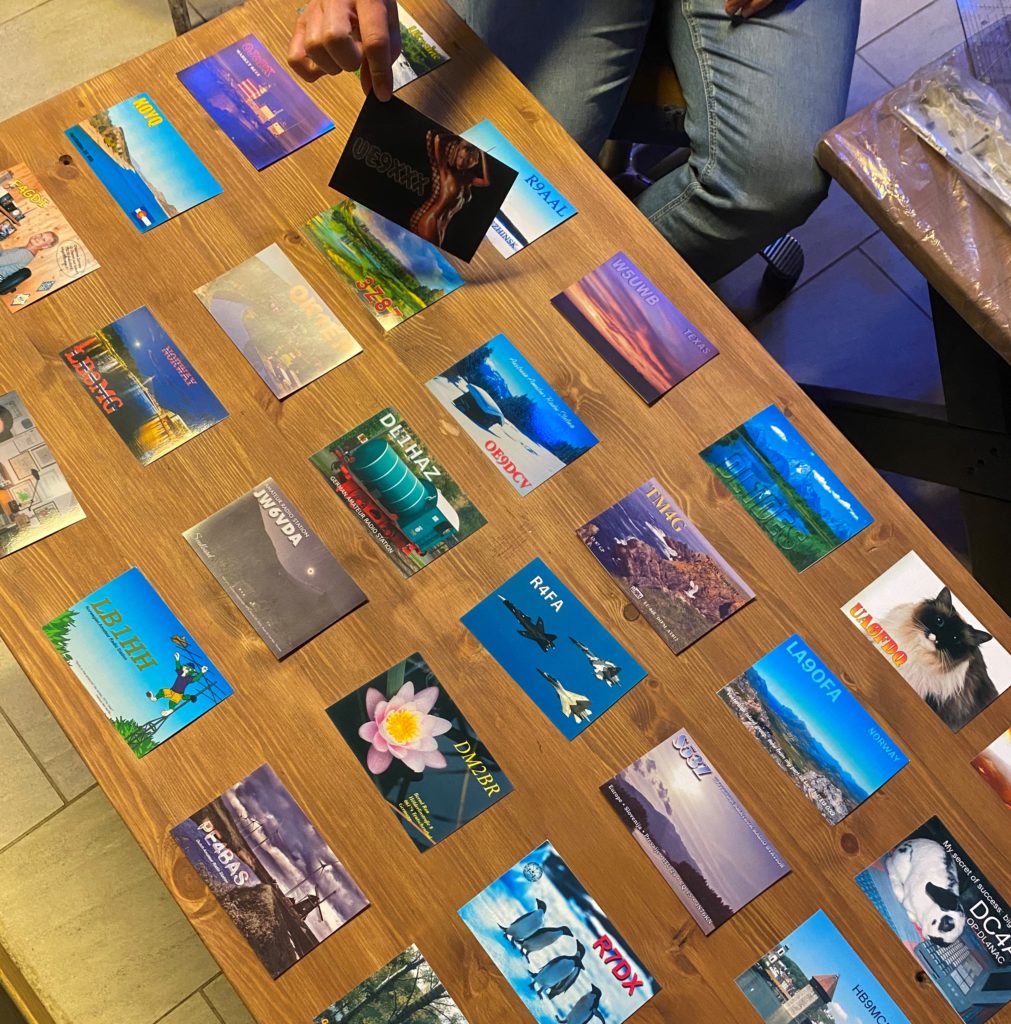
LB5PI displaying one of the more risqué QSL cards
Photo: LB9WI
After the tables were dry, it was time to coat them with epoxy. We used Storbua surface epoxy, which is ideal for surface coating up to 6 mm. Epoxy is not a very forgiving medium, with very little room for mistakes, especially temperature-wise. Therefore, we brought the tables to a spare room at LB9WI’s parent’s house to minimize exposure to dust and to better be able to control the temperature in the room. To ensure there was always a table at our club venue, we decided to do this part of the process one table at a time.
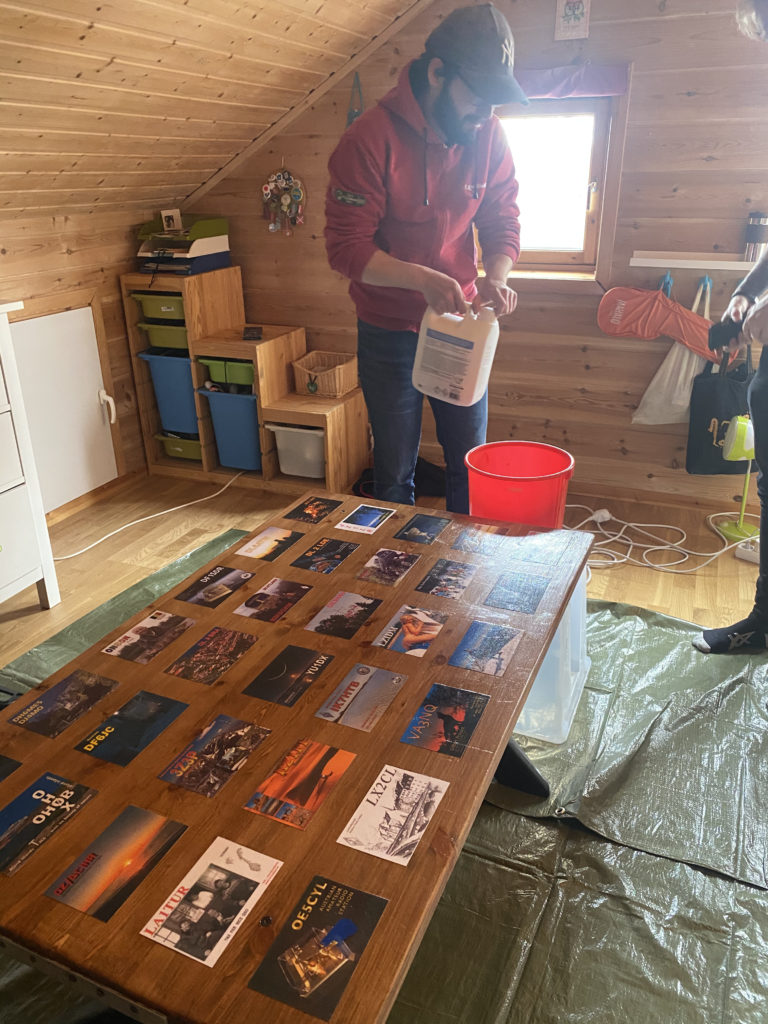
Photo: LB9WI
The first table was brought here in the beginning of May. After mixing the epoxy in a bucket, according to the instructions on the product, LB8LI poured it over the surface while LB5PI and LB9WI used paintbrushes to coat the medium evenly over the whole table. Afterward, we used a heat warmer on the whole surface to bring out and remove any air bubbles from the epoxy.
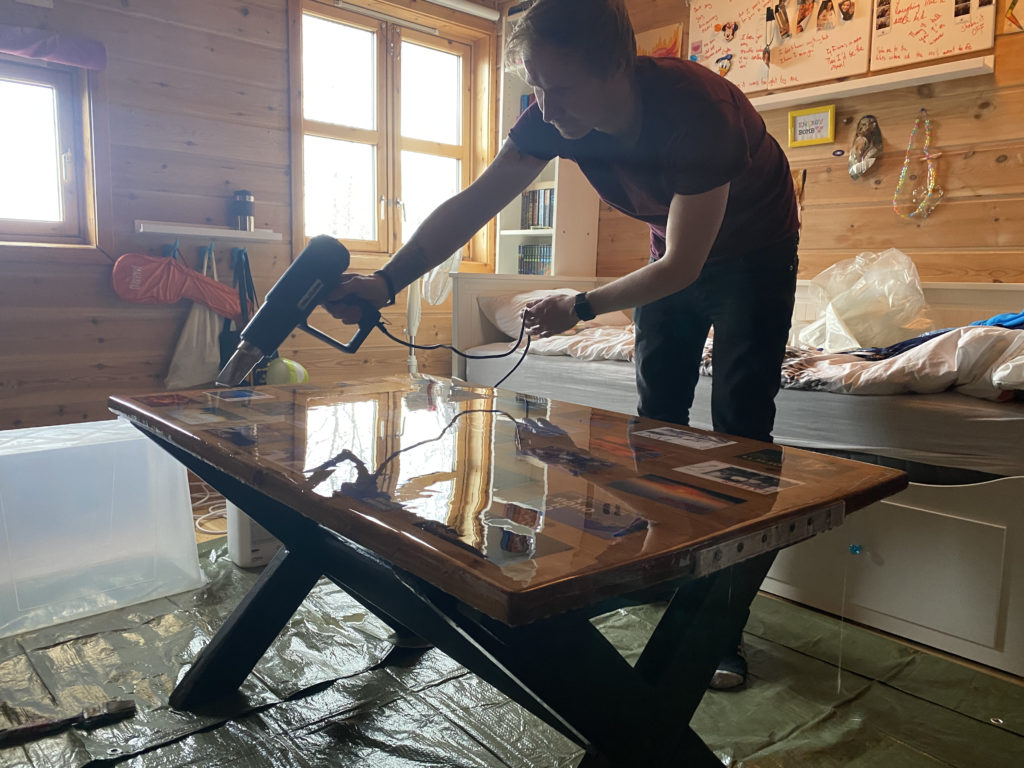
Photo: LB9WI
Unfortunately, after letting the epoxy cure for over a week, there was still a small spot that hadn’t cured correctly – the area was quite sticky. As mentioned, epoxy is not a forgiving medium and there are multiple factors that can contribute to it not curing properly, such as the temperature in the room, the ratio of the mixture, if the mixture was stirred properly, etc.
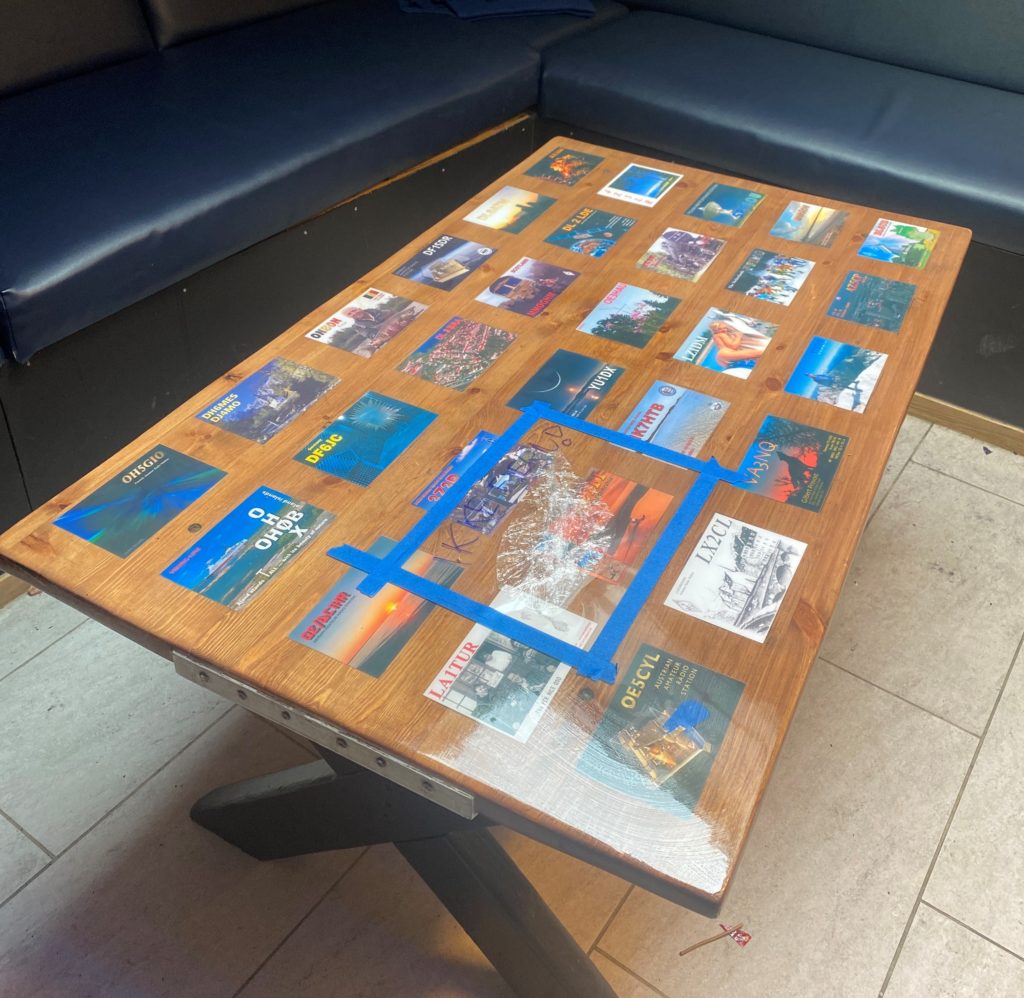
Photo: LB9WI
The second table was prepared a week later and thankfully, we learned from our mistakes because this table cured perfectly and still looks great to this day.
As for the first table, we were not happy with the sticky spot so we started researching how to fix epoxy that hadn’t cured. We got to work at the end of May, still motivated to complete this project in a timely fashion. Following the internet’s advice, the sticky epoxy was scraped away and the surface of the table sanded down – outside this time. The sanding was to rough up the surface of the epoxy so that the new layer of epoxy we were going to pour would stick.
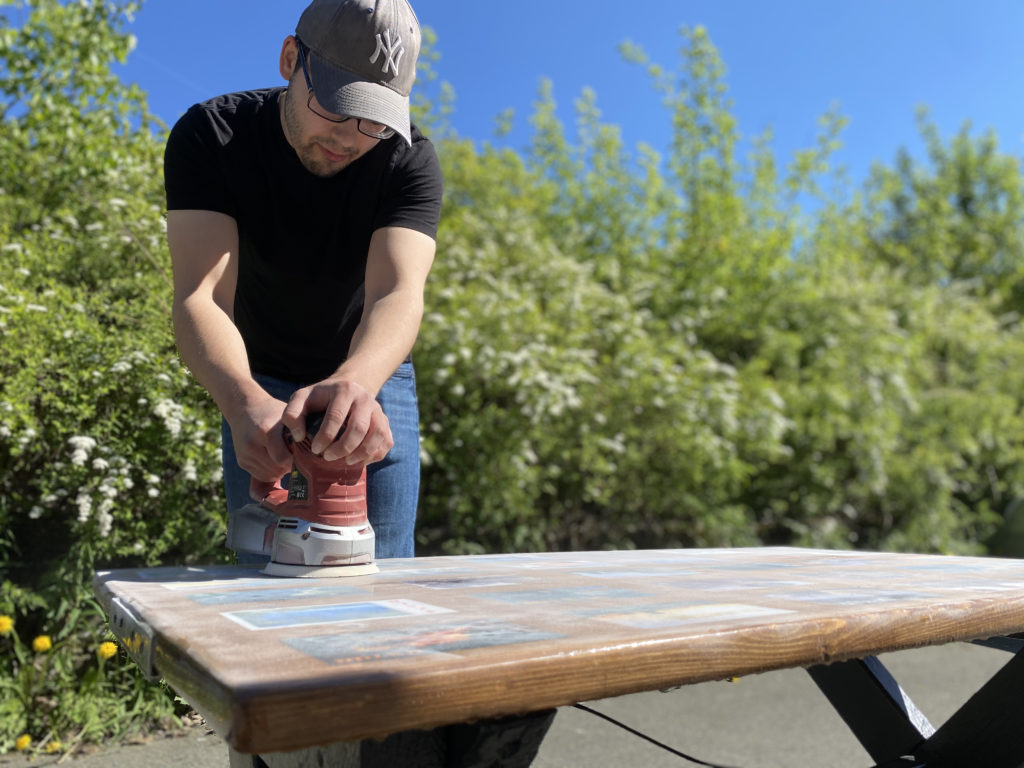
Photo: LB9WI
After standing for a few days we came back to discover that the whole table was now sticky, meaning none of the epoxy resin we poured as the second layer had cured correctly. Sticky, or tacky resin is usually caused by inaccurate measuring, not mixing thoroughly, or by curing in cold temperatures. Since the Trondheim summer was exceptionally warm this year, we could rule out the last one.
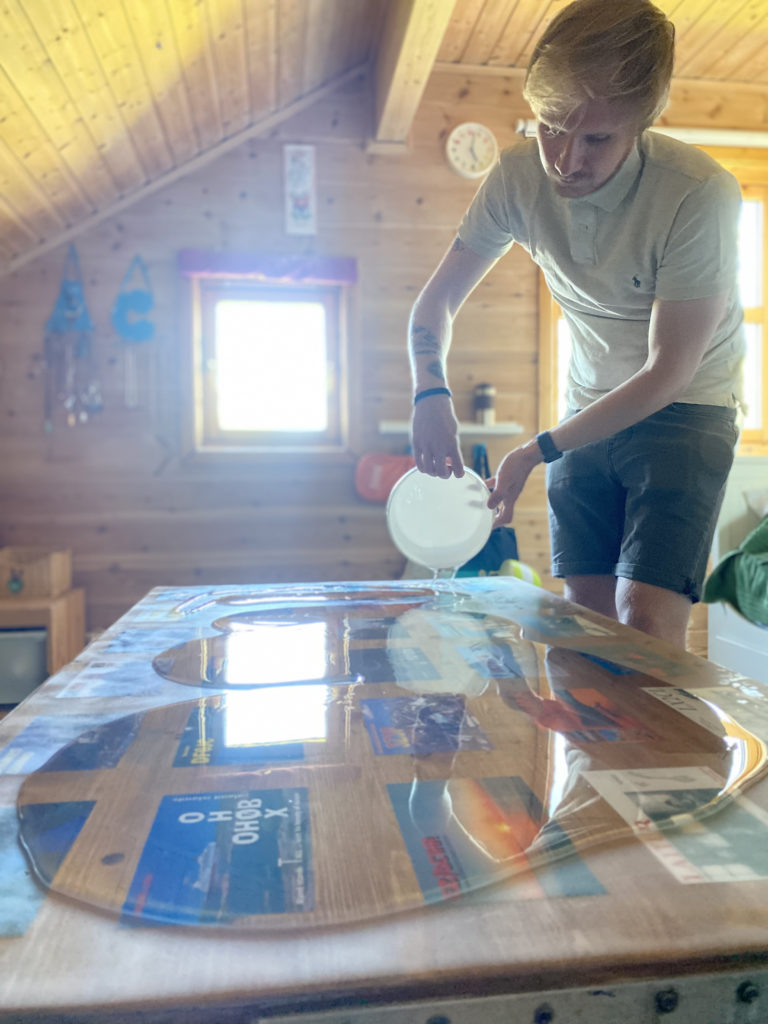
Photo: LB9WI
This setback naturally demotivated us quite a bit, after going from a small area not curing correctly to the whole table being sticky. We covered the table with a clear plastic bag and put it back in the club area temporarily, while we regrouped to figure out our next steps.
After a hectic fall, with Field Day and the student festival UKA, we took up the table project again in November. This time around, we used a paint scraper and a hammer to smash the epoxy surface of the table, then peeled and scraped everything off, including the QSL cards. The table was sanded down, once again revealing the bare wood underneath. After this, we applied two coats of wood stain and then a new pattern of QSL cards, using Mod Podge just like before.
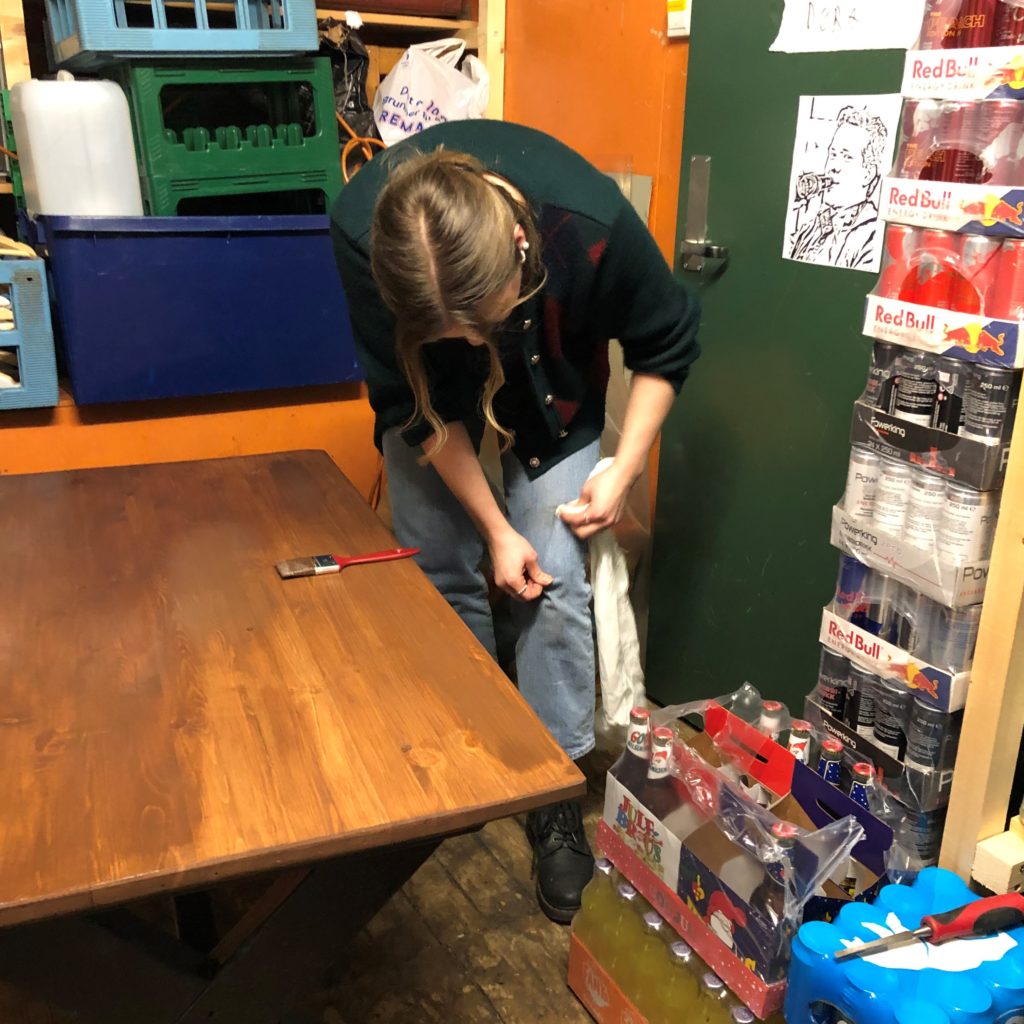
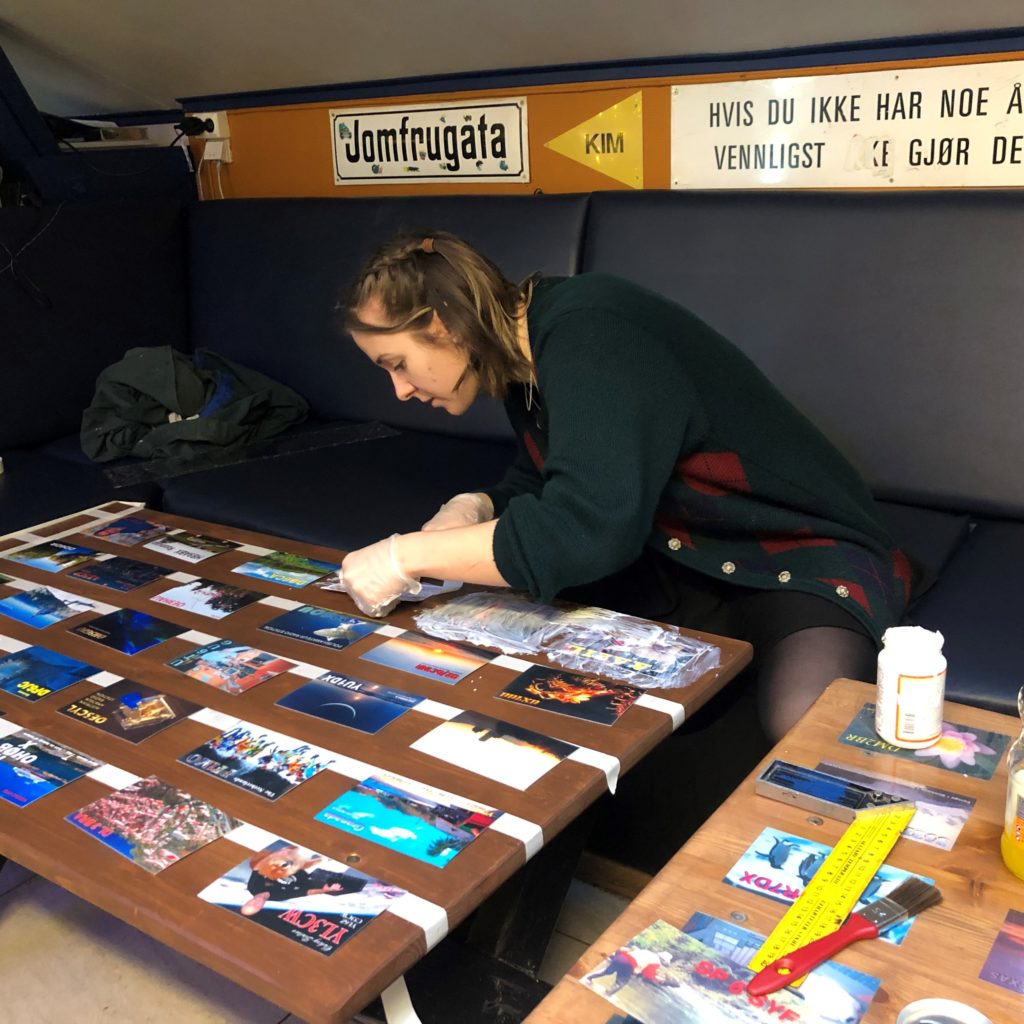
We had run out of the epoxy we originally purchased for this project, but luckily we were able to acquire some spare epoxy that Omega Workshop at NTNU had lying around. After Christmas, we brought the table back to LB9WI’s parent’s house, and since it was the middle of winter, we kept the ovens on as the epoxy cures best with a working temperature of around 24-30 °C.
After letting the table stand there for a couple of days, we came back to a perfectly cured QSL table!
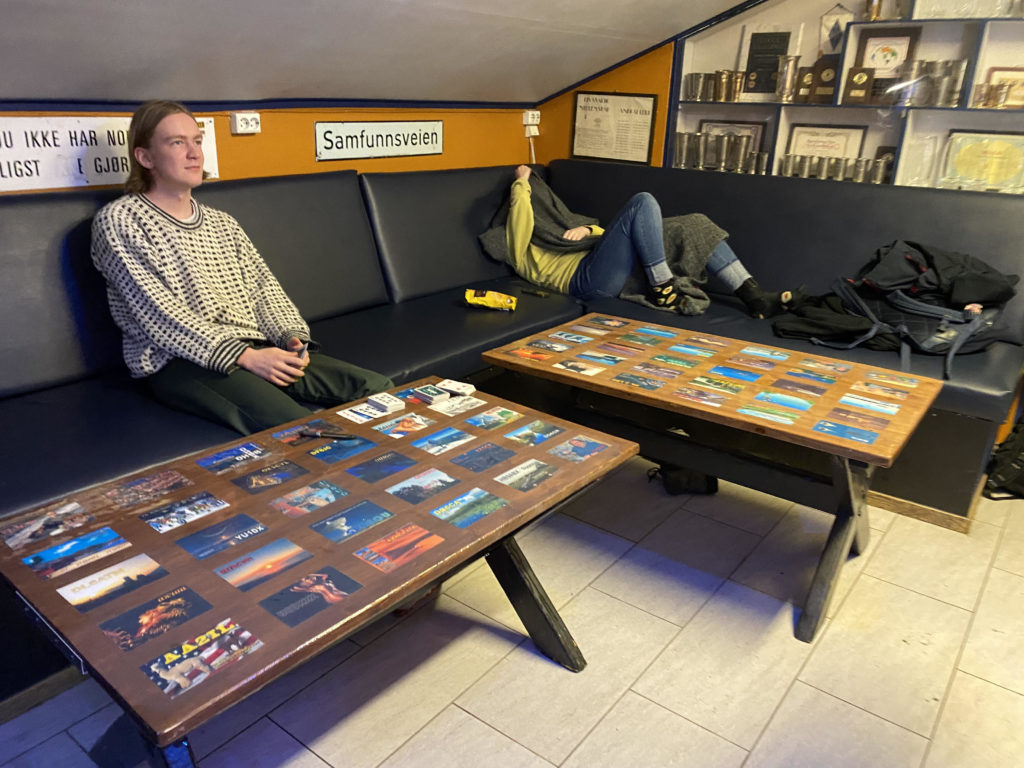
As the one-year mark for the beginning of this project approached, (Wednesday next week to be exact), we finally got our happy ending. Two epoxy-coated QSL tables are proudly displayed in our club area. Thank you to LB5PI, LB8LI and LB9WI for taking on this project.

Leave a Reply