We have had our Flex 6500-radio, and the additional Maestro-panel for over 3 years now. We’ve gathered lots of experience on using both devices since then. One of the quirks we have run into more often is that the Maestro won’t allow you to connect to networks where you authenticate through usernames and passwords. This applies to secured networks where you enter your credentials upon connecting, and open networks where the authentication happens in a browser. Because of this, we have had to set up our own WiFi-hotspot. This is completely unnecessary as Studentersamfundet already has WiFi-coverage pretty much all over the building.
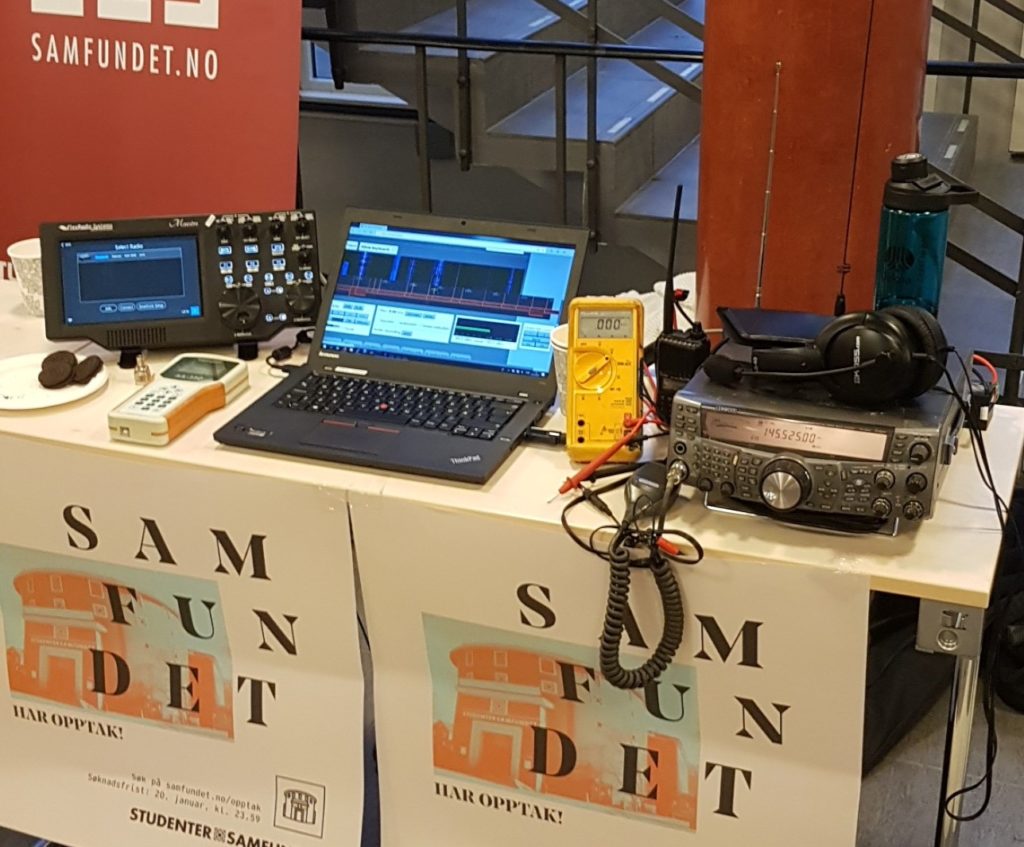
We found that other people also had the same experience and that Flex Radio provided no solution for the use case. This left us a bit baffled, especially since we found no reason for this not to be a feature. While experimenting with getting this to work, we discovered a backdoor that gave us access to the file system from within the Maestro software. This, in addition to a bit of exploration within the operating system, made the file system and the device itself fully accessible from a desktop computer within a couple of hours. In summary, this meant that we could download and explore the Maestro software, change settings, and most importantly delve into the additional features of the Maestro operating system.
The first thing we made sure to try was the WiFi-authentication. Only connecting it to the open WiFi-network worked as poorly as it did before, but this time we were able to authenticate ourselves in the built-in browser that Microsoft provides and actually get Internet-access. Unfortunately, as the Maestro runs on a stripped down version of Windows, WiFi-support seems to be disabled by default and any connection has to be established through the Maestro-application.
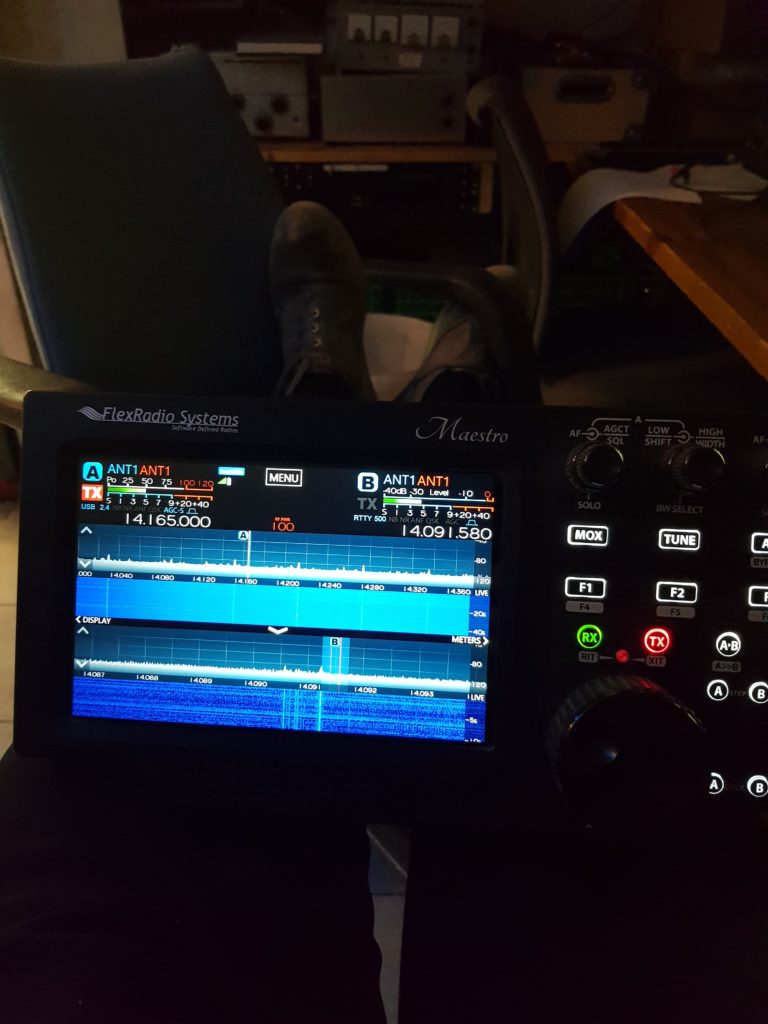
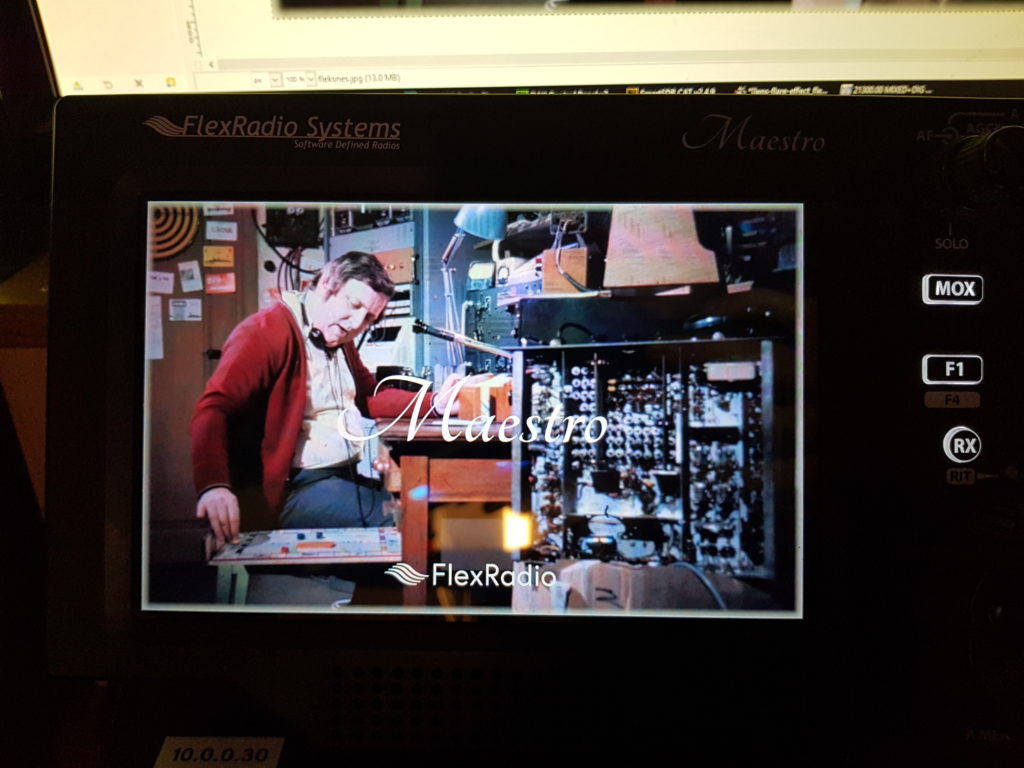
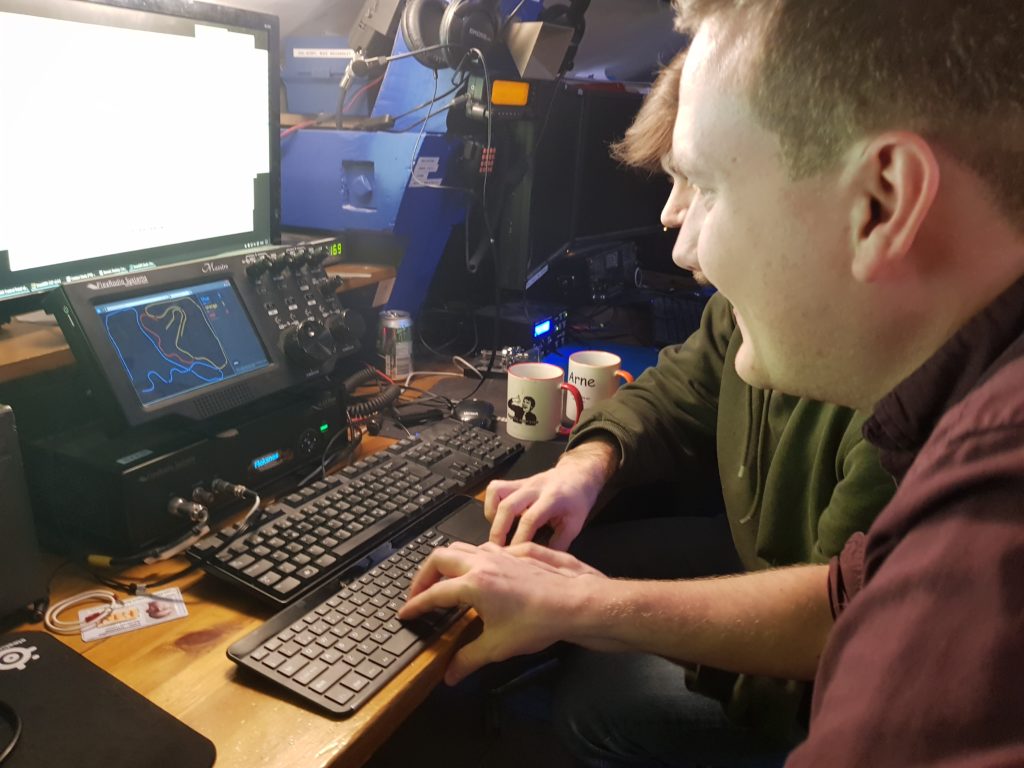
As we now pretty much have full access to the device, we started finding ways to customize it for our own testing. The first thing we wanted to change, only to prove a point, was the Maestro startup image. This was easily found in the program folder, and although the original picture wasn’t ugly for any particular reason, we thought this one fit much better for our setup:
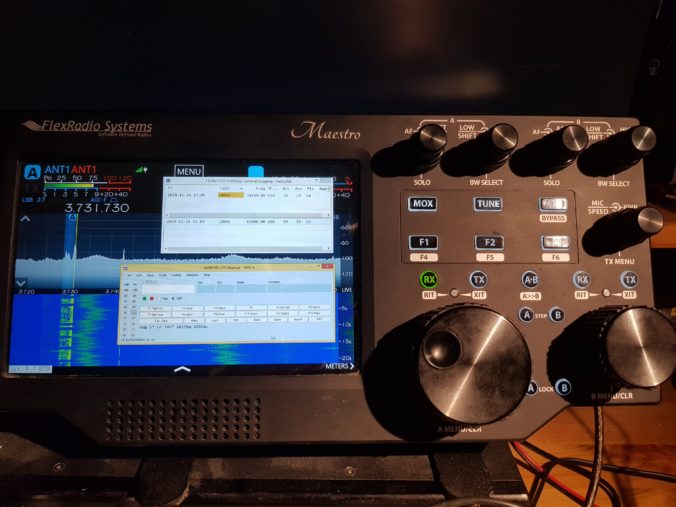
After proving our point in customizing the radio, we wanted to try adding additional software to alleviate the need for an extra desktop computer. This includes software as N1MM+, various digimode-applications like WSTJ-X and such.
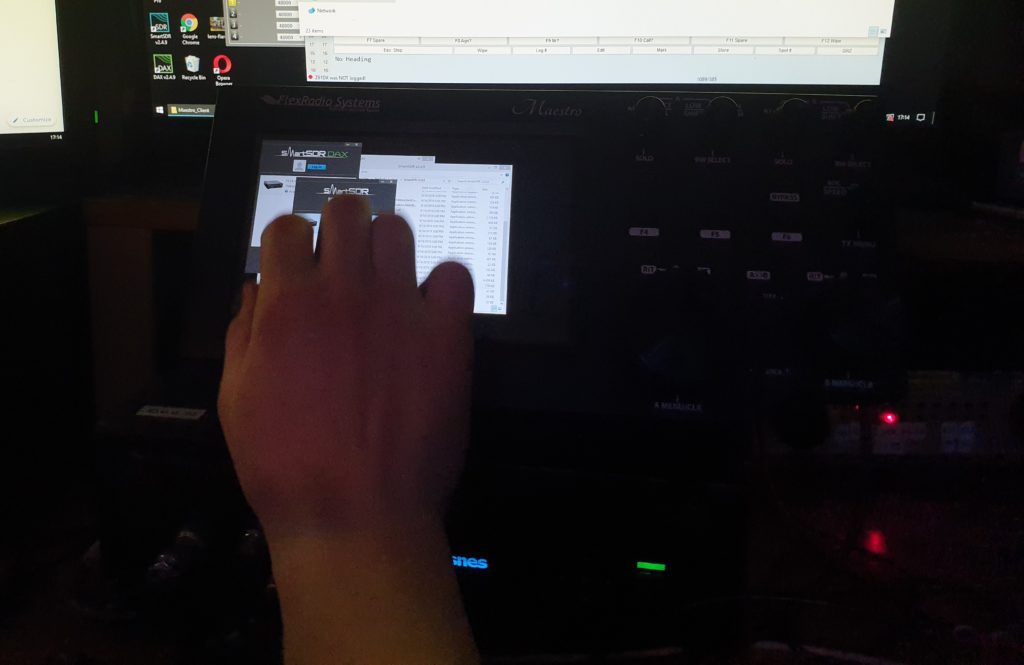
In order to work with ham radio software, a computer assisted transceiver (CAT) interface is needed. The Maestro-application itself doesn’t provide easy access to the CAT-interface and sound cards that the equivalent SmartSDR application for Windows computers includes. This is however a small problem, as the SmartSDR-application and extra software not only installs, but also runs flawlessly on the device. Because the Maestro-application already supports sharing radio data with a desktop computer using the SmartSDR-software, running both applications on the same device works well.
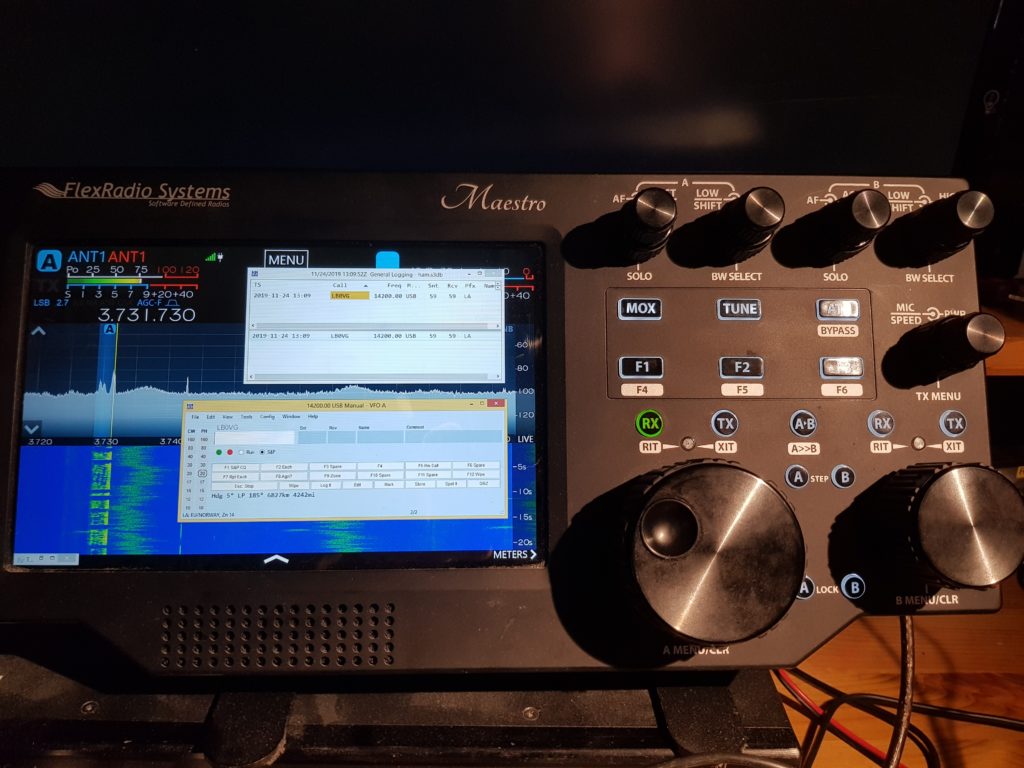
A problem we found with running software over the Maestro-application is that the latter takes the focus of the screen. Therefore a tap on the Maestro-app will hide whatever application displayed on top of it. We plan on trying to fix this by tweaking the Windows-settings or the Maestro-app itself. Regardless, logging works and the N1MM-software is fully able to read the frequency using the installed SmartSDR CAT-software.
One inconvenience when using the Maestro outside its intended application, is that the only input method is the on-screen keyboard and the touch screen. As the device has no available USB-ports, we have to use another way to connect peripherals. Luckily, the built in Intel WiFi-controller has Bluetooth on-board, and with a wireless keyboard/mouse this was solved very quickly.
As of right now, the only feature we haven’t really utilized are the knobs and dials on the front of the Maestro. Using Device Manager, we can confirm that they are connected using USB COM-ports, and utilize a protocol which we are able to decode using terminal software. Having such access to the device means we are able to use it for a lot more than the default use case, of course without any additional support from Flex Radio if we end up messing up things beyond repair.
In the next post we will share some more information about the hardware and software in the device, and other discoveries we found along the way. As we don’t want to reveal the backdoor just yet, we won’t explain too much how it is done in this part. The only thing we can confirm is that we have gained access without opening or tampering physically with the device.

Thanks for sharing and very well done!!!
Very Nice!
Just the WiFi authentication would be so great for me.
Is there any simple way to implement it?
Ha Ha! Excellent choice of background… What could be better than Flexnes on a Flex radio..
Kjempe greit!
Cool!
Thanks for sharing. I look forward to your next post. While not a software guy, I do have a pretty nice remote station. I enjoy the Maestro most while operating remotely.
I am using v2.6.1 and running N1MM+ from the remote PC need improvements. I don’t hear a side tone at the remote (I could if the PC in the shack had Window 10 Pro). The delay of using N1MM+ from the remote PC is not good for contesting.
I think I currently need v3 to using N1MM+ , DAX & CAT on the remote PC (laptop) with the Maestro. So being able to run N1MM+ on the Maestro is interesting. Please help me/us (Flex’ers) do this hack.
Steven WA8Y
I look forward to a day when you can download a new version of the Maestro, with more bells and whistles. But if you don’t like it, then just reprogram it, download the original version from you website.
Great idea!
Like to use Bluetooth Blue Parrot 450 BT
MIC /Headset with my Maestro
Mike
WB6DJI
Very nice indeed
Bluetooth headset integration with the Maestro would be great!
Bluetooth integration; Yes please
Maybe you can get the noise limiter to limit noise?
Guess you could place a Picture of your pet Dog
on the screen if you desire!
73
Mike