In a blog post a couple of weeks ago, we showed how we built a DK7ZB cross-yagi for our SatNOGS station. In today’s blog post, we show how we built the rest of the system.
One of our main design goals was to build an SDR-based SatNOGS station while also keeping the RF chain readily available for use with a traditional transceiver. This means that we can schedule observations through SatNOGS, but also be able to switch over to a more analogue setup when we want to chatter a bit on the birds. We achieved this using a mechanical coax switch.
NB: When replicating such a setup, it is paramount that coaxial switches with enough isolation are used. The SDR will otherwise easily become very scorched and unhappy. We found 55 dB isolation to be adequate. This can vary with the absolute maximum rating of the SDR and the desired transmission power, so be sure to check the specifications.
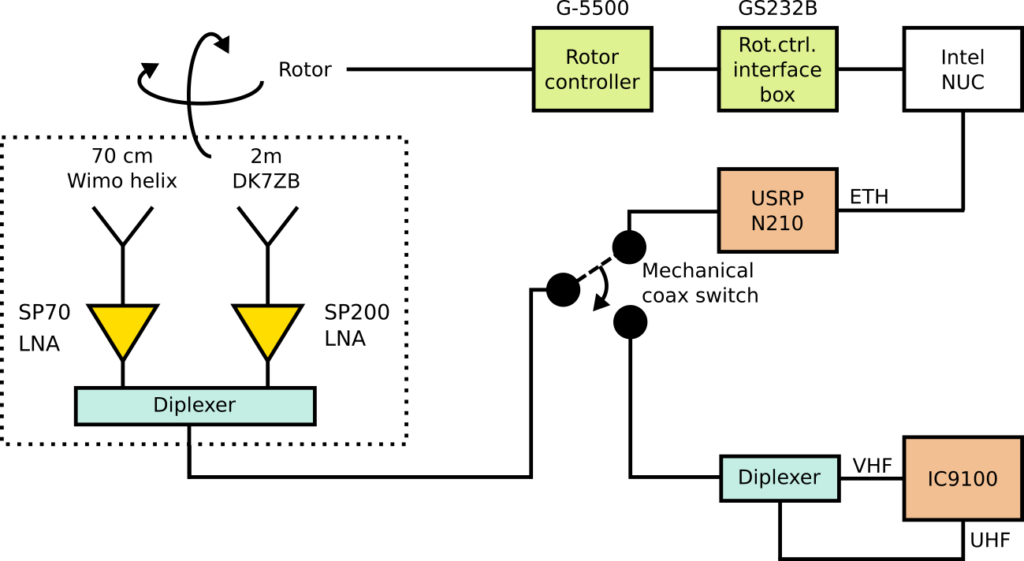
We decided to use a diplexer to join the 2 m and 70 cm systems together. This removes the need for an additional relay and coaxial cable run to switch the 2 m and 70 cm antennas between the SDR and the transceiver. Unfortunately, the transceiver we use for the analogue part of the setup (IC-9100) requires separate ports for 2 m and 70 cm, so another diplexer had to be added in order to split up the signals.
Since the power level required for satellite operations is quite low (typically 10 W or less), we were able to conveniently utilize the SP-70 and SP-200 LNAs we had lying around from a previous project. These will automatically bypass themselves when they sense RF transmissions, greatly simplifying our system by removing the need for a sequencer to protect the LNAs.
We’ll tell the rest of the story through photos.
Setting up a mast
First, a mast had to be set up.
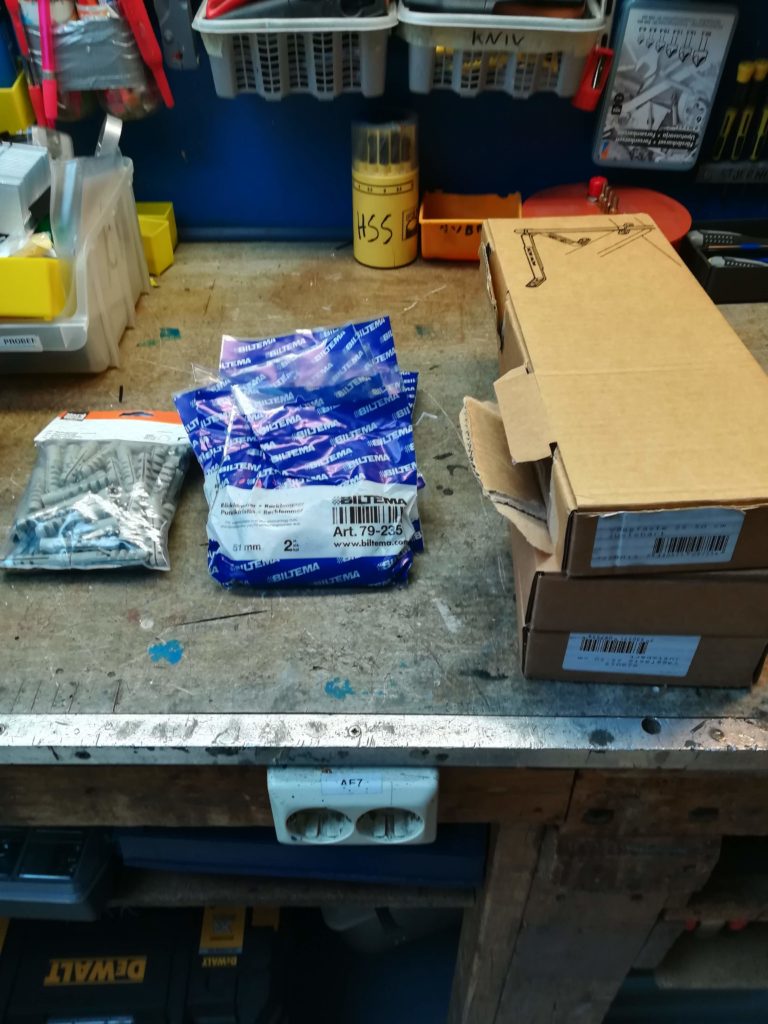
LA3WUA has been to Biltema (a local hardware chain). 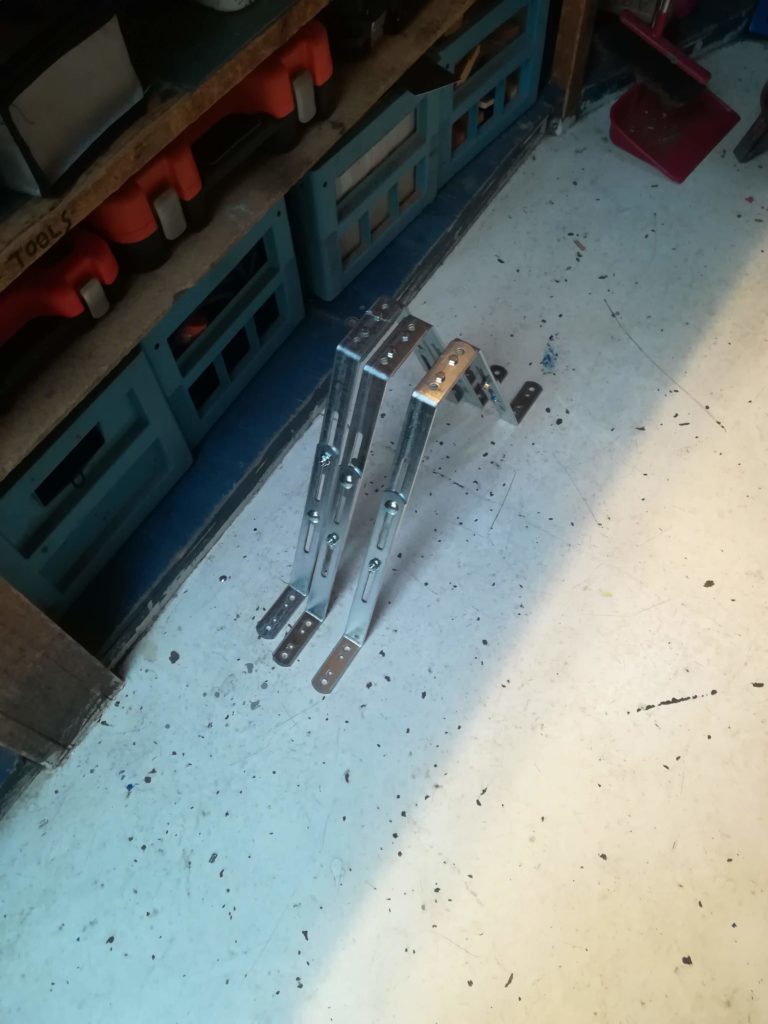
Wall mount brackets.
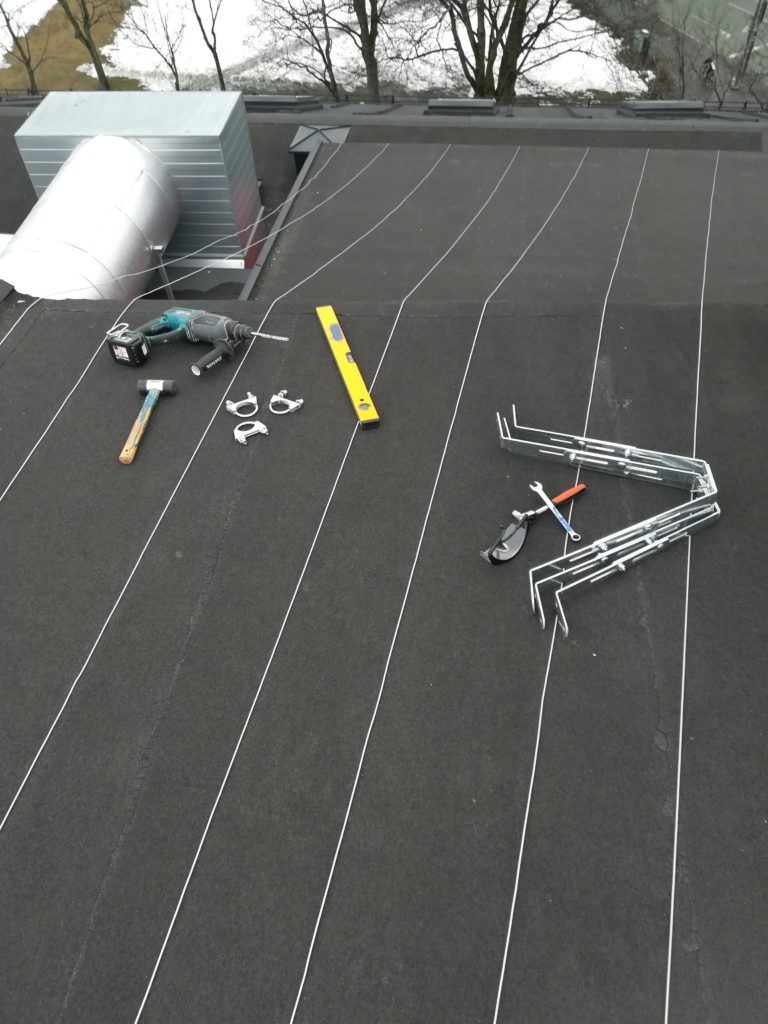
Necessary equipment for pole mounting. 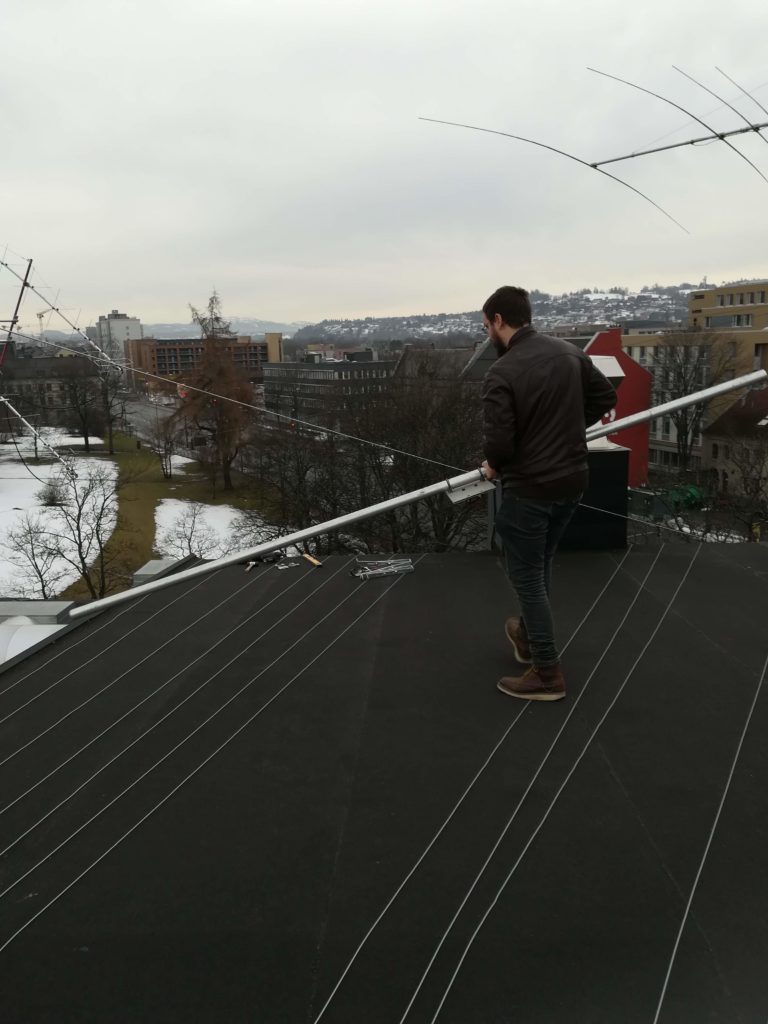
LA2DIA holding the antenna pole. 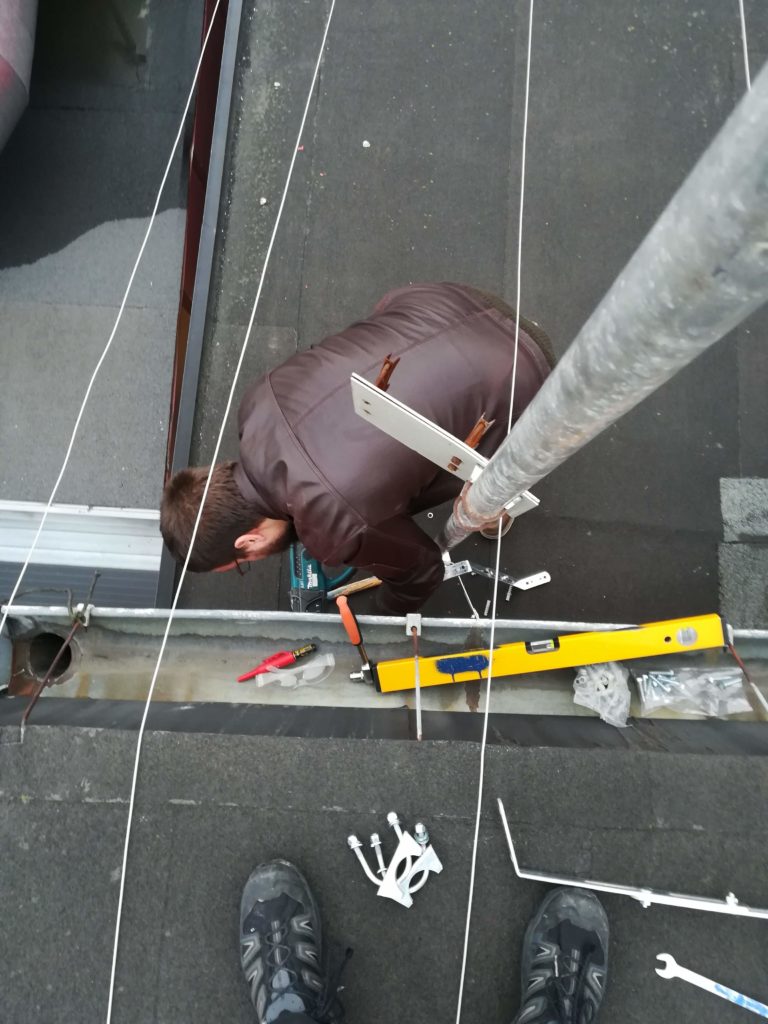
Driling into the wall. 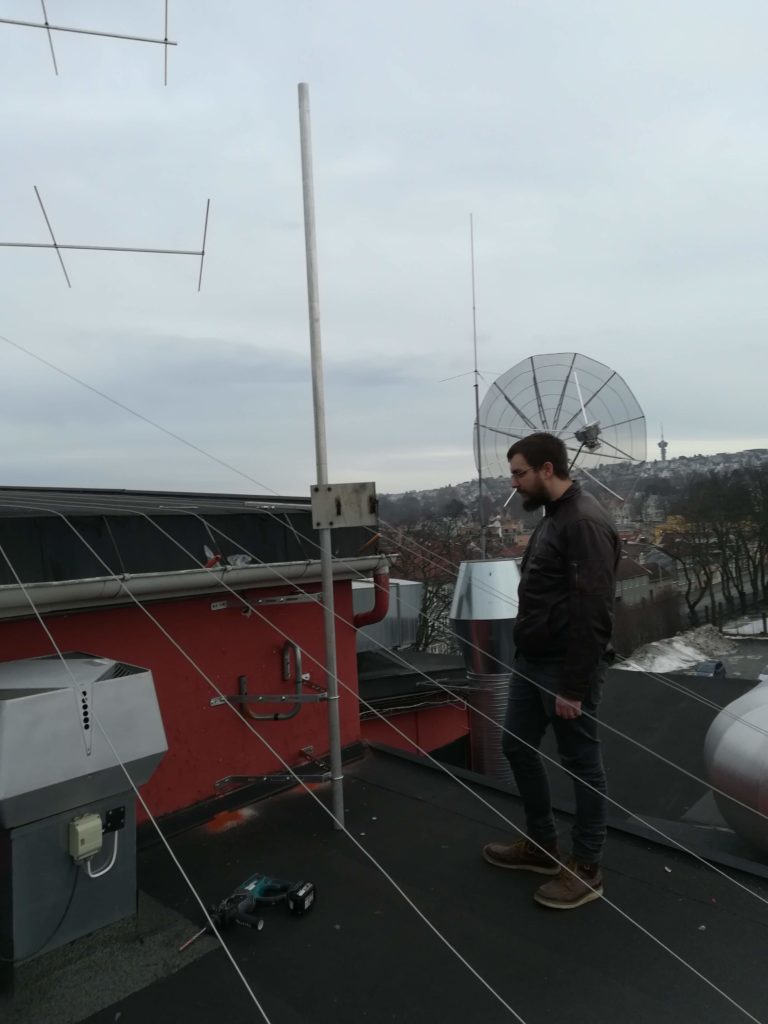
The mast is fastened. 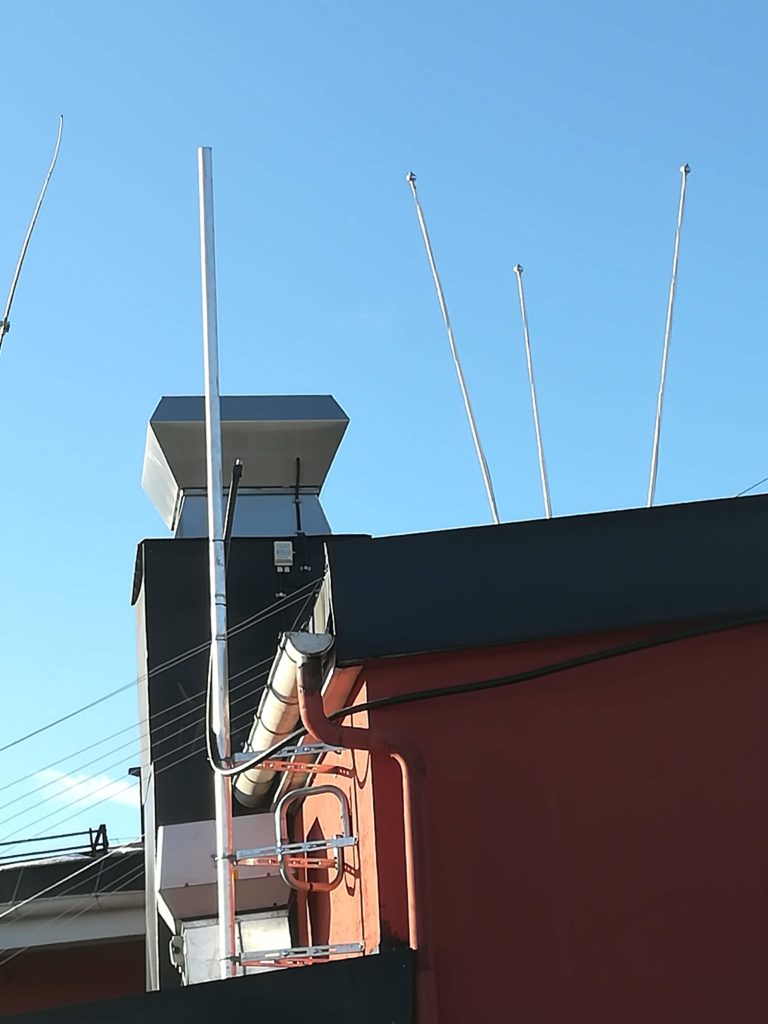
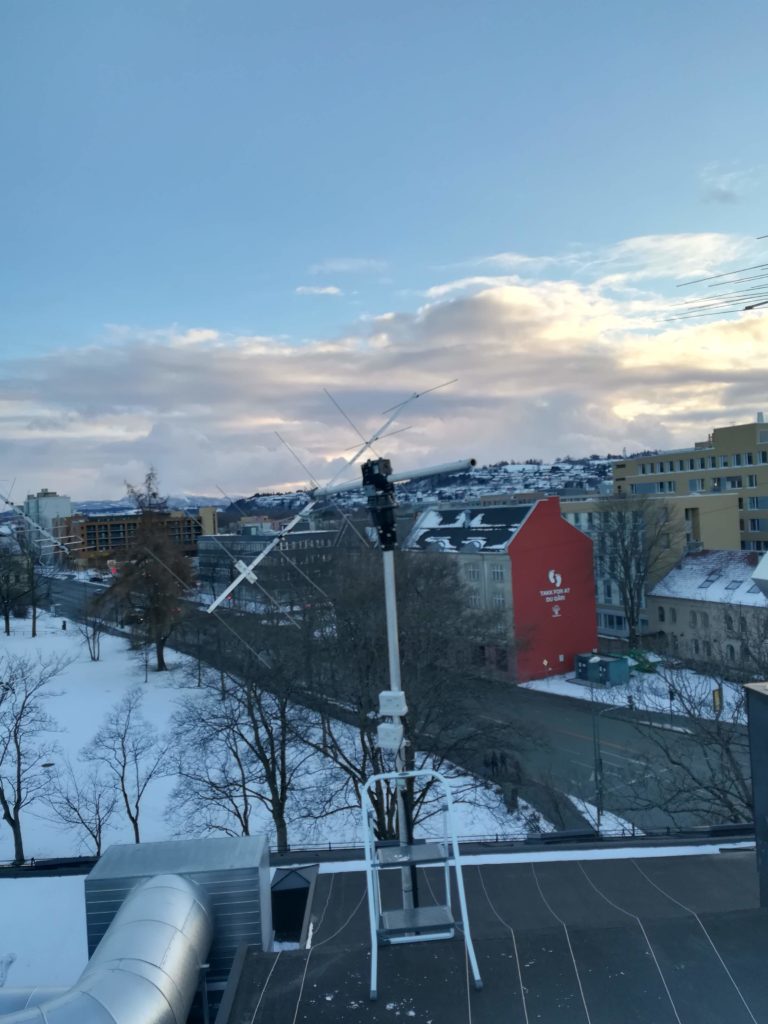
The mast seen from the East.
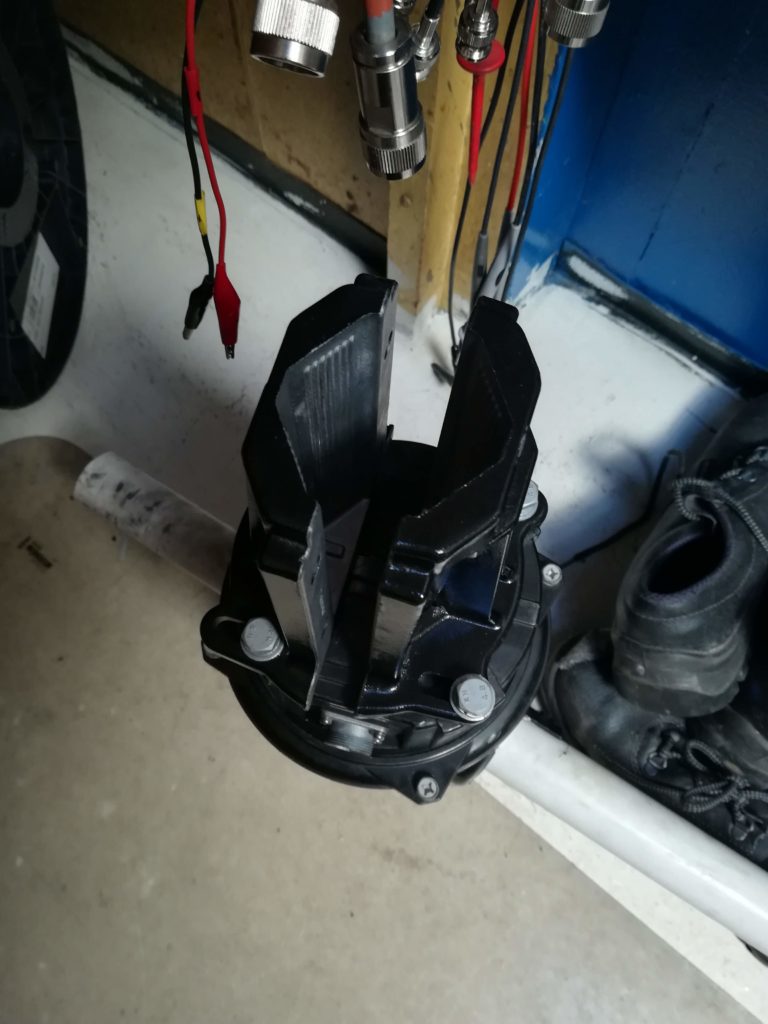
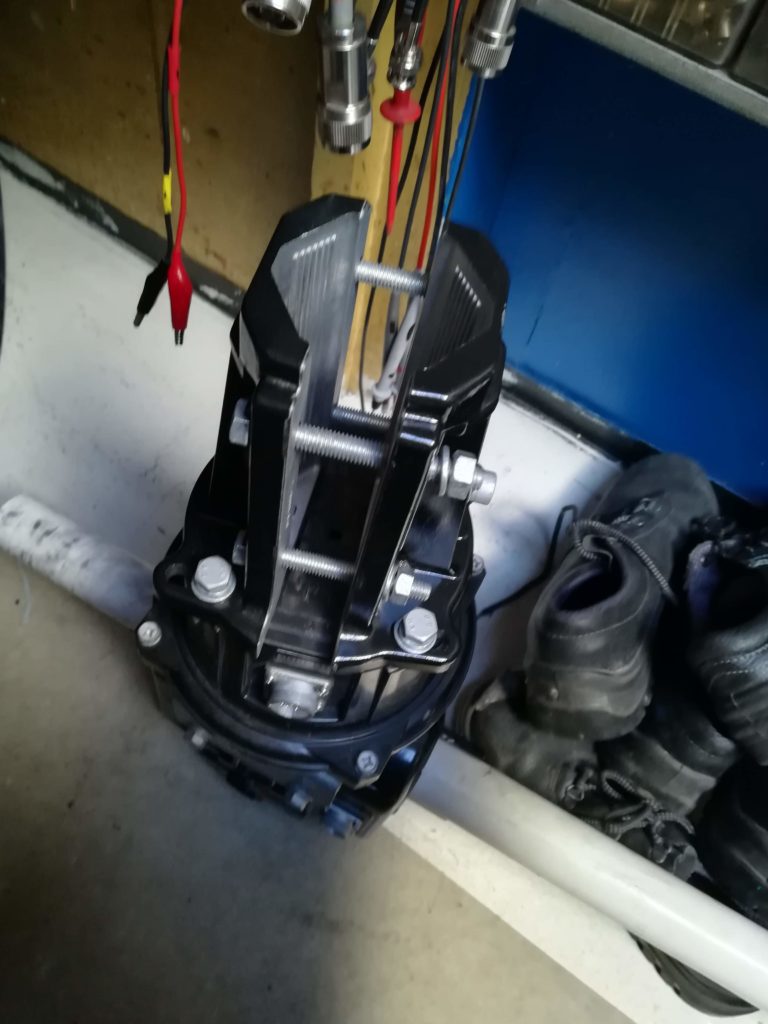
Installing the rotor
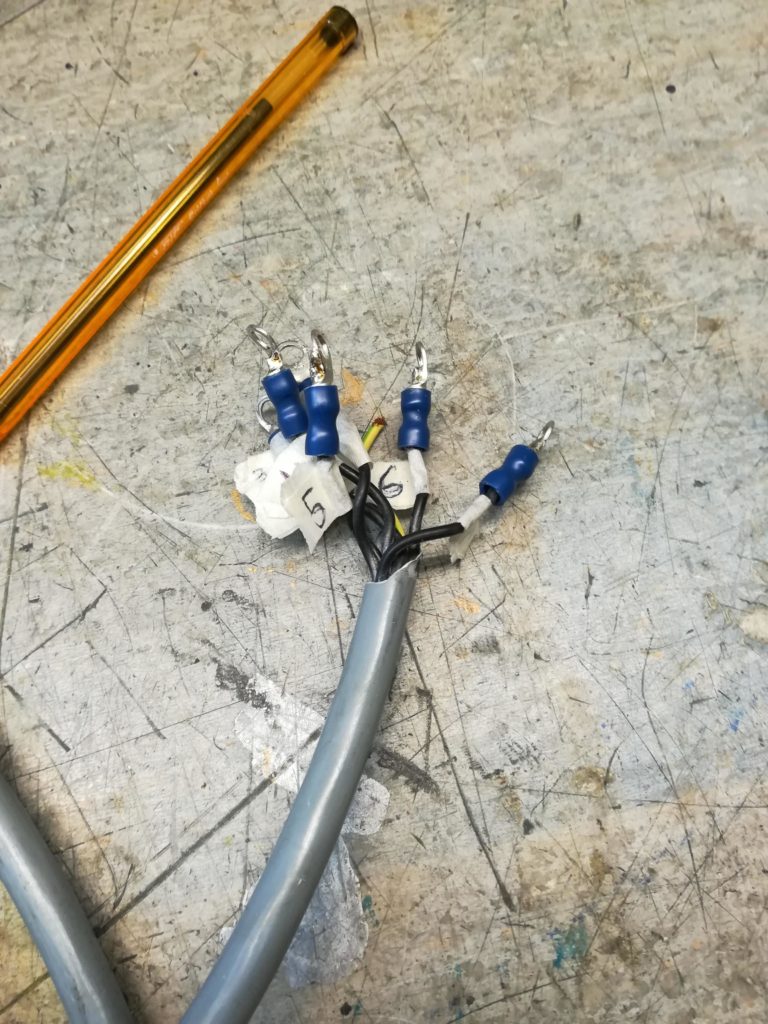
The rotor was next up. We acquired LA1NGS’ old, broken rotor after we helped them exchange it for a new one. It turns out that it wasn’t as broken as first feared, and that the fix was rather easy. Quick inspection revealed a couple of loose wires on the connector. Five minutes of soldering, and the rotor was back in business.
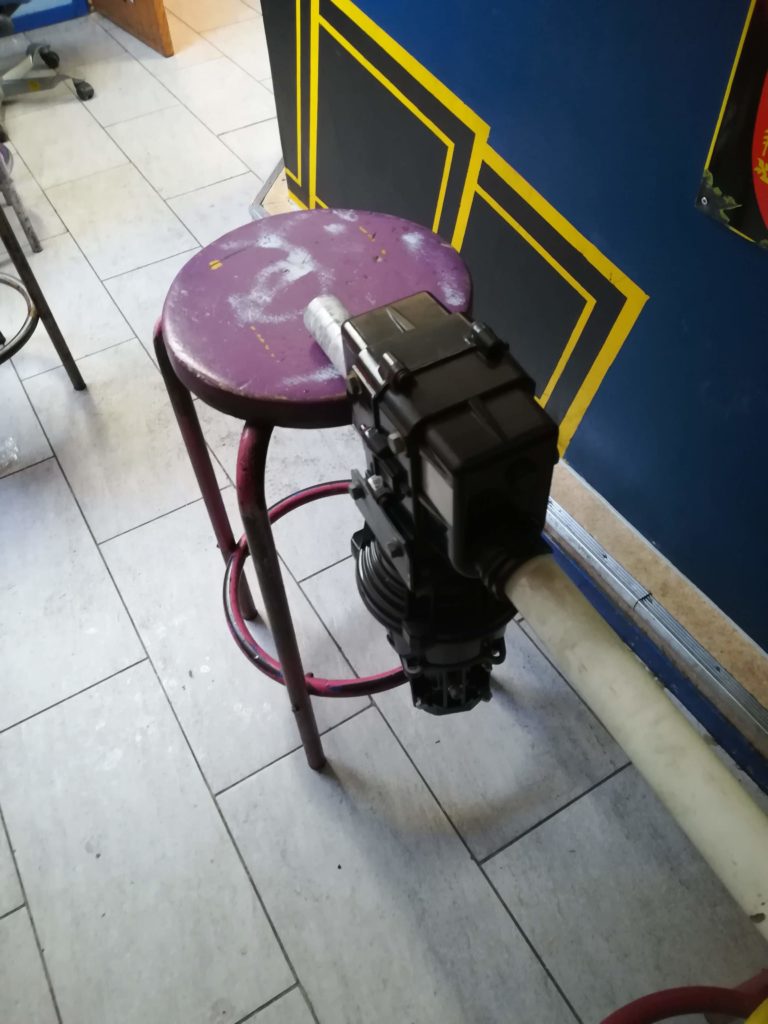
Major puzzle: Threading the rod through the shaft. 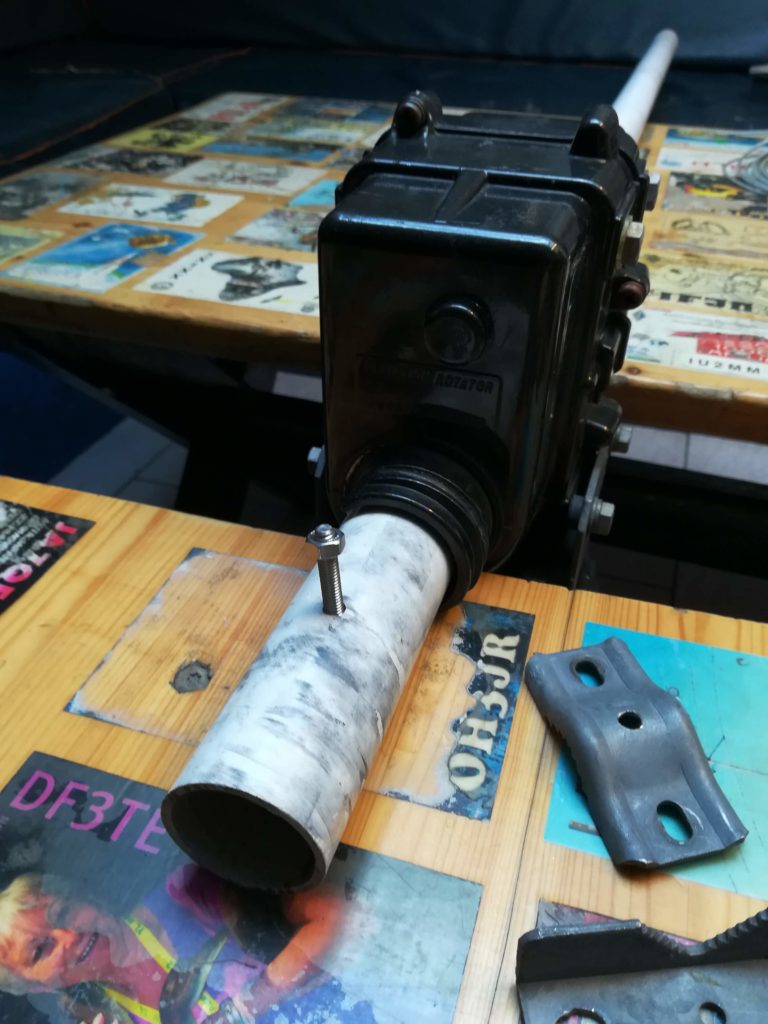
The antennas will be bolted to the fiber glass rod. 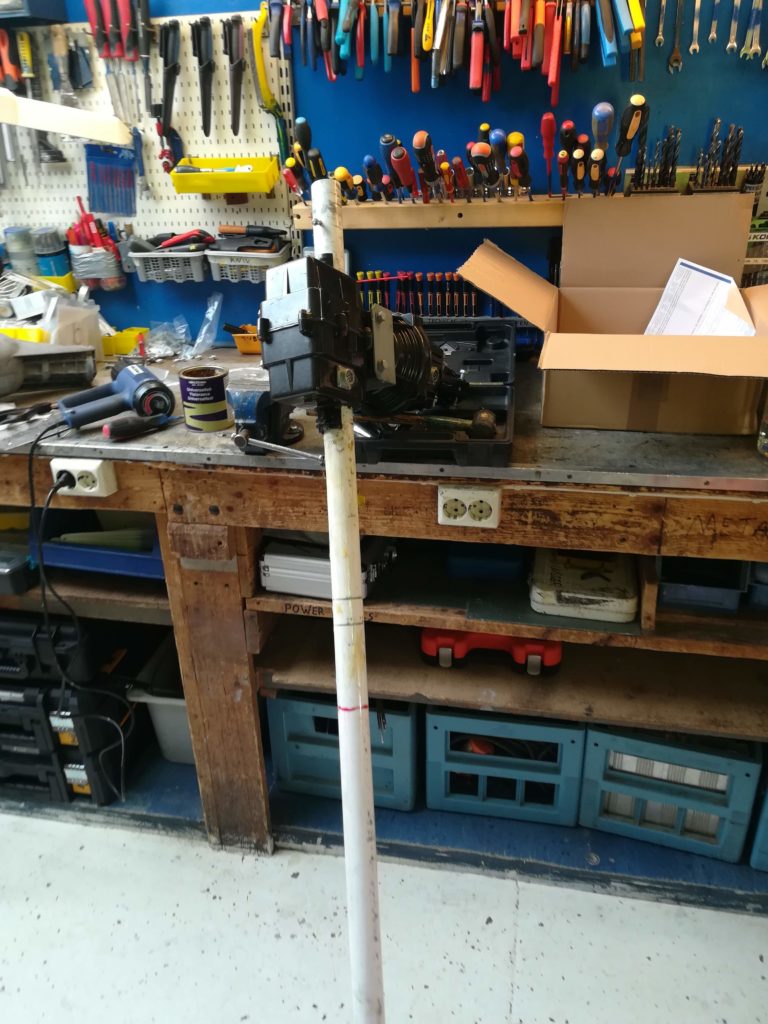
The hardships continue. 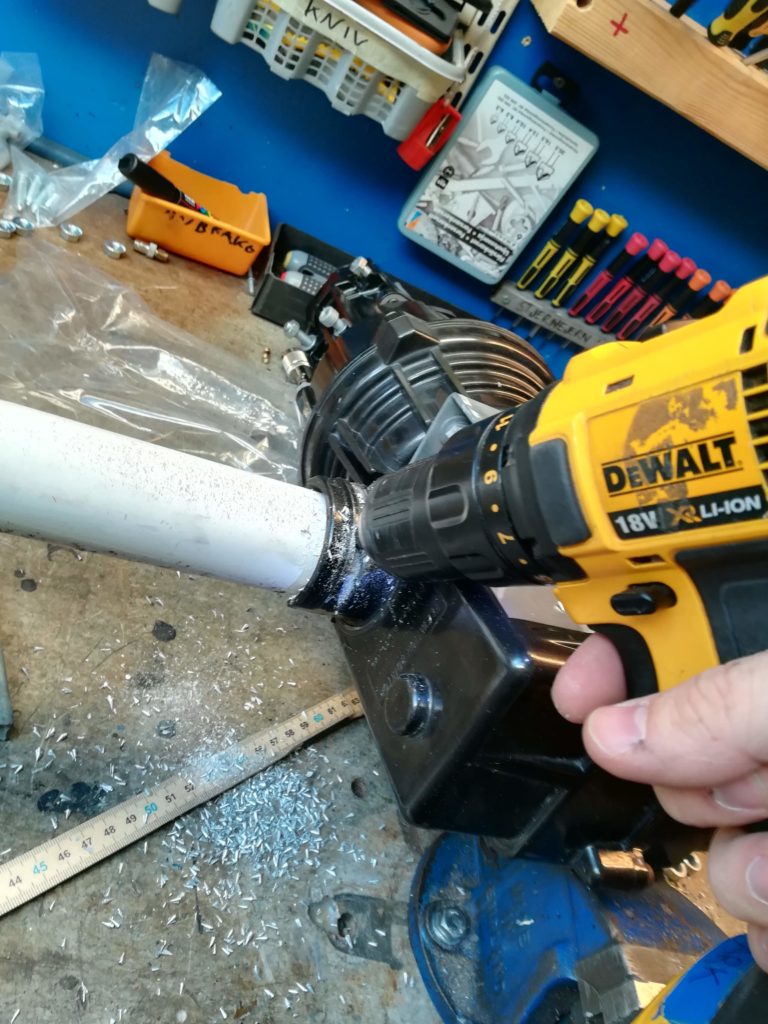
Lots of lube later. 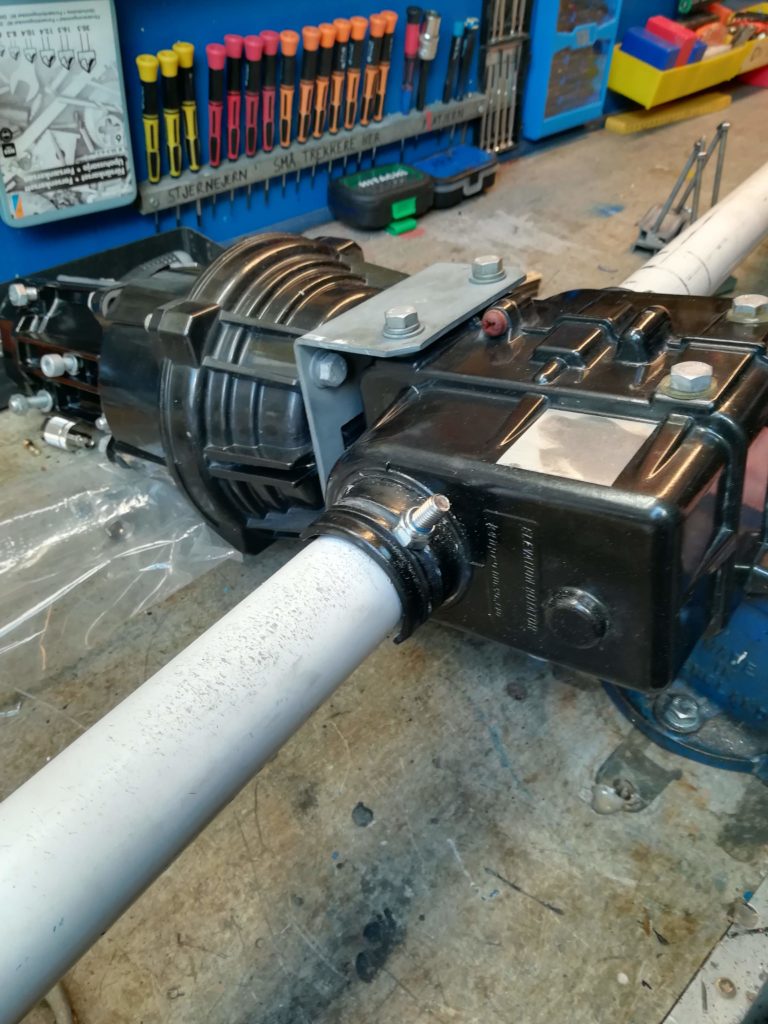
The rotor is secured in place by a set of nuts and bolts in order to keep it from rotating.
Installing LNAs
LNAs are important for amplification of the weak signals from space. These were scavenged from an old setup.
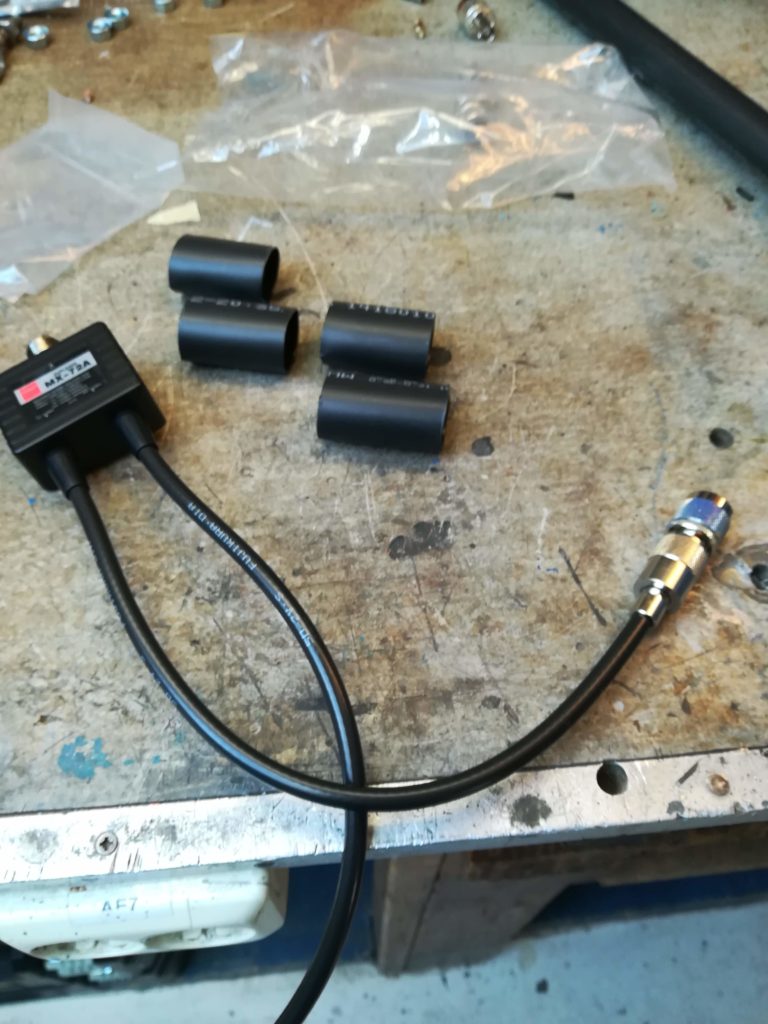
Preparing the heat shrink tubing for the diplexer. 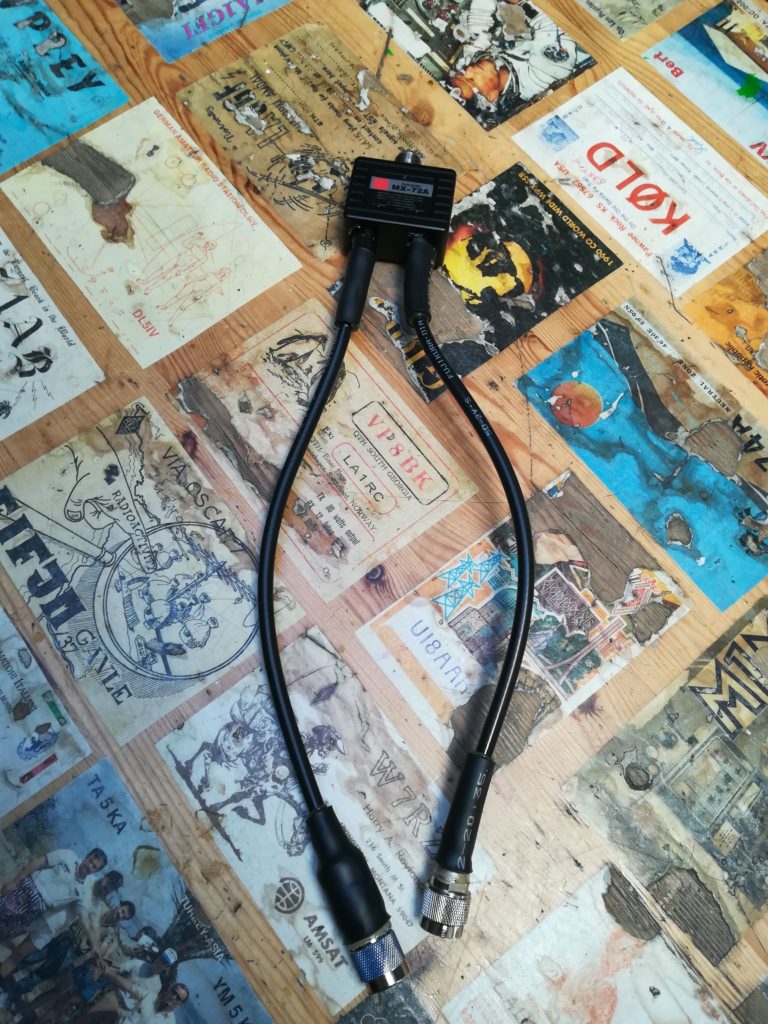
Waterproofed diplexer. 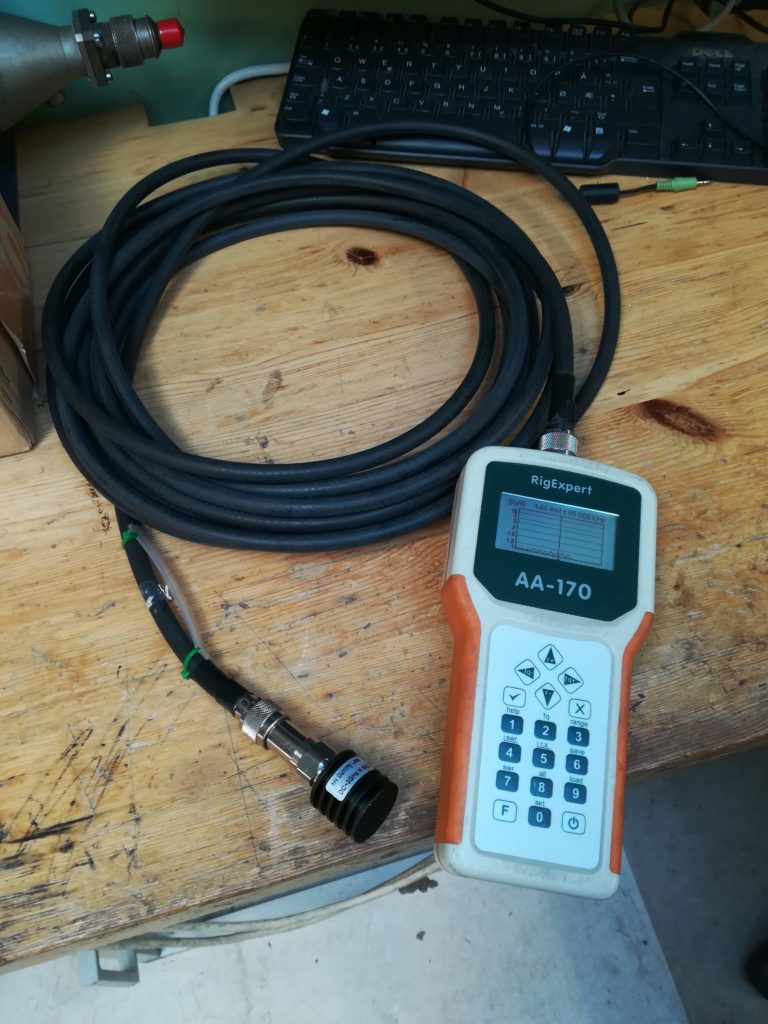
Checking the cable for faults. 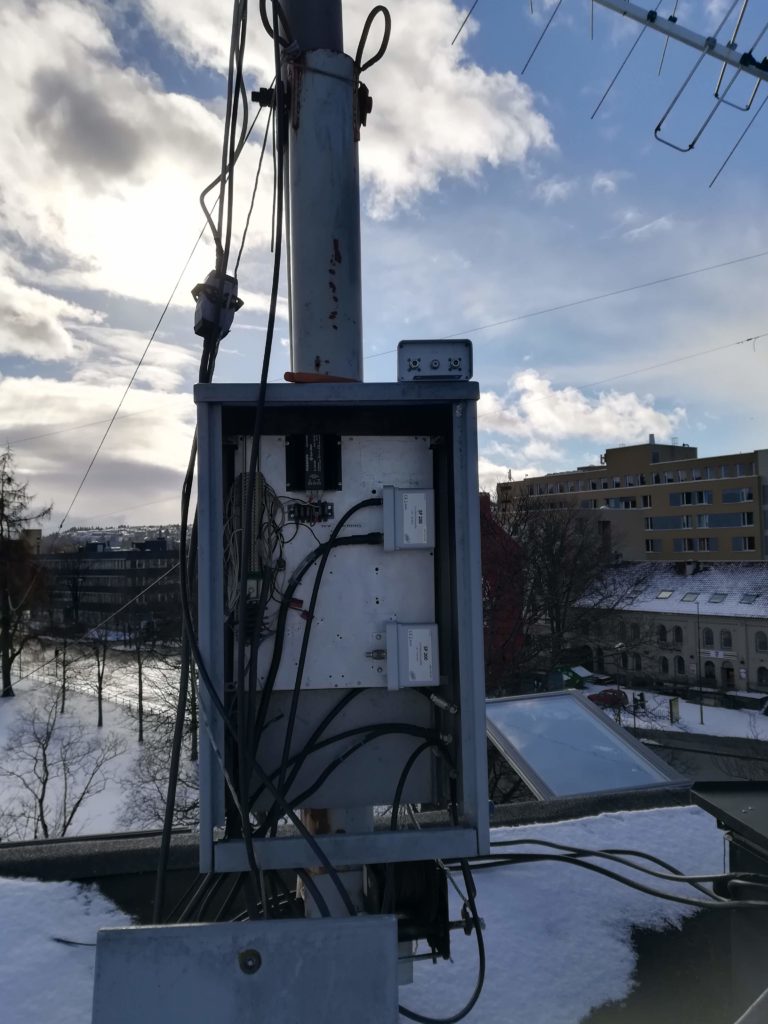
The LNAs were scavenged from the old 2m/70 cm EME setup. 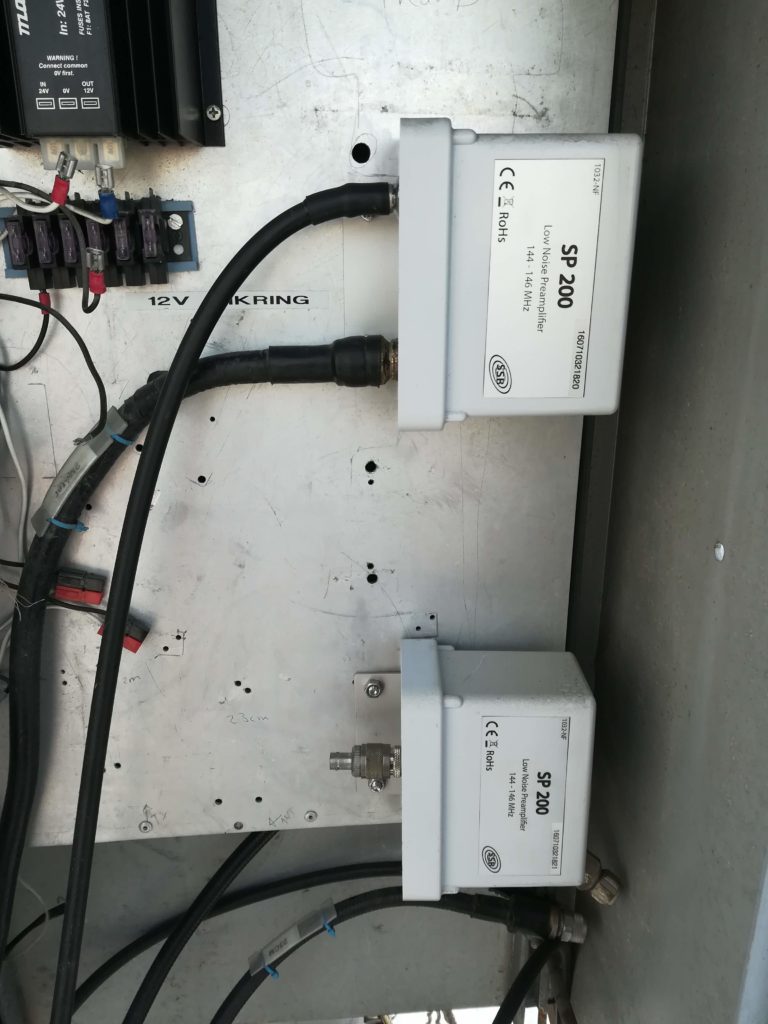
You may have safely lived in this nice cage for many years, but now you will be harvested. 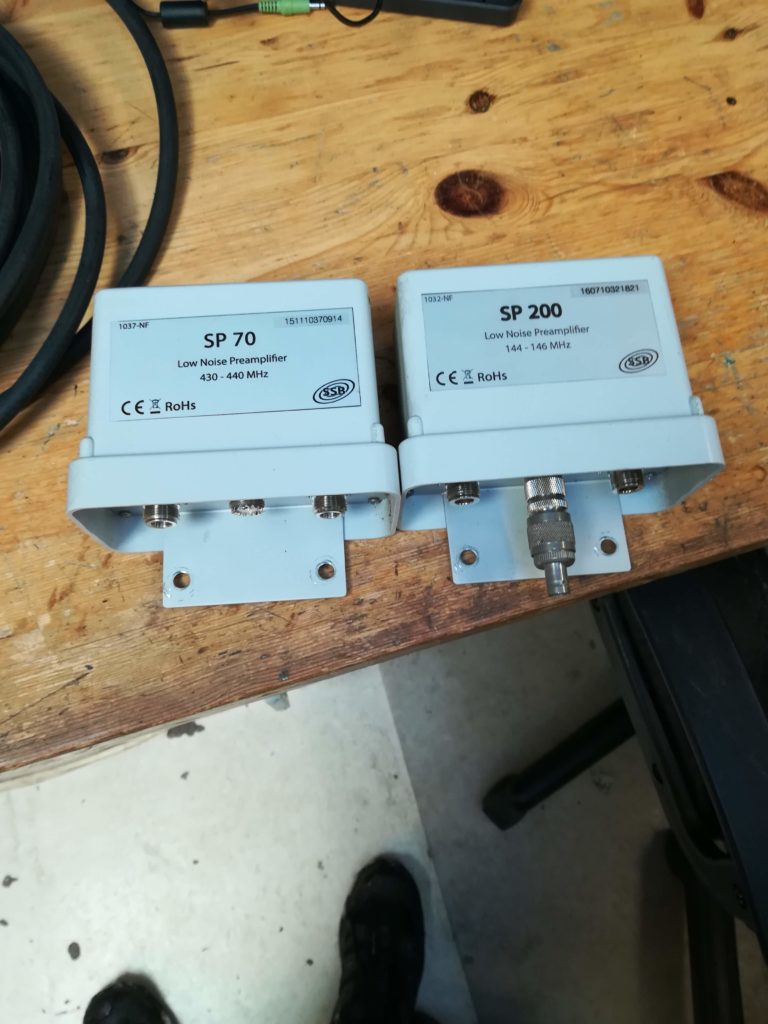
Bountiful LNA harvest.
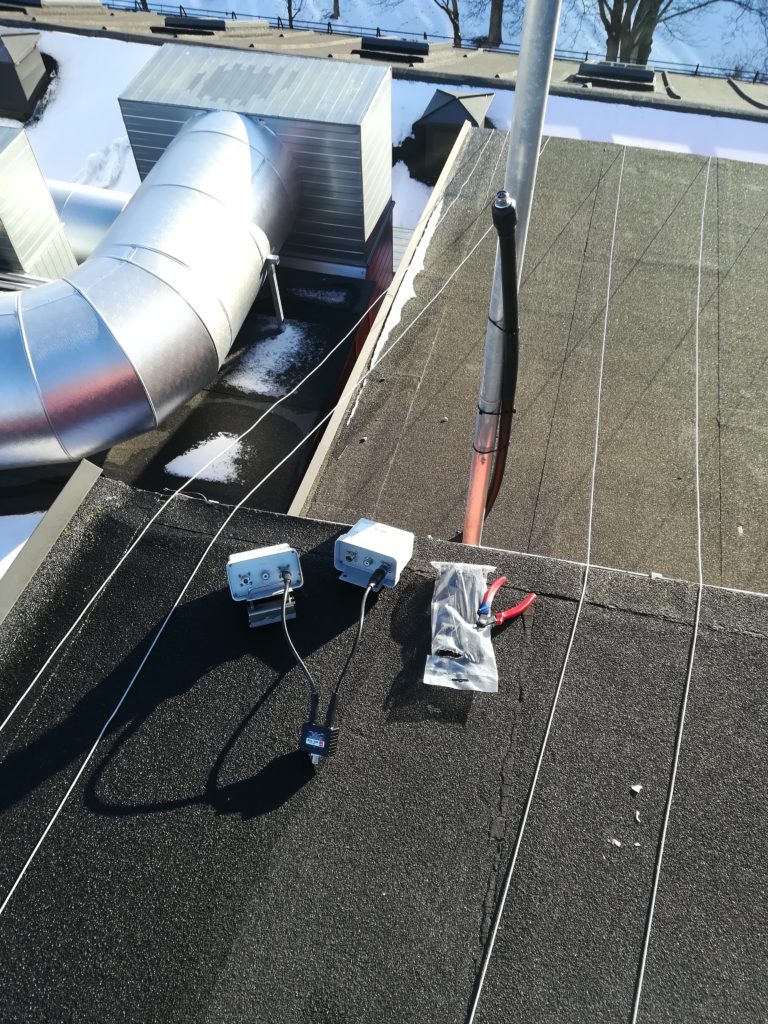
LNAs connected to diplexer. 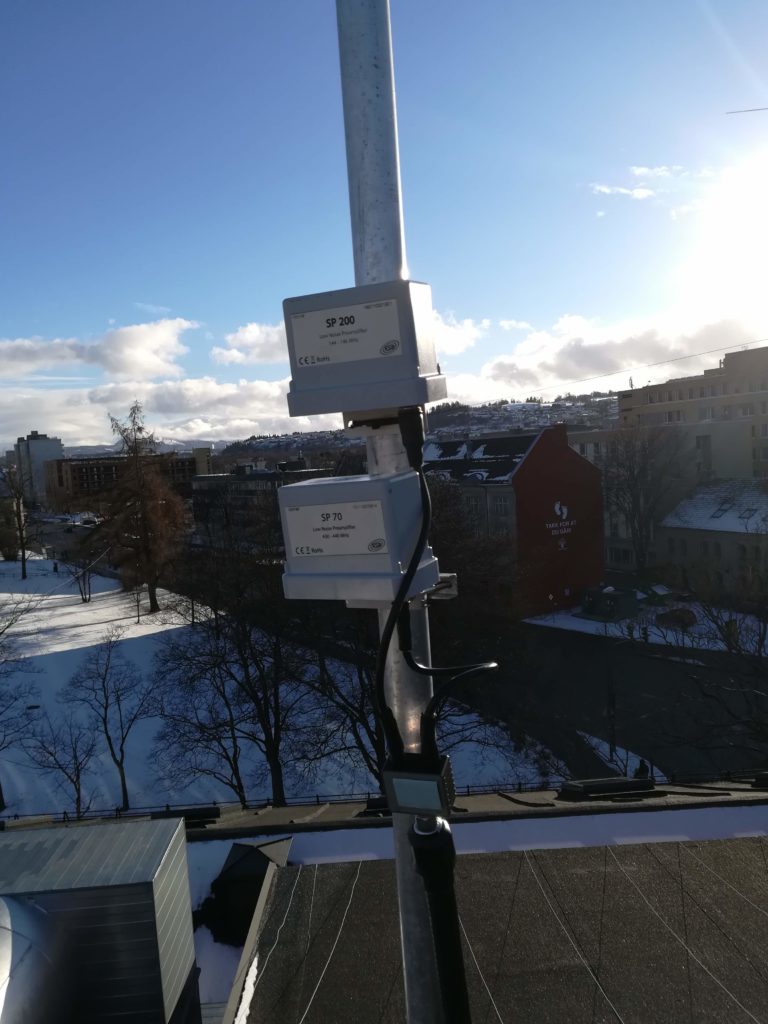
LNAs mounted on antenna mast. 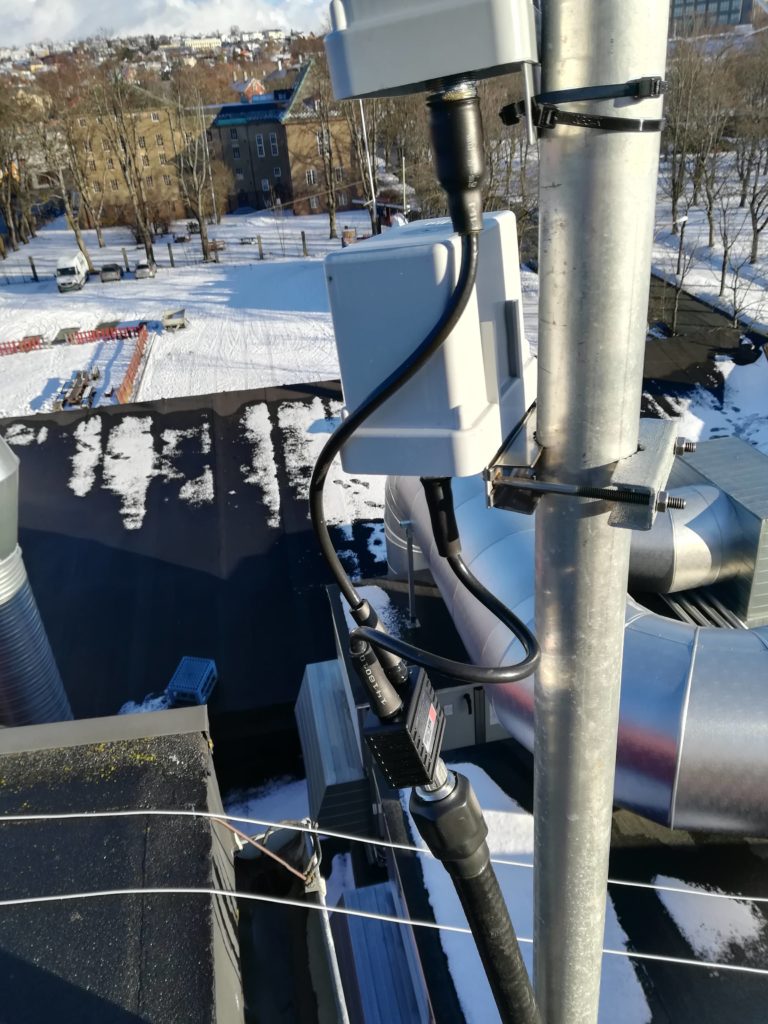
Coax connected to diplexer. 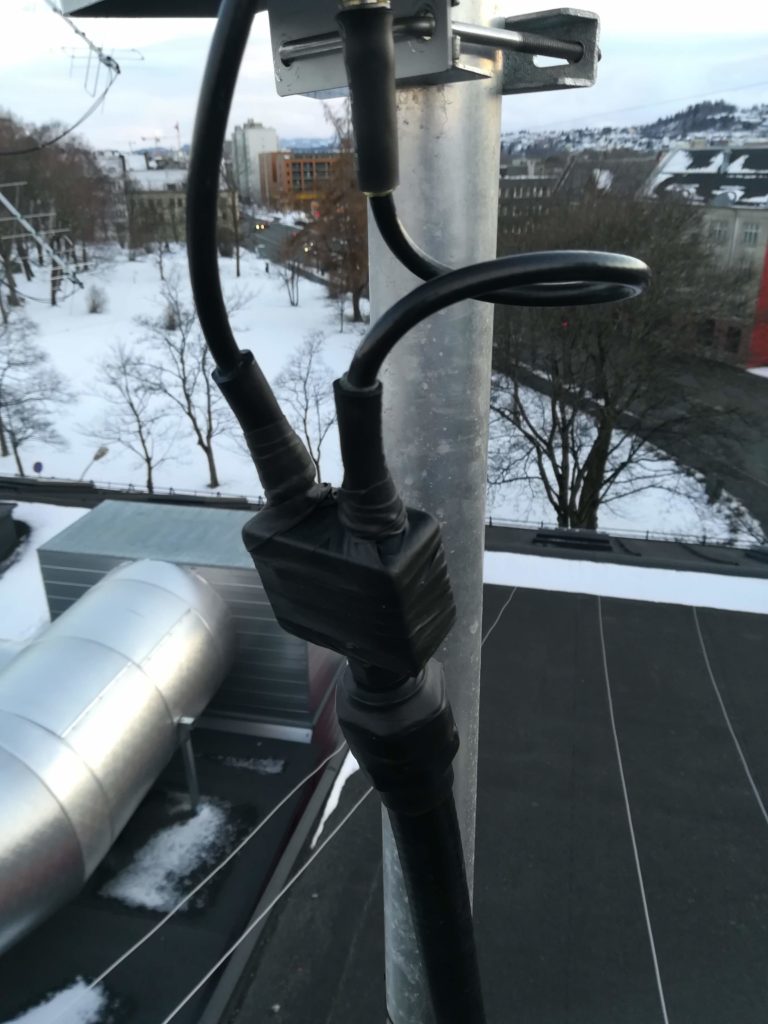
There can never be enough waterproofing! Self-amalgamating tape applied.
Mounting the antenna
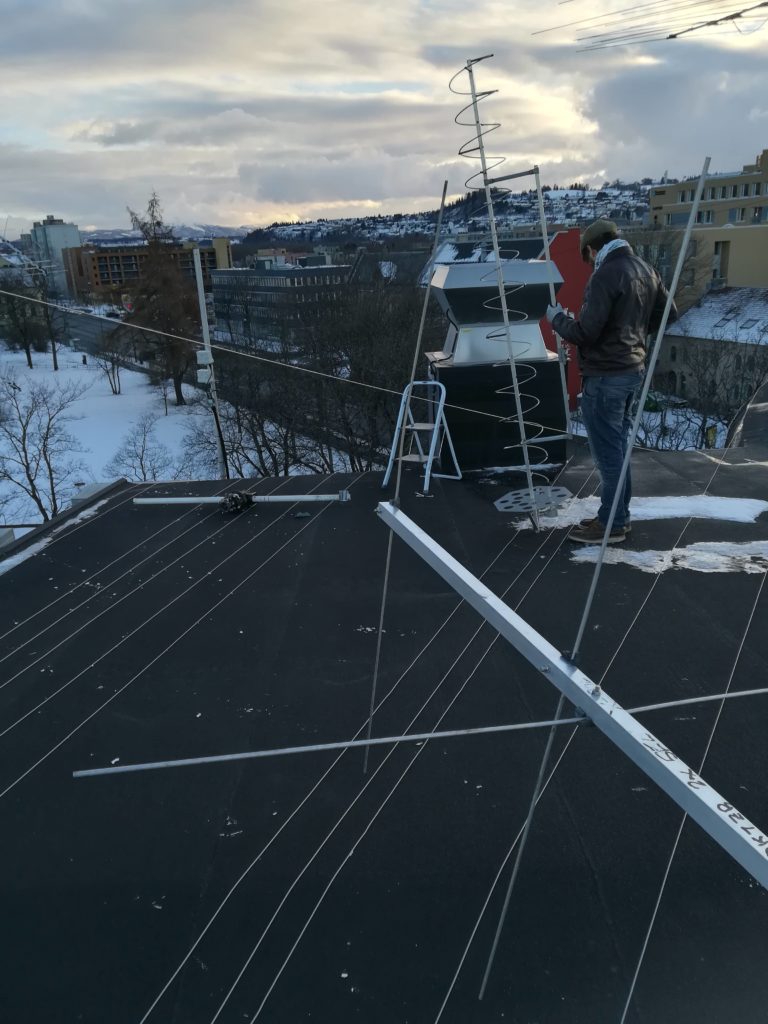
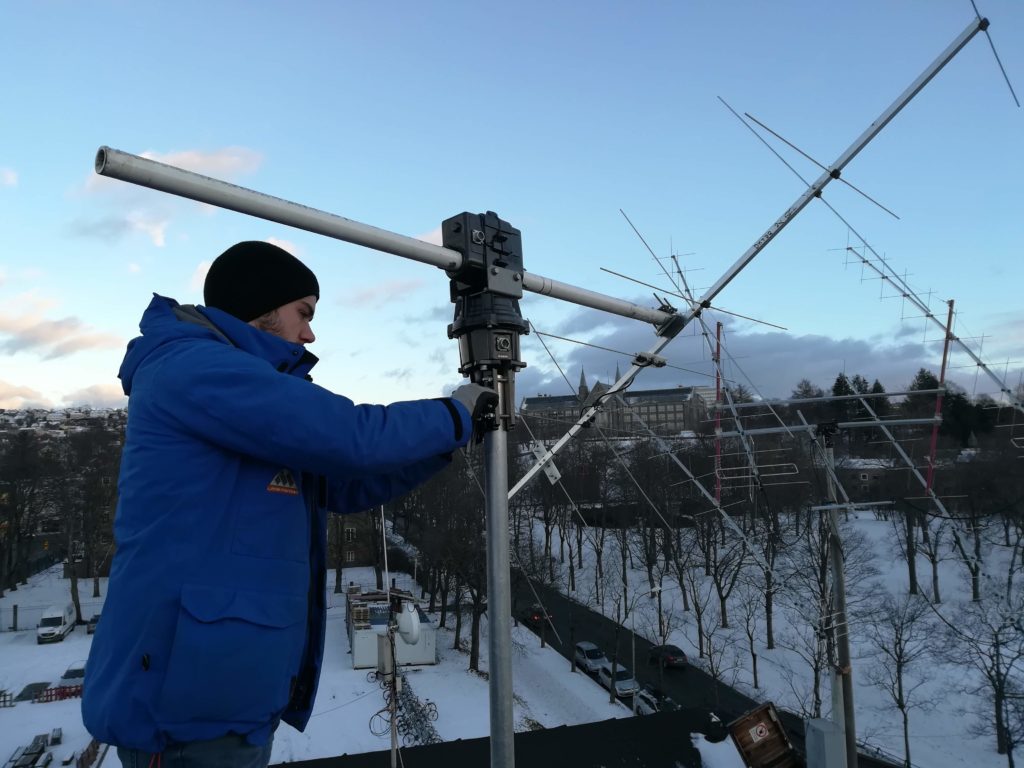
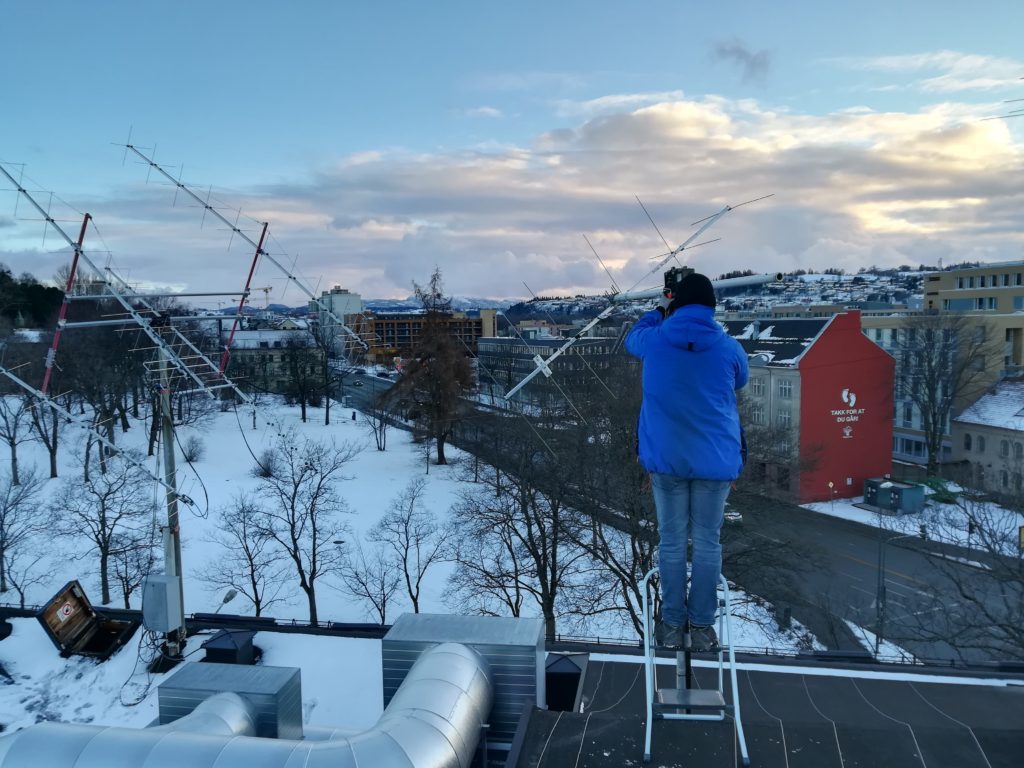
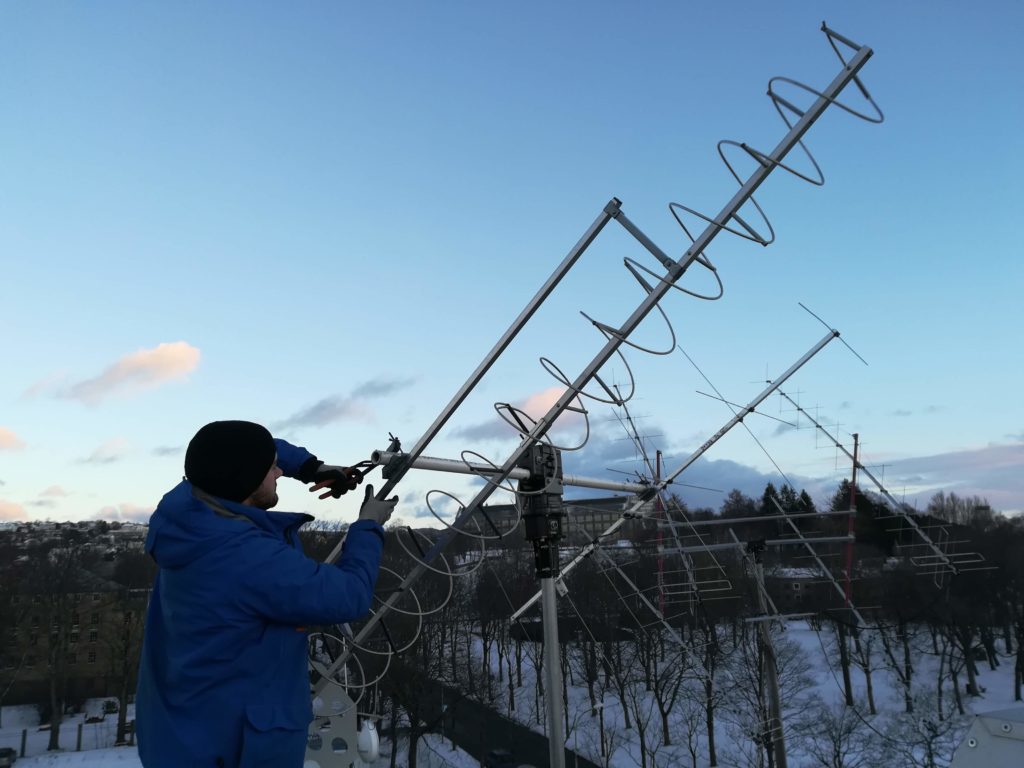
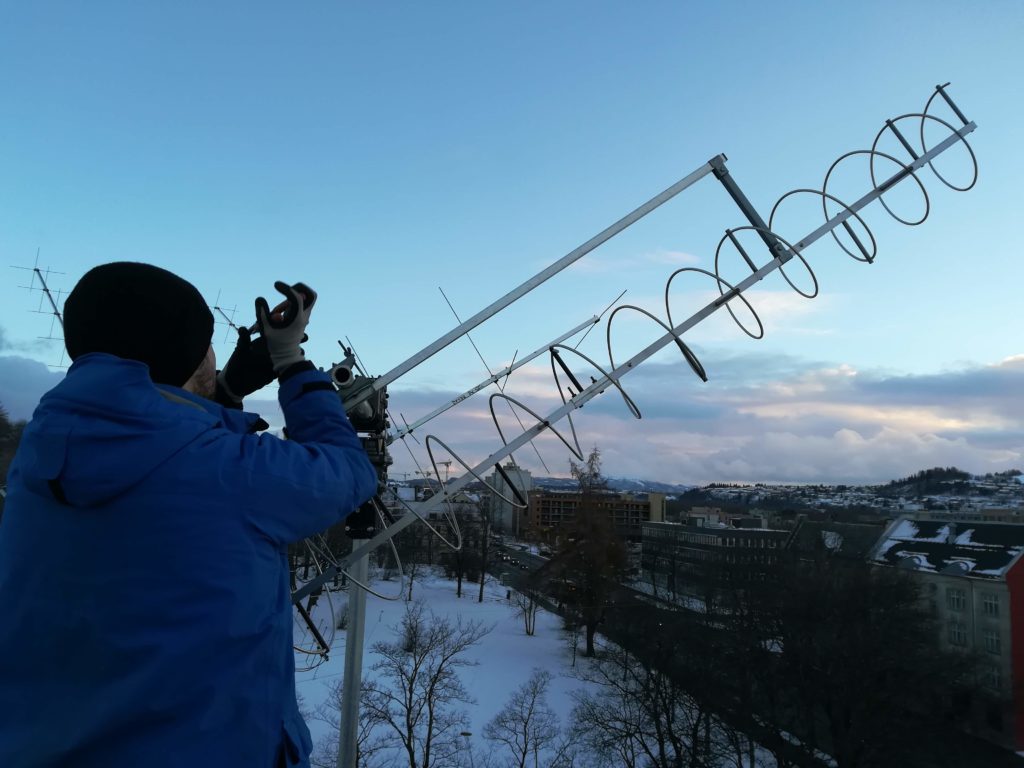
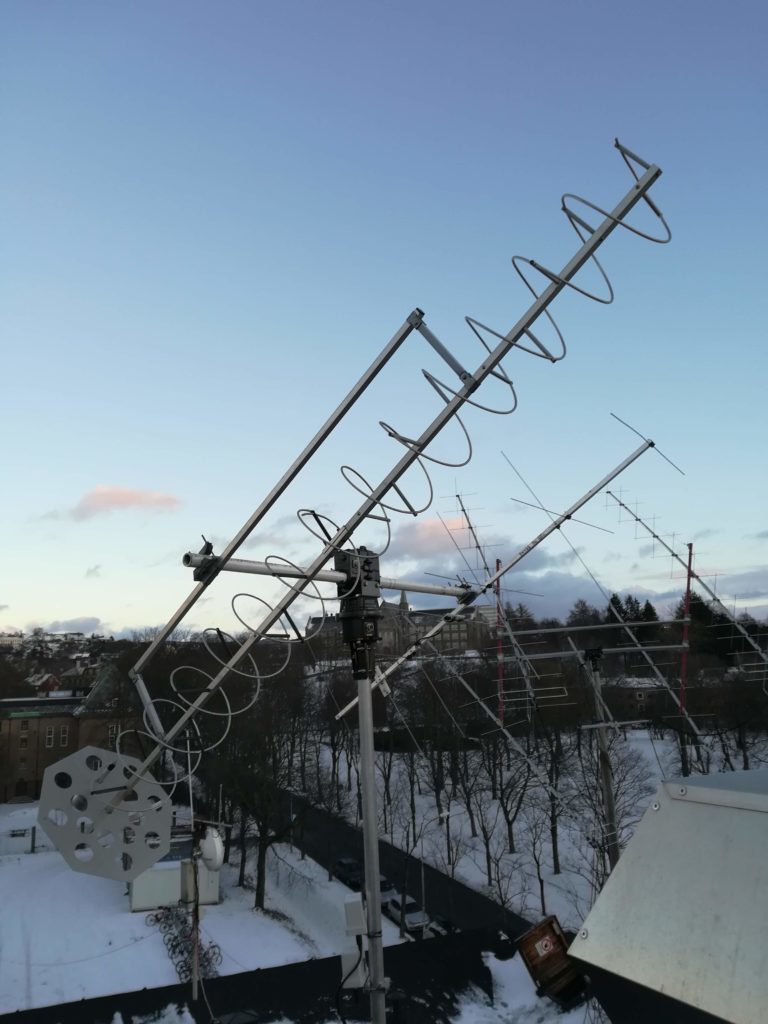
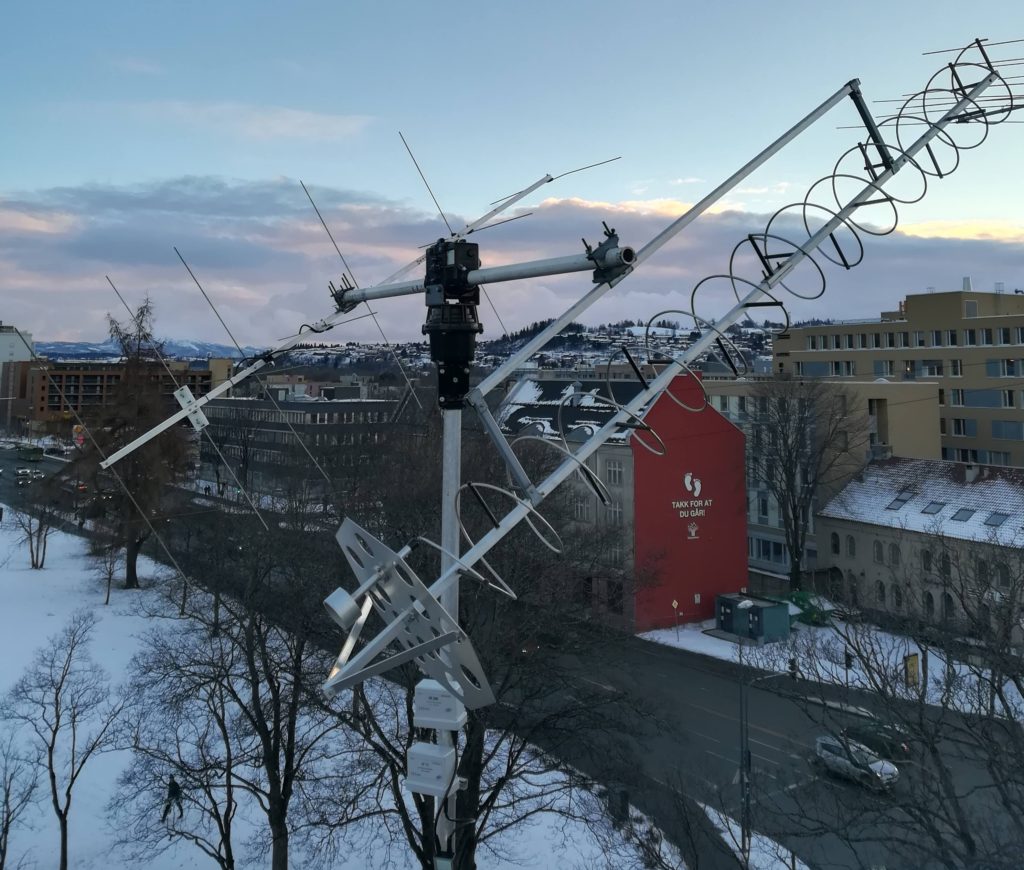
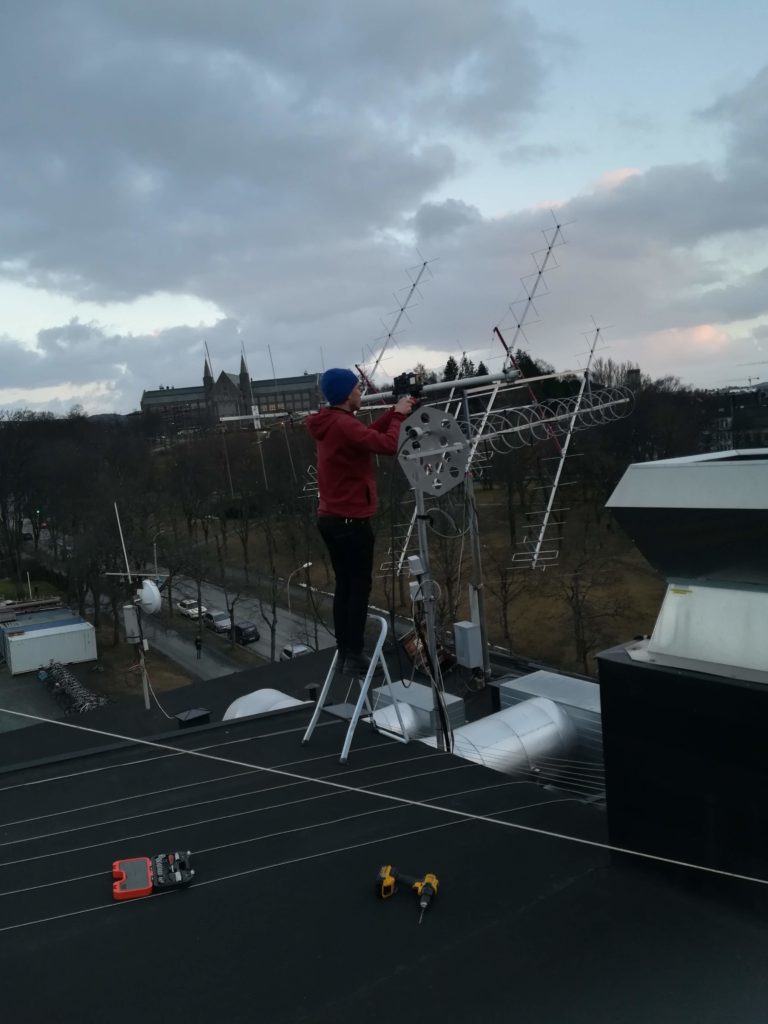
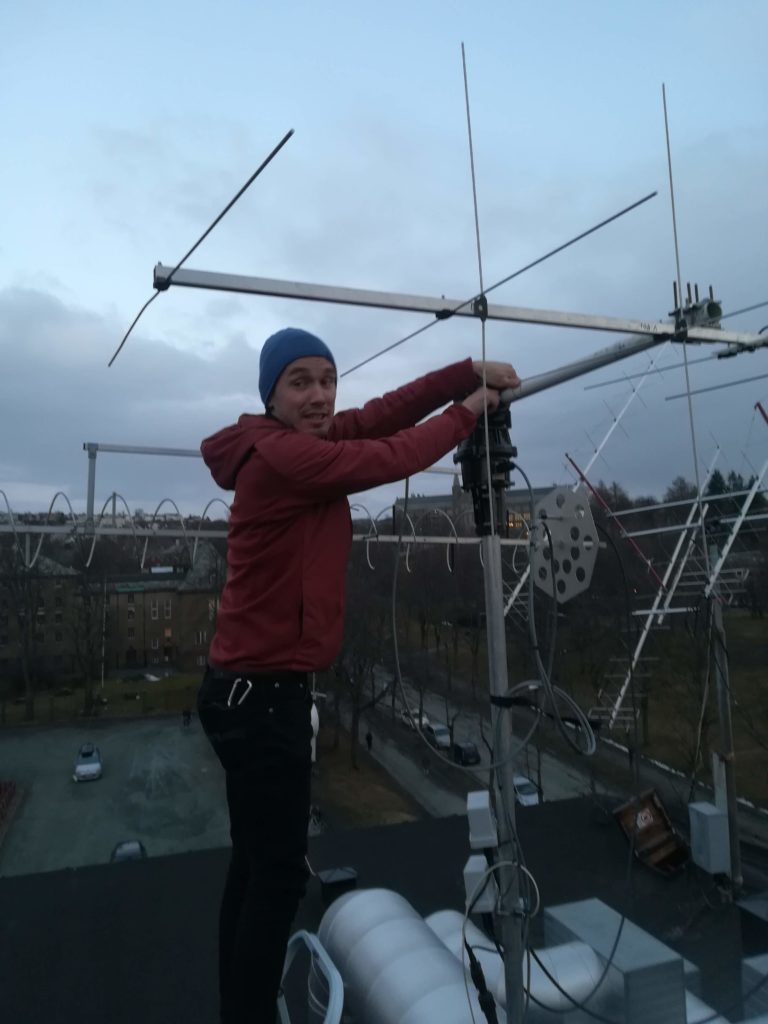
Then the antennas were mounted.
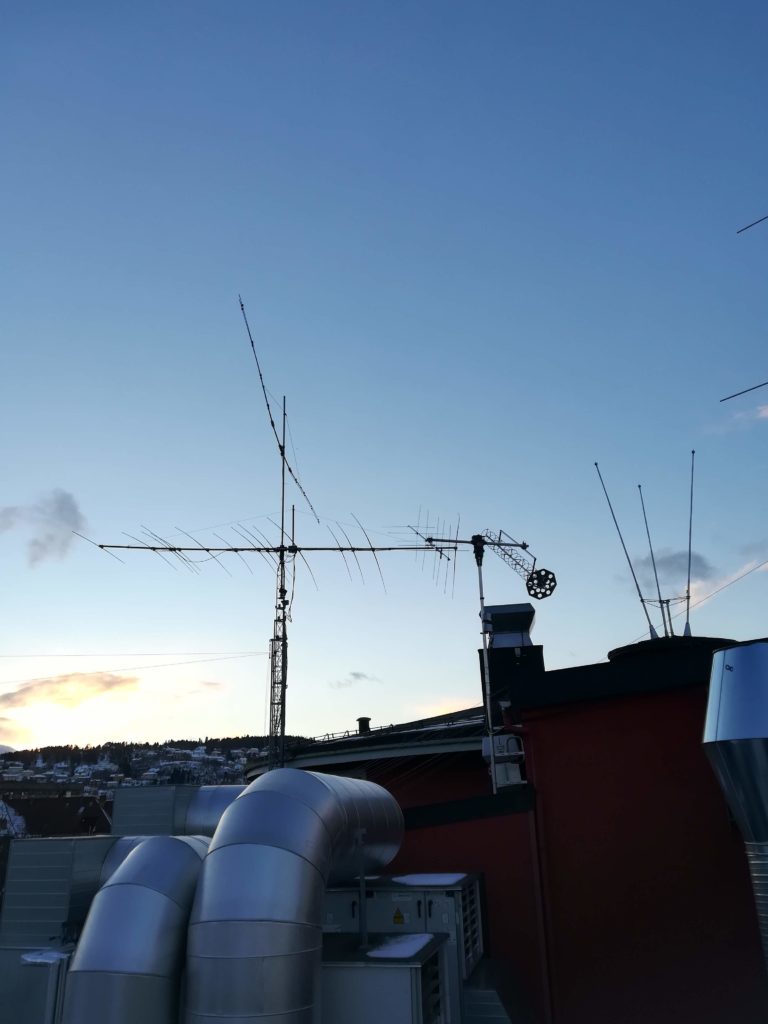
Finally, the full antenna system was finished and could bask in the glorious sunset.
Running cables
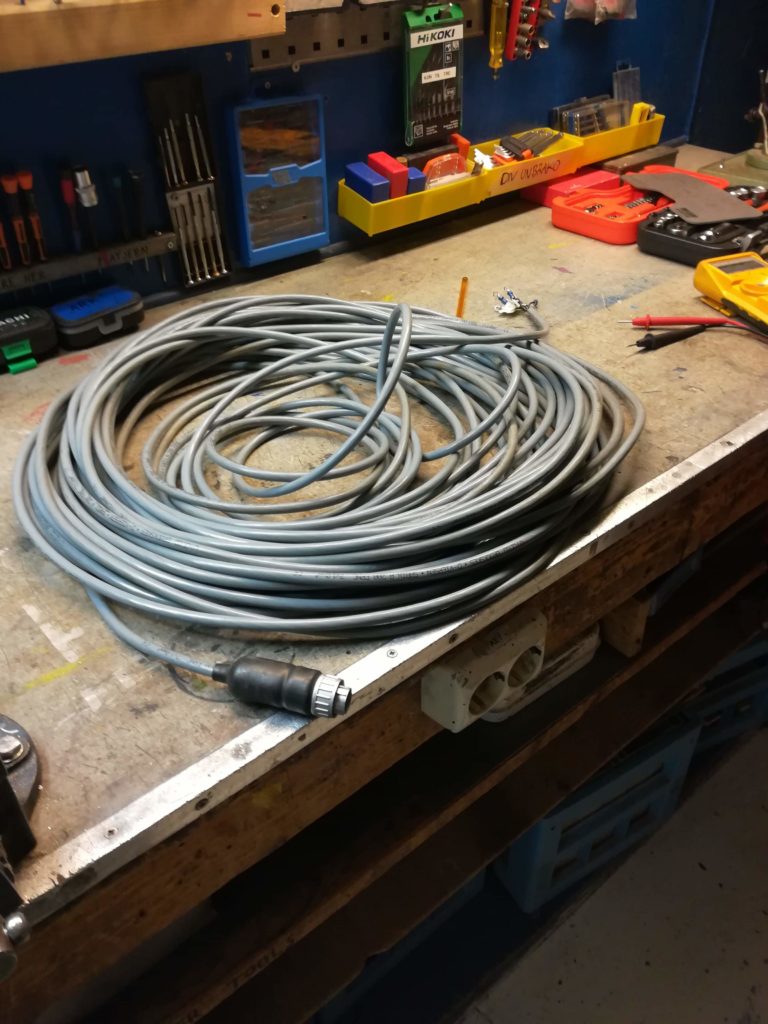
Ufortunately, the work was not done. There was an infinite amount of rotor cable and coax cable left to connect.
And they have to go all the way from here to there.
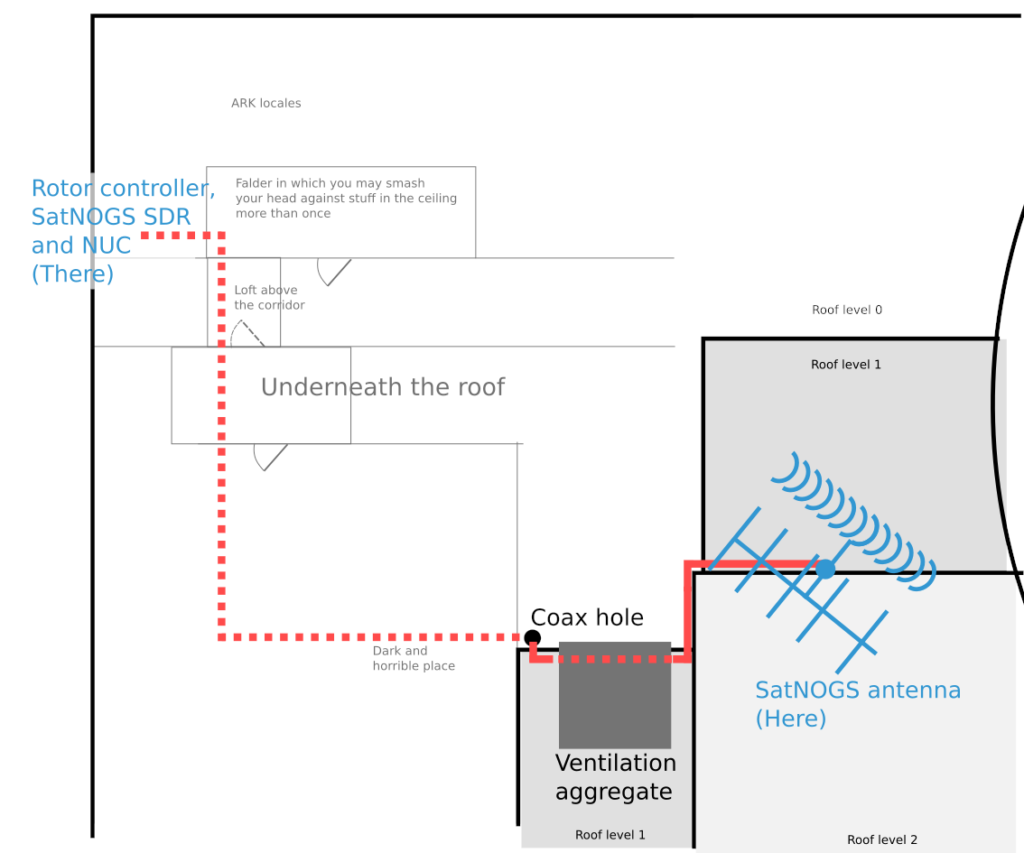
This is the part where we had to get dirty. Most of this work was done during a late evening, which enhances the dirtyness of the dirty work by generating dark and gritty photos.
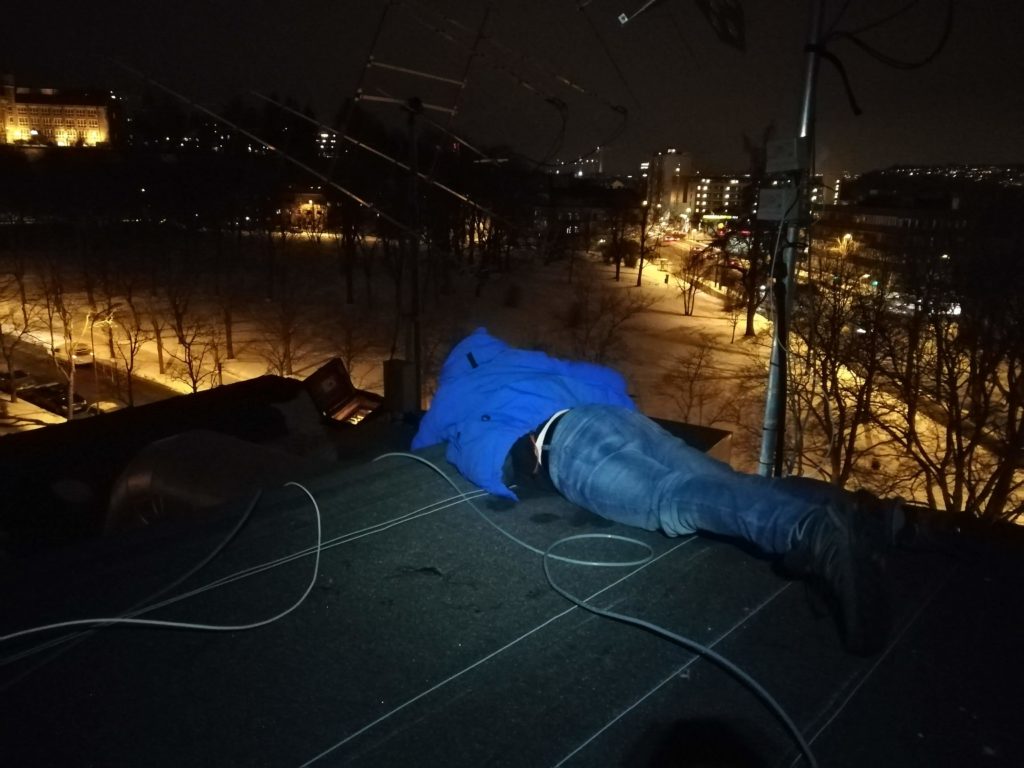
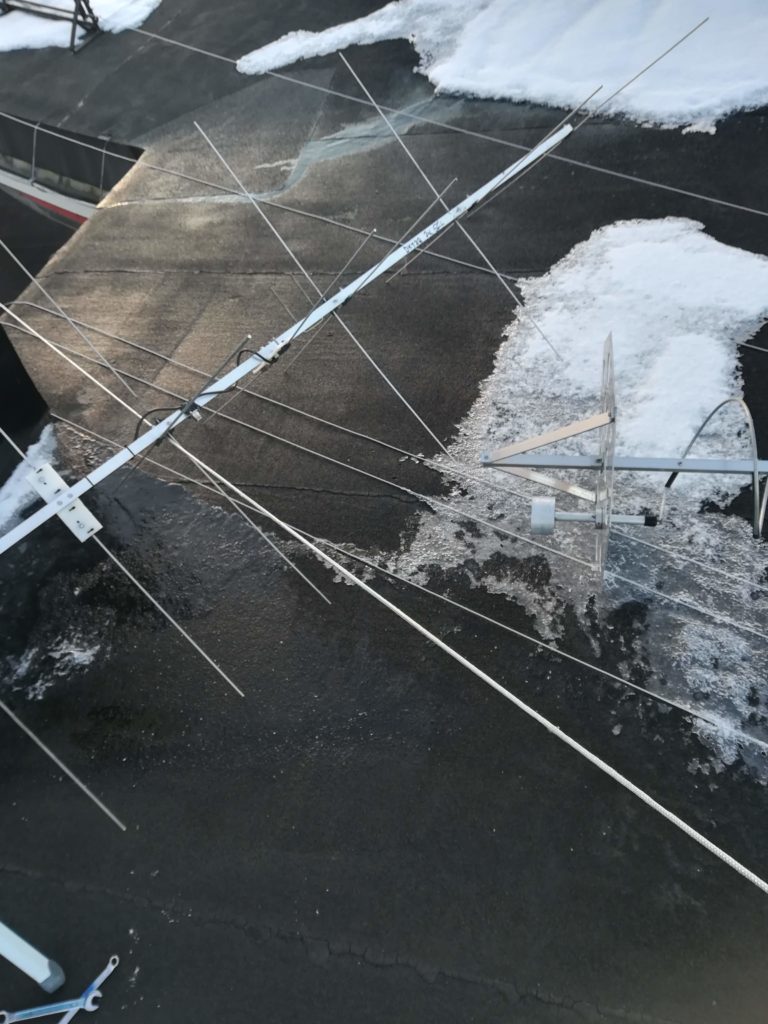
Getting dirty on the roof. 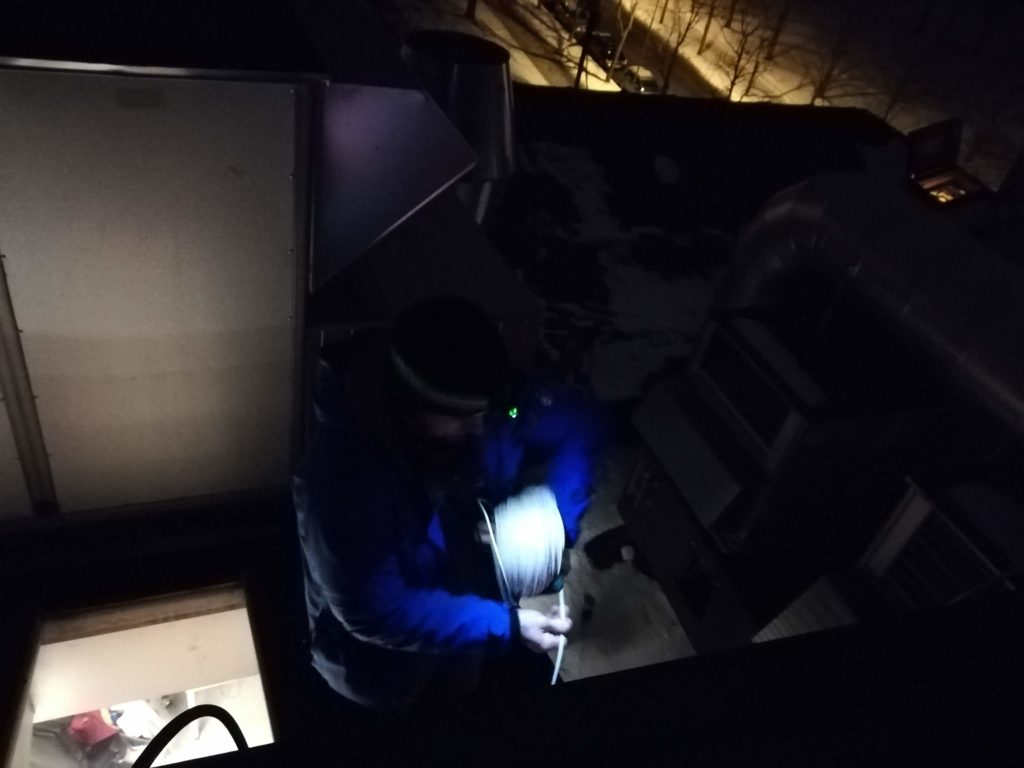
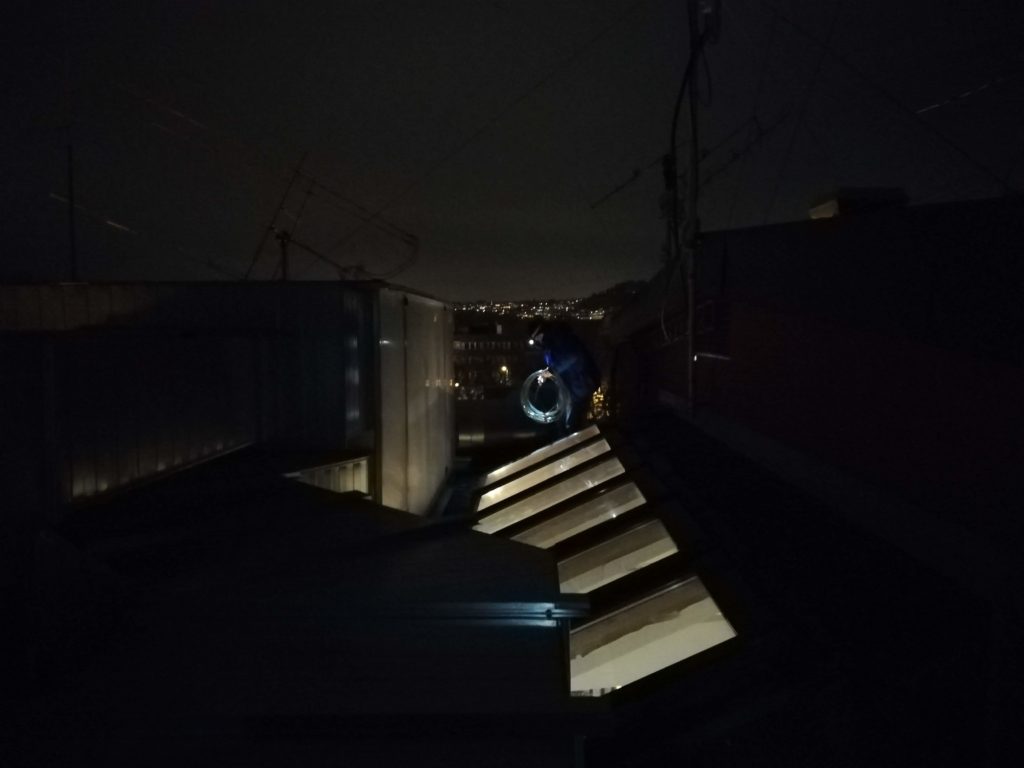
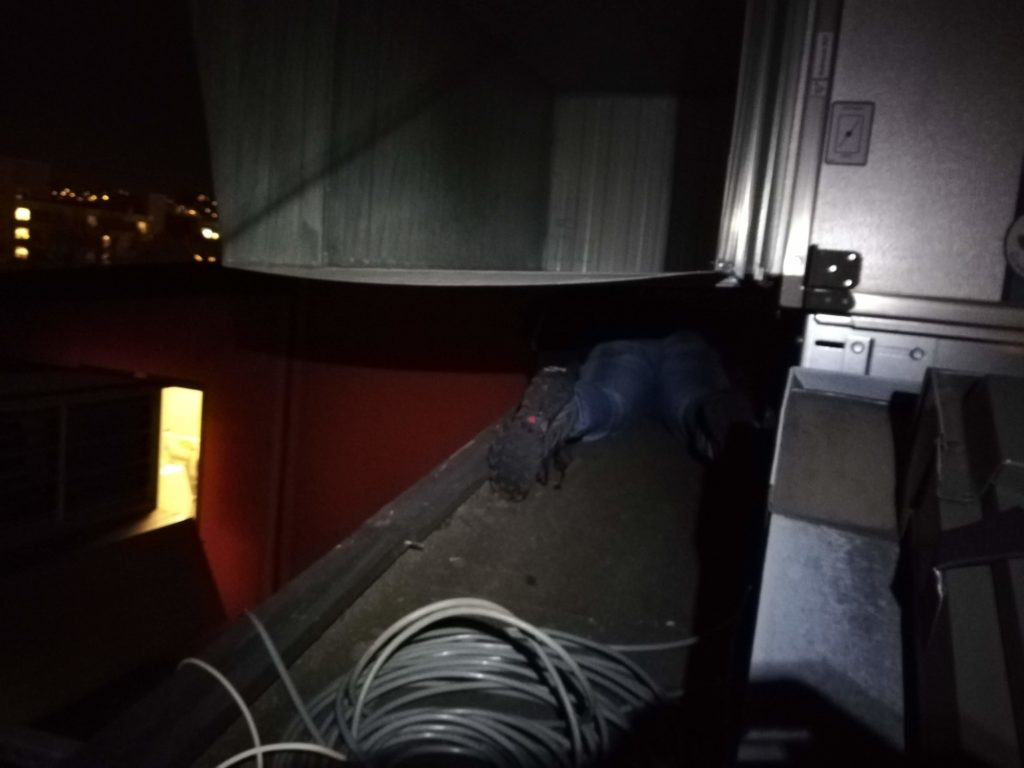
There is a body underneath the ventilation aggregate. 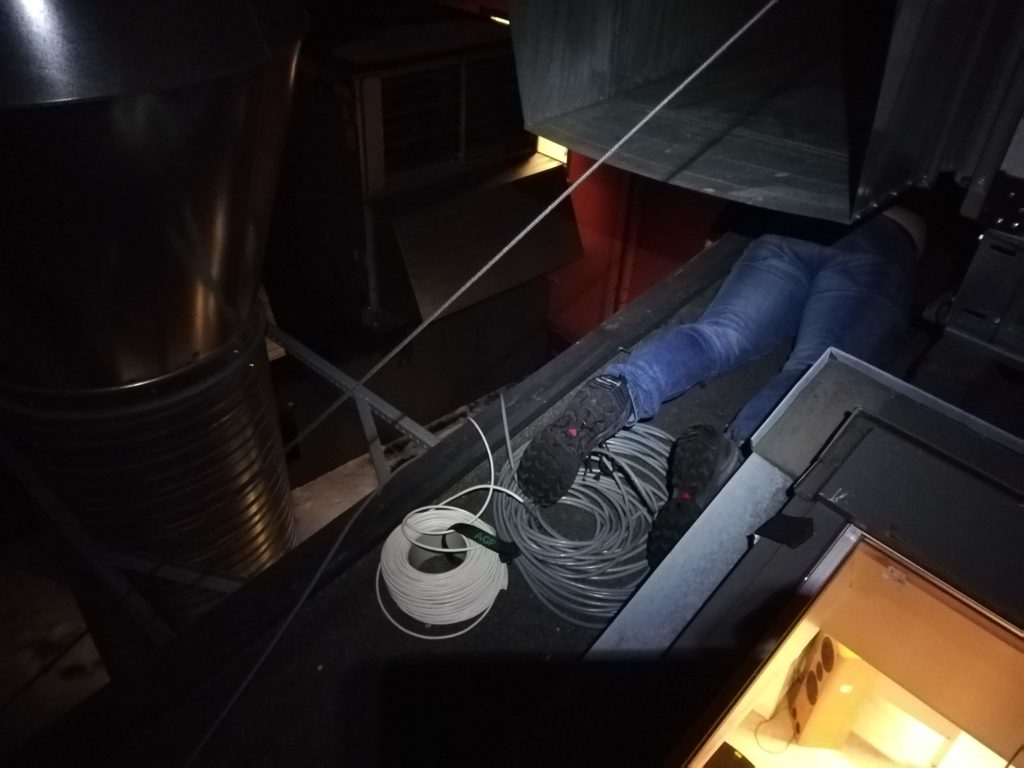
It is slowly coming this way! 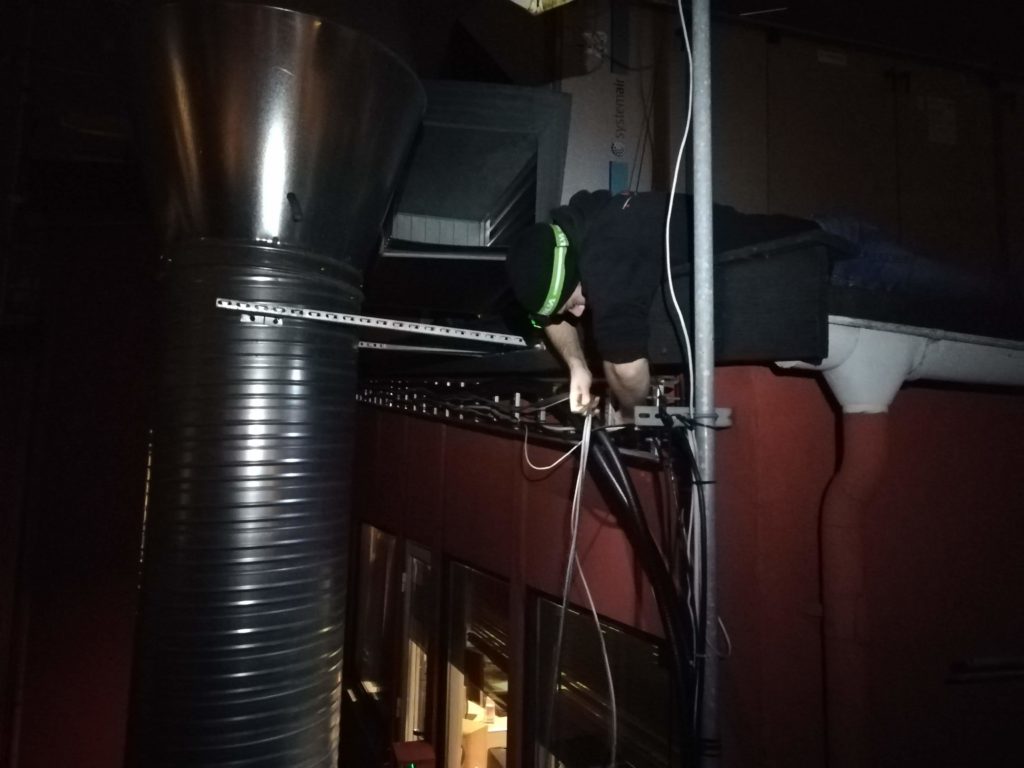
The work was done from all possible angles. 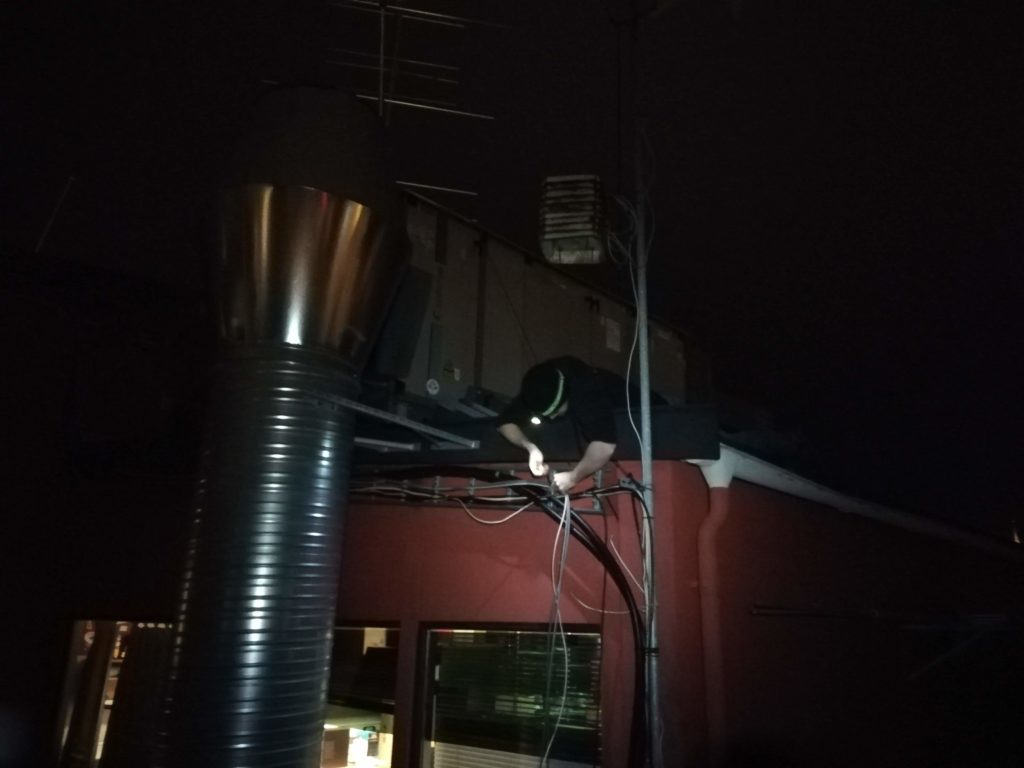
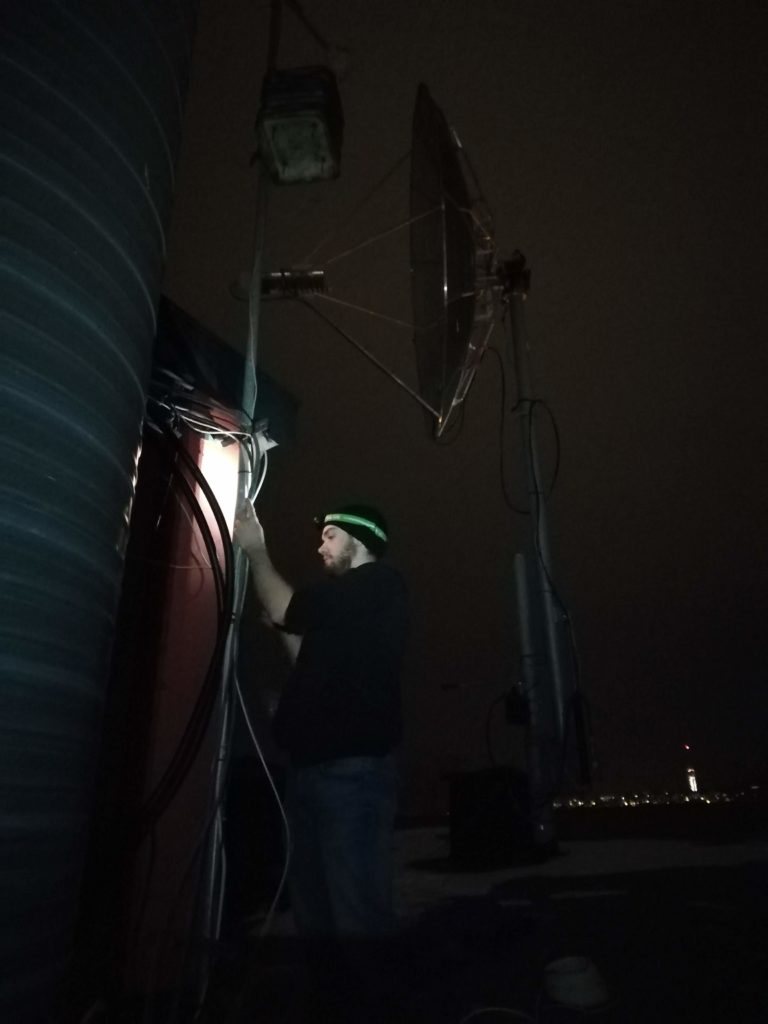
LA3WUA is a diligent task force. 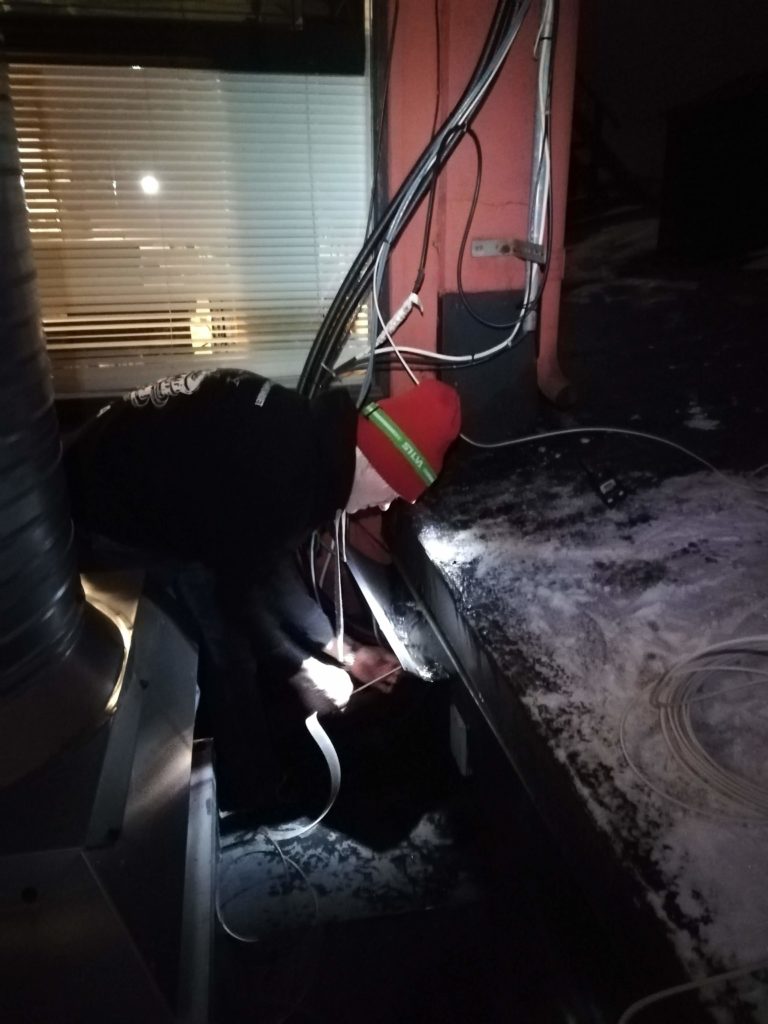
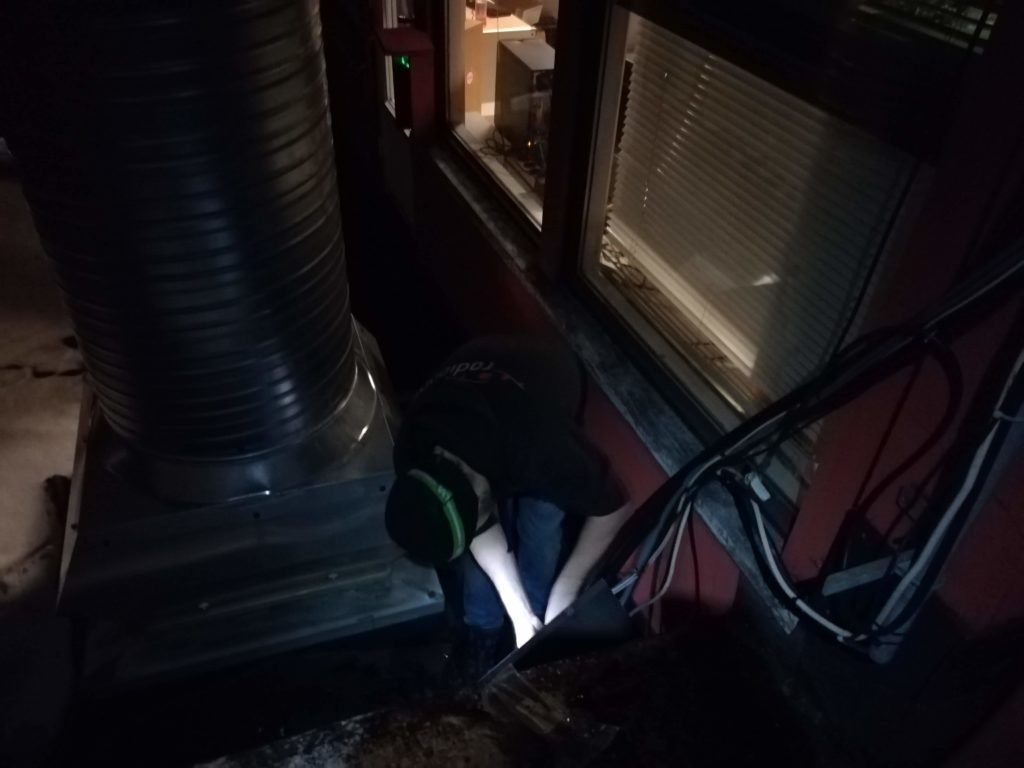
The hole where the cables go in-doors. 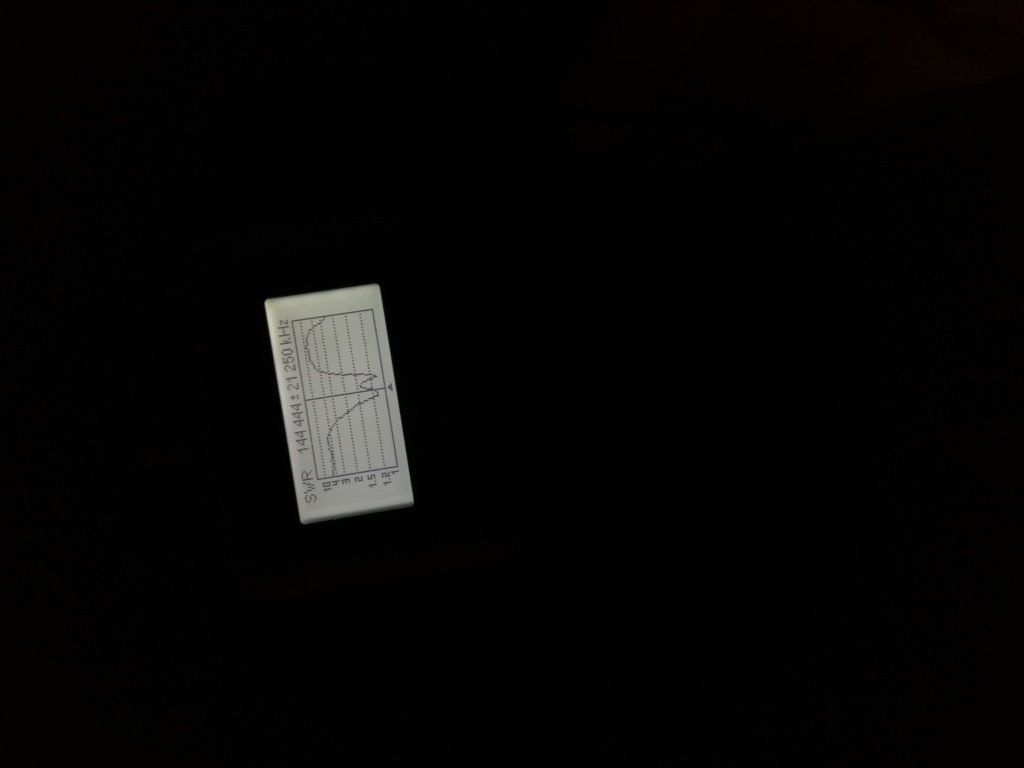
It is also important to check once in a while that everything works as expected.
Shack equipment
Finally, with hardware and cables in place, the SDR, rotor controller and SatNOGS system could be set up.
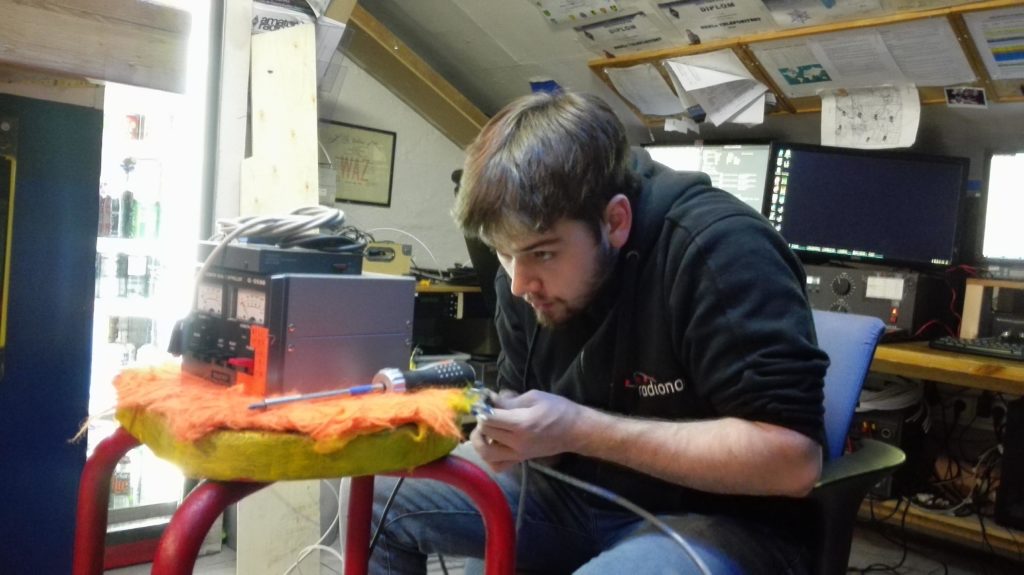
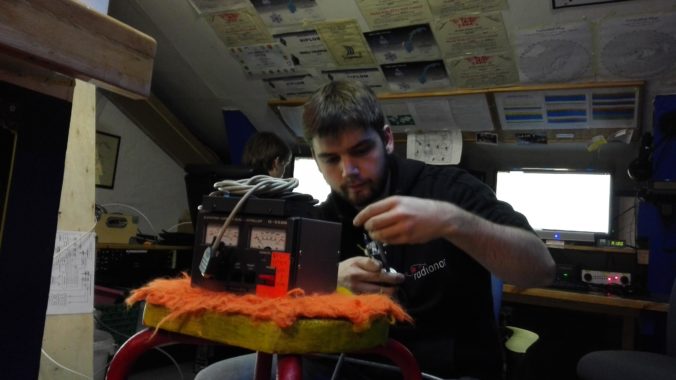
LA3WUA mounts the rotor cables to the rotor controller. 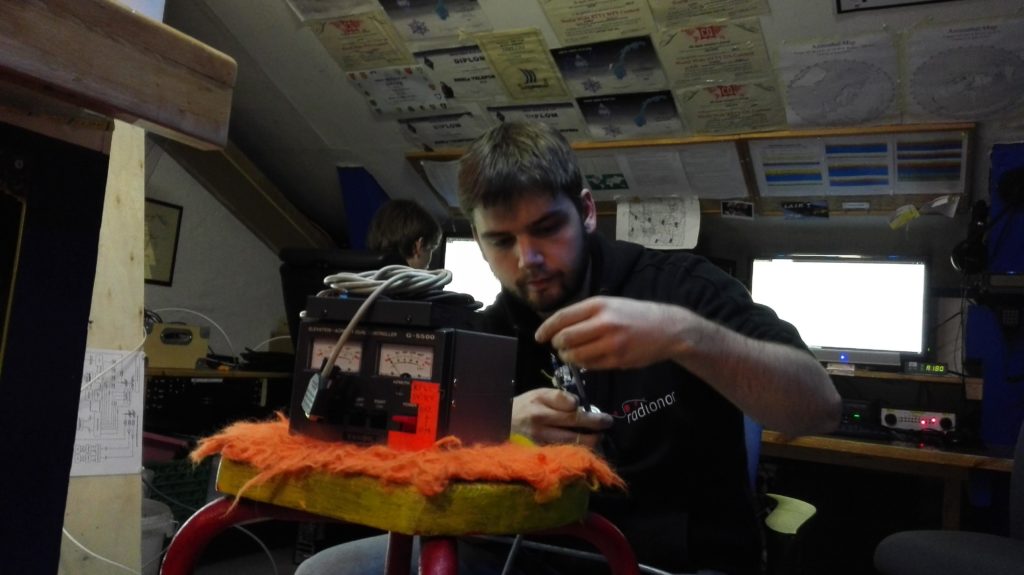
LB6RH is hard at work with the SatNOGS setup in the background.
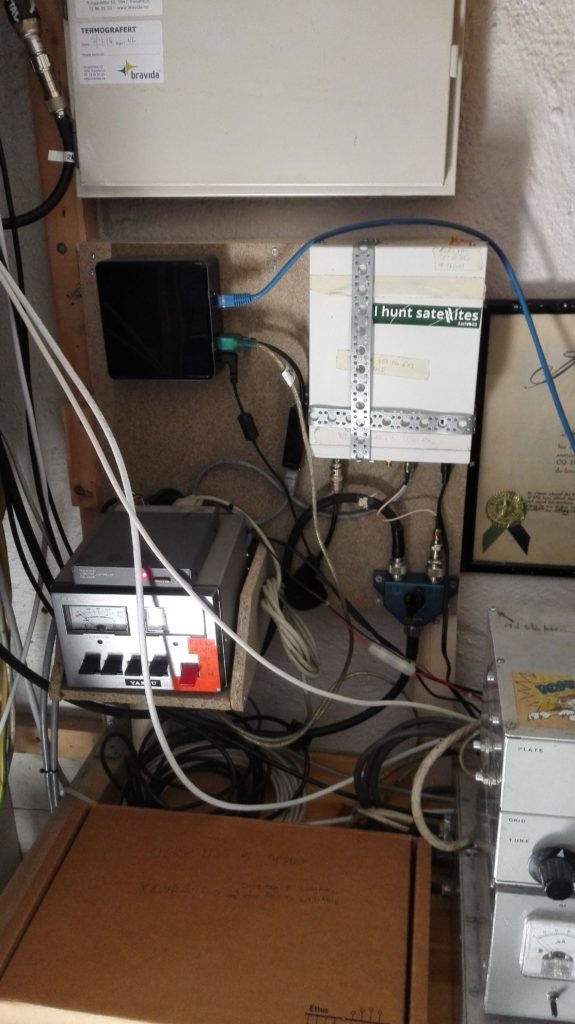
Here are some photos of the equipment installed in the shack:
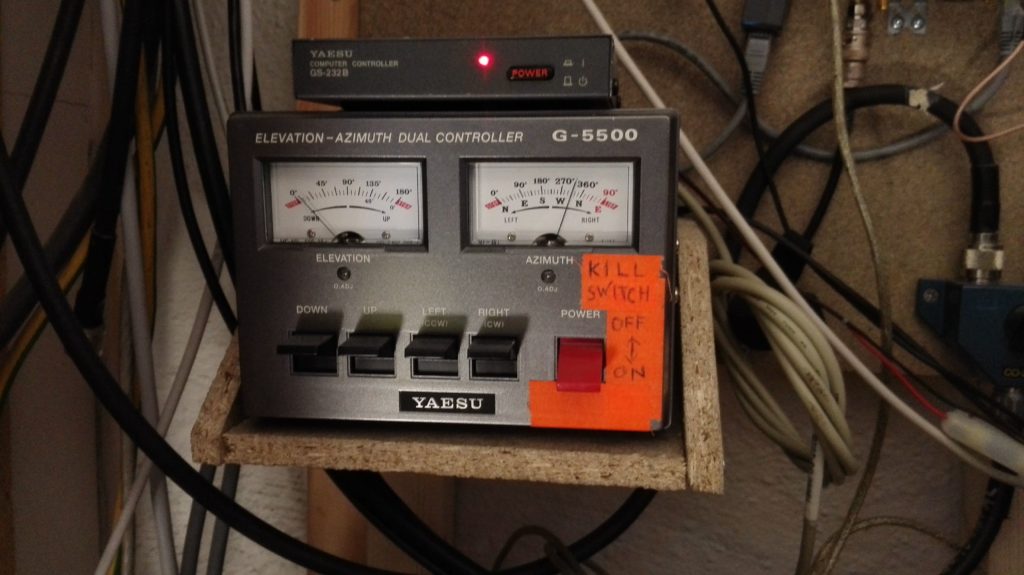
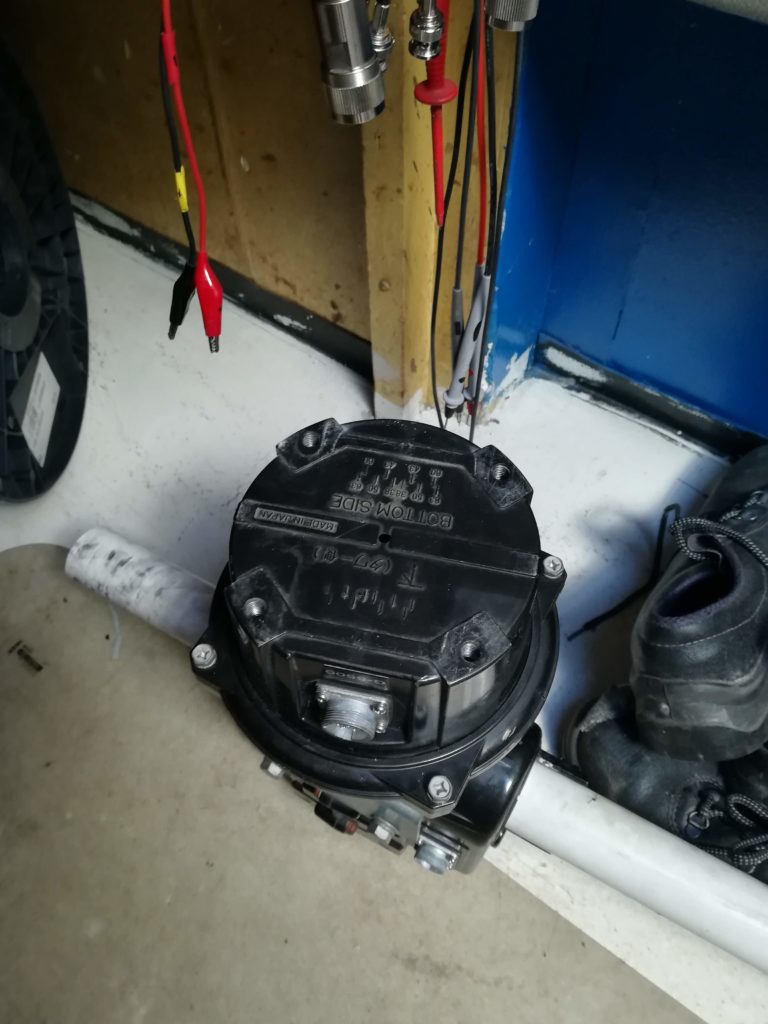
CLICKATICKJLICKATICLICKCLICK CLICK CLICK-style rotor controller, which is controlled by the SatNOGS software using rotctld. 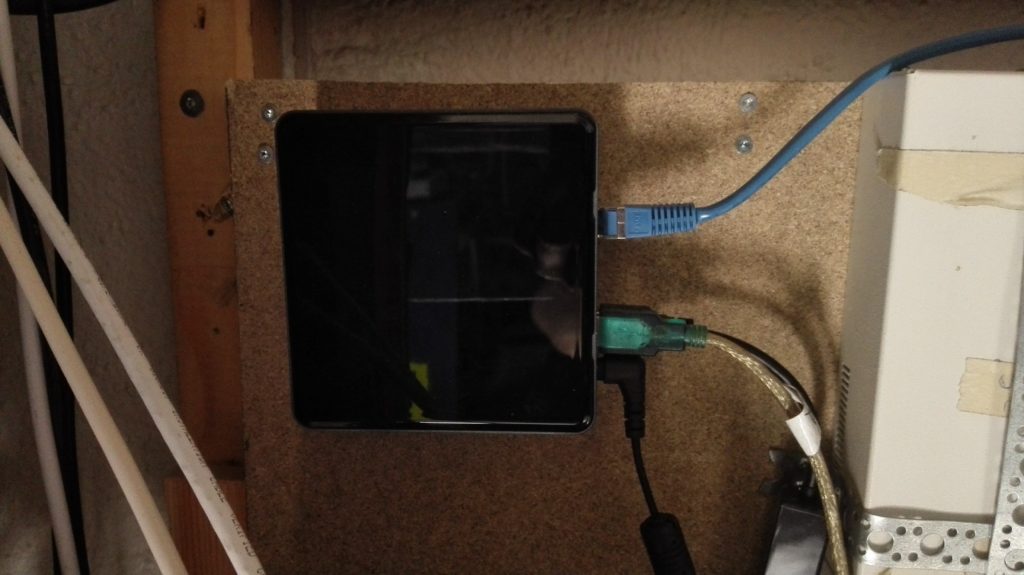
Intel NUC, containing a Linux installation with the SatNOGS software setup. 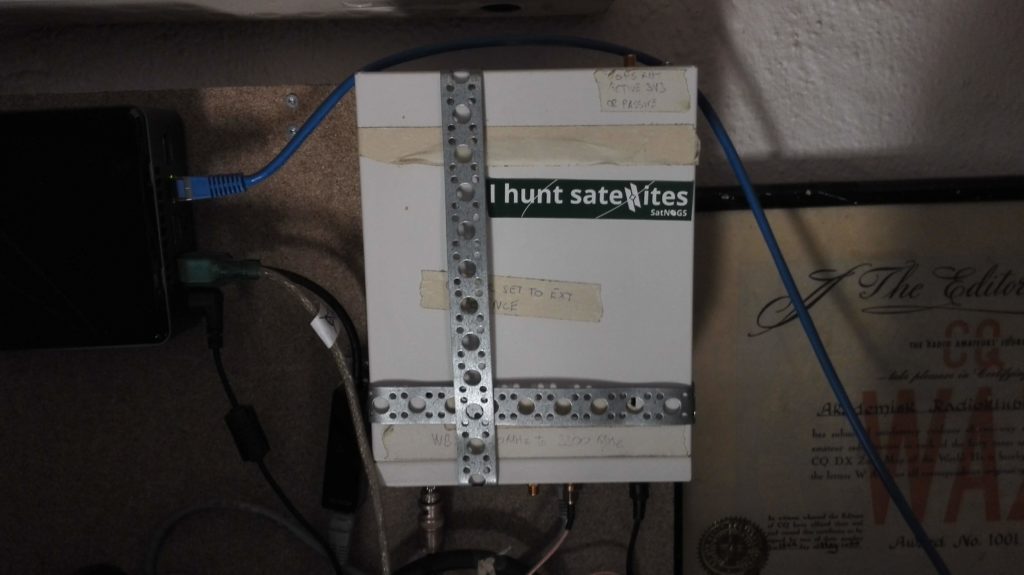
USRP N210, connected to the NUC. 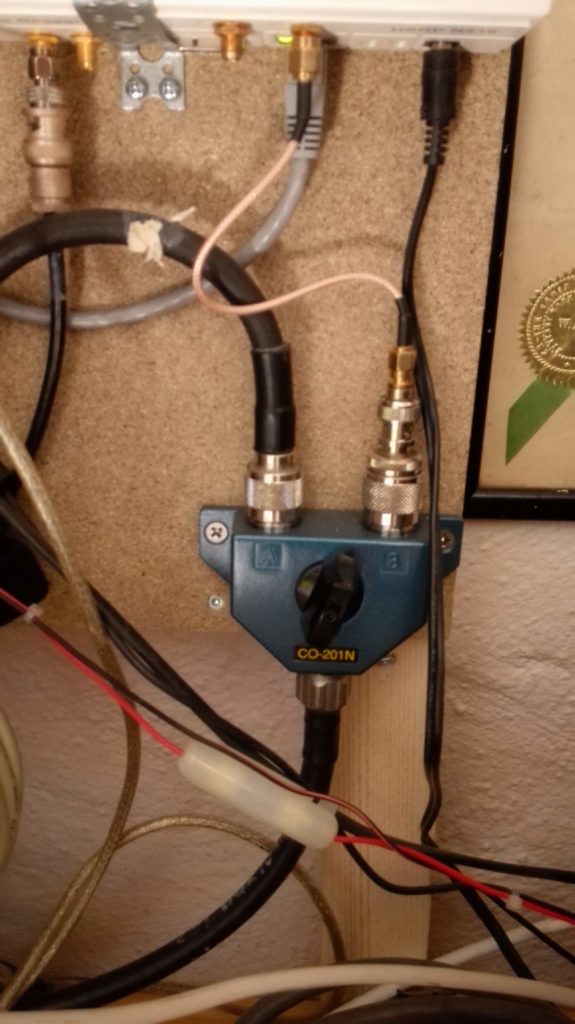
Mechanical switch for selection between USRP N210 and IC9100. 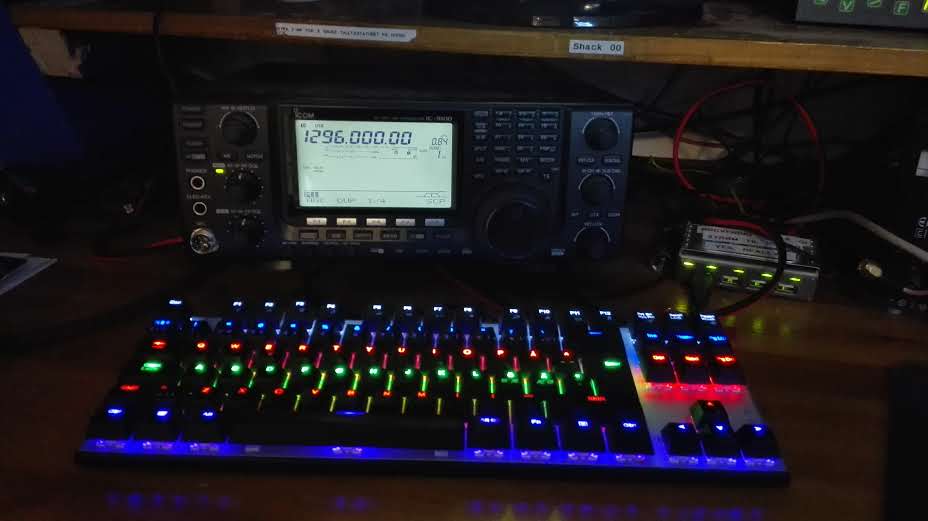
IC9100, which enjoys access to the SatNOGS antenna system with the mechanical switch in the correct position.
And this could conclude our system setup – except, after letting SatNOGS run for a while, the antenna ended up unscrewing its own coax cables, and we had to do some more adjustments to stop the antenna from this unconstructive behavior.
Finally, the system could start running autonomously, and has been collecting observations since then.

Leave a Reply