As we’ve previously blogged [1,2] – Es’Hail2, the first Geostationary satellite to carry an amateur radio transponder has been launched, and we’ve been excited to build a setup for working QSOs on it.
The amateur transponder onboard the satellite was commissioned as QO-100 earlier this week. After its opening, the satellite was made further available to the public by WebSDRs provided by BATC and PY2GN,PY2PE. These prove to be tremendously helpful when getting set up for communication on QO-100.
QO-100 is a geostationary linear transponder that has its uplink on 2.4 GHz, and its downlink on 10.5 GHz. These are bands that the average amateur radio operator have little experience with (including us), so we figure that it might be helpful to others to hear a little about how we have gone about solving this “problem”.
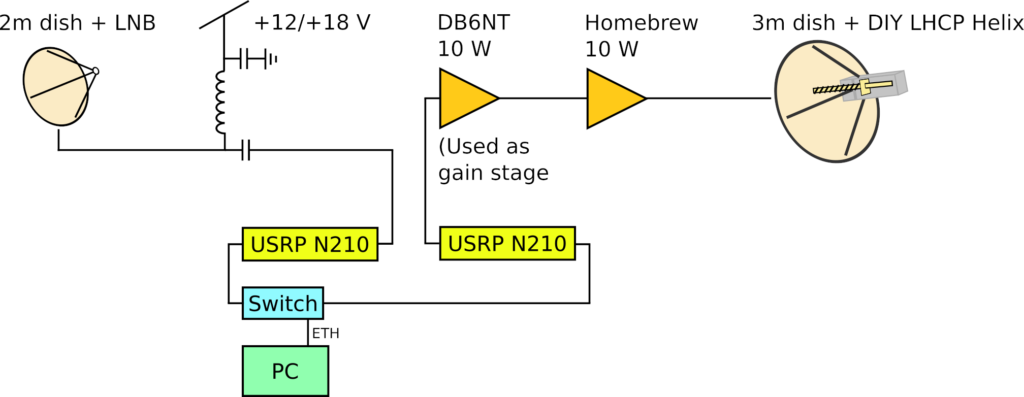
Our approach to QO-100 is the GOTA approach – Get On The Air, then improve it. We get to cut a lot of corners, since we are lucky enough to have a lot of hardware to throw at the problem. Previously, we received a donation of multiple USRPs, and we also have the amplifiers we need from previous projects. The USRP is a Software Defined Radio (SDR), which is useful when dealing with large swaths of frequencies at once.
We decided to solve RX and TX with two independent device chains. This is convenient, as it allows us to disregard sequencing between RX and TX, making our setup a little easier. It also gives us a setup that is full-duplex – which is unnecessary, but nice to have as we can monitor ourselves while we transmit. Further, we decided that it would be a good idea to add some spatial isolation between TX and RX, so that the receiver is not damaged by the high transmit levels.
On the transmit end of things, we start off at the output port of the USRP N210. We need some amplification to get the USRP signal to the recommended 10 W, as the USRP N210 will only deliver approximately 100 mW. The amplifiers we have require around 1 W drive for 10 W output power, so we need an intermediate gain stage as well.
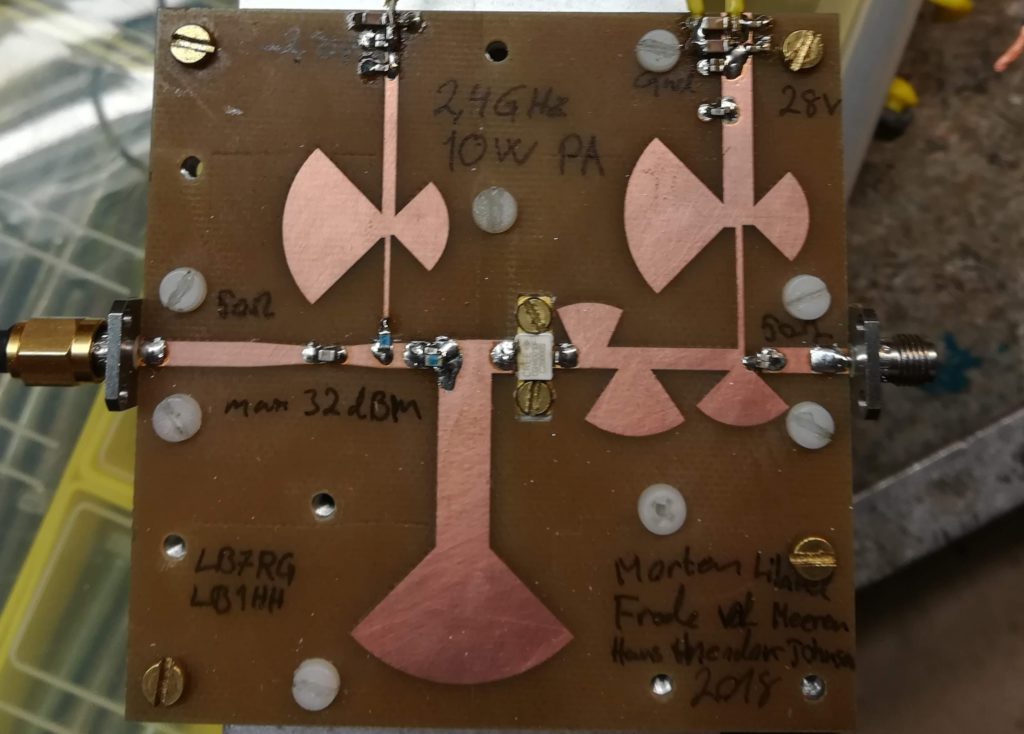
Quite regularly, LA1K members attend a course at NTNU where the semester project is to design a 10 W 2.4 GHz amplifier. These tend to be a bit funky, as they are usually rookie designs. In particular, they sometimes like to oscillate fiercely. Our amplifier drawer housed a promising specimen from a previous student project in this course. It looked to be adequately decoupled, which hopefully should keep it well-behaved.
We decided to play it safe, and use the more expensive DB6NT amplifier as a gain stage for the homebrew amplifier. This way, in case something went horribly wrong with the homebrew amplifier, it would only blow up itself, sparing the DB6NT from harm.
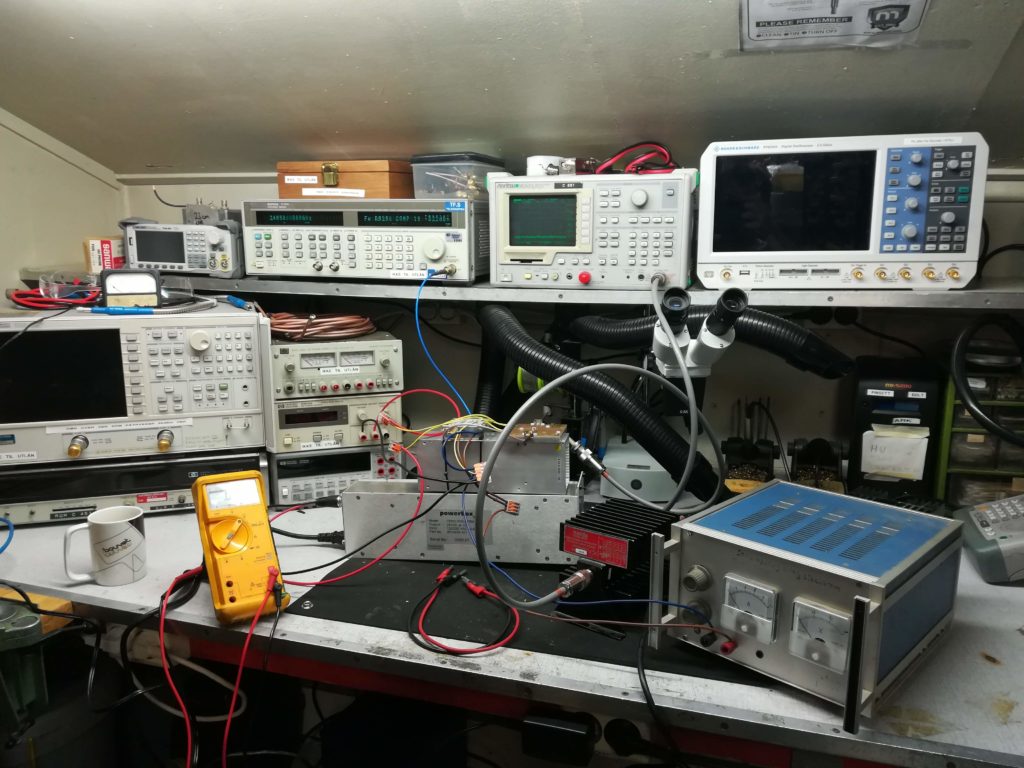
After some bootstrapping we had a prototype to try out on the bench. We calibrated the gain levels from the TX USRP N210 using GNU Radio and a spectrum analyzer, allowing us to associate the gain value in the software to a known power. We found that a USRP gain setting of between 20 dB and 25 dB would produce the desired 10 W output power. Somewhat concerning was that fact that the homebrew amplifier started to self-bias when driven beyond 25 dB gain, so things might get pretty funky if we go further into overdrive.
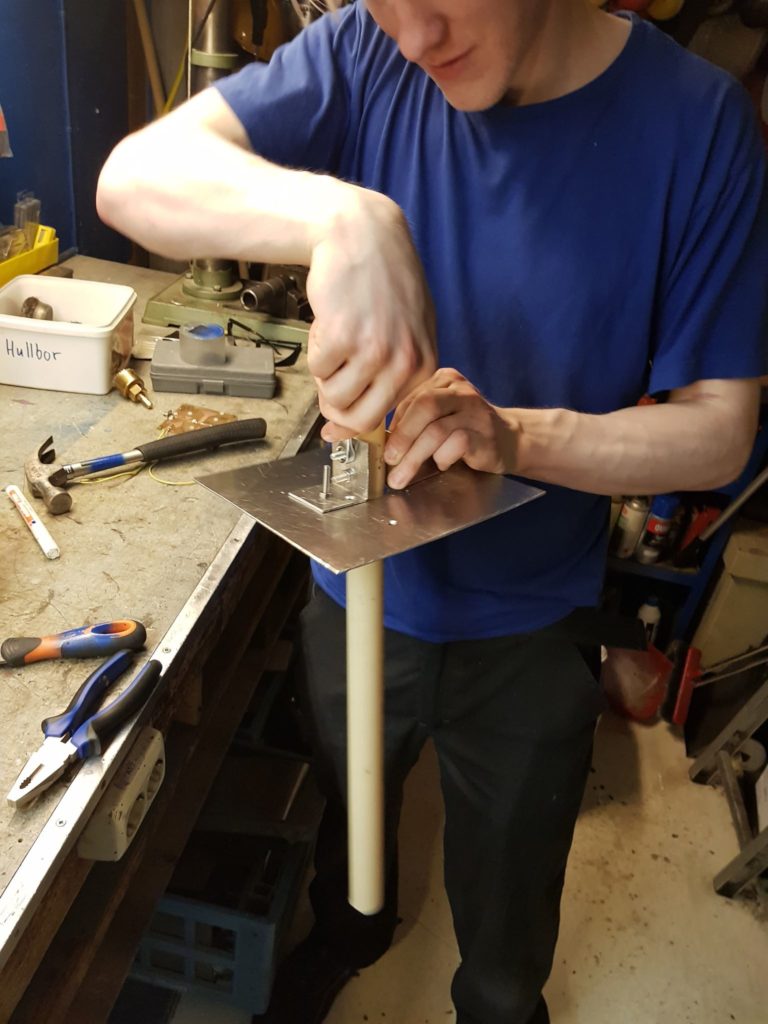
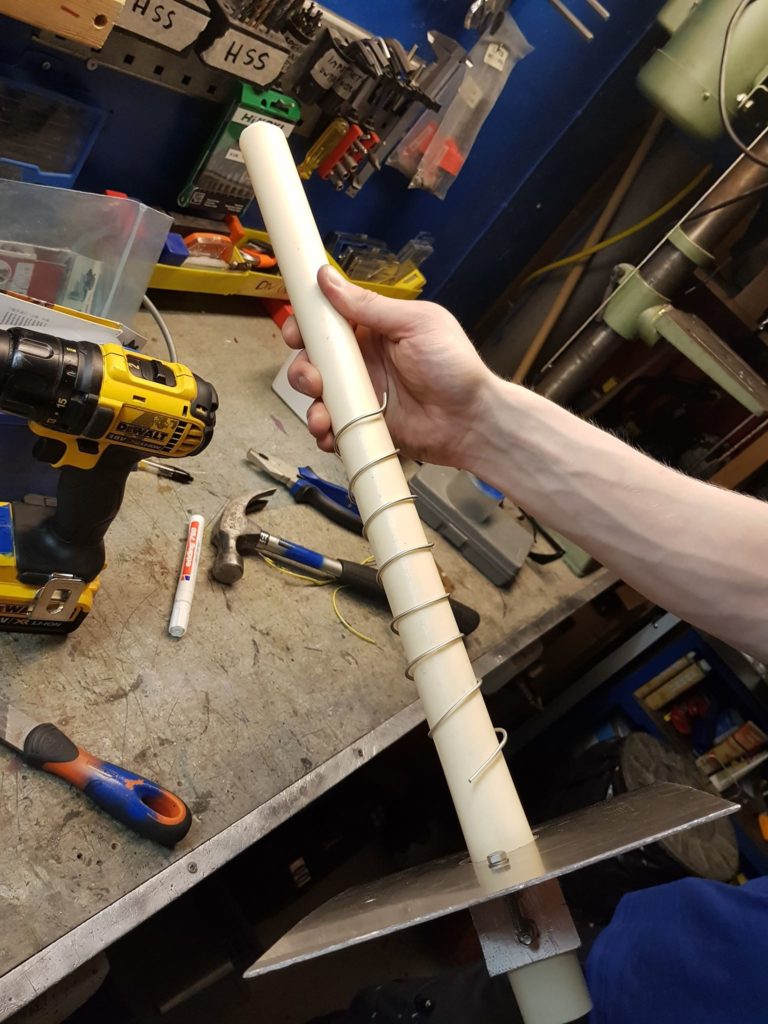
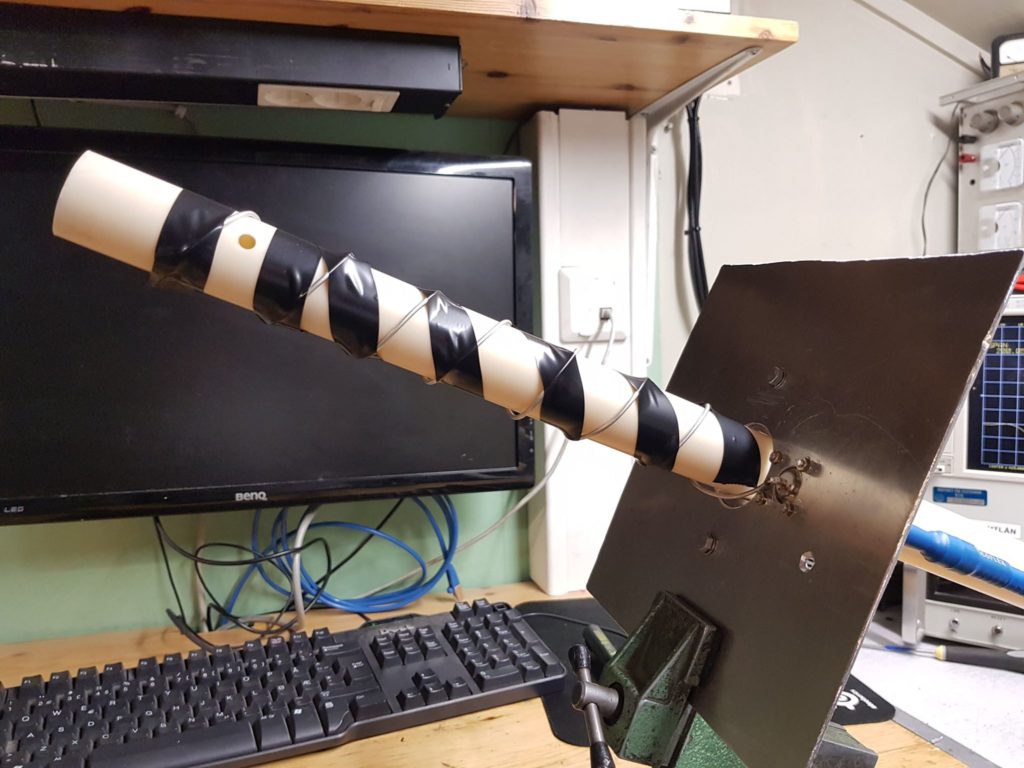
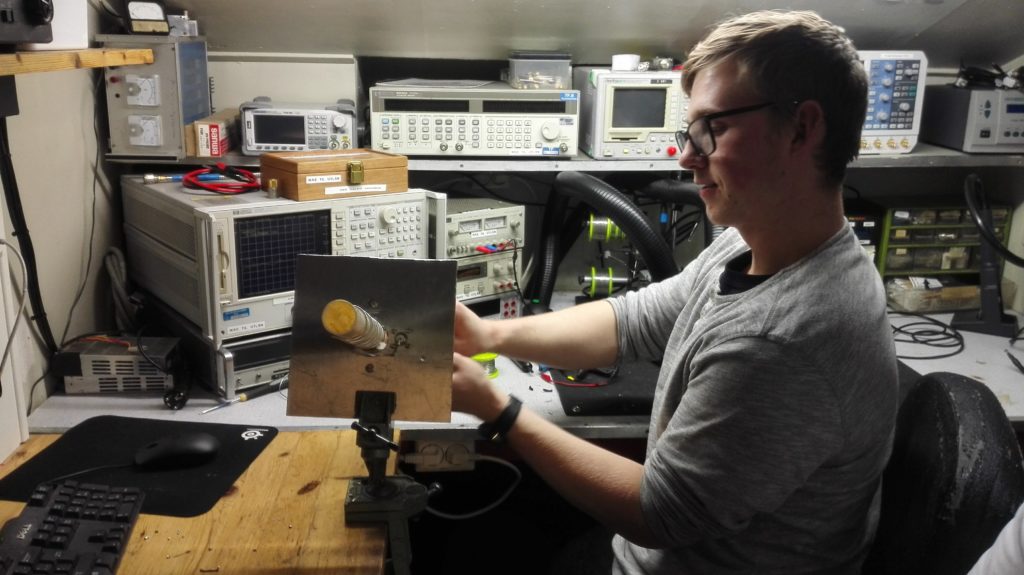
We have a 3 m parabolic dish that we use for EME and other projects. We wanted to use the dish to transmit to QO-100 – but we were lacking a suitable feed. The satellite requires Right Hand Circular Polarized (RHCP) signals on its uplink, so we built a Left Hand Circular Helix 2.4 GHz antenna which we pointed into our 3 m dish. The parabolic dish reverses the circular polarization, so that transmitted LHCP is transformed into RHCP when reflected in the dish.
Instructions for the helix were found on this collective article on qsl.net. We made some modifications to fit our requirements. Most notably we only used 7 turns, and we also went for a simpler matching structure. Our matching structure was originally intended to be a quarter-wave transformer using the first part of the helix, but it turns out that in our particular case best match was achieved without any matching structure at all :D.
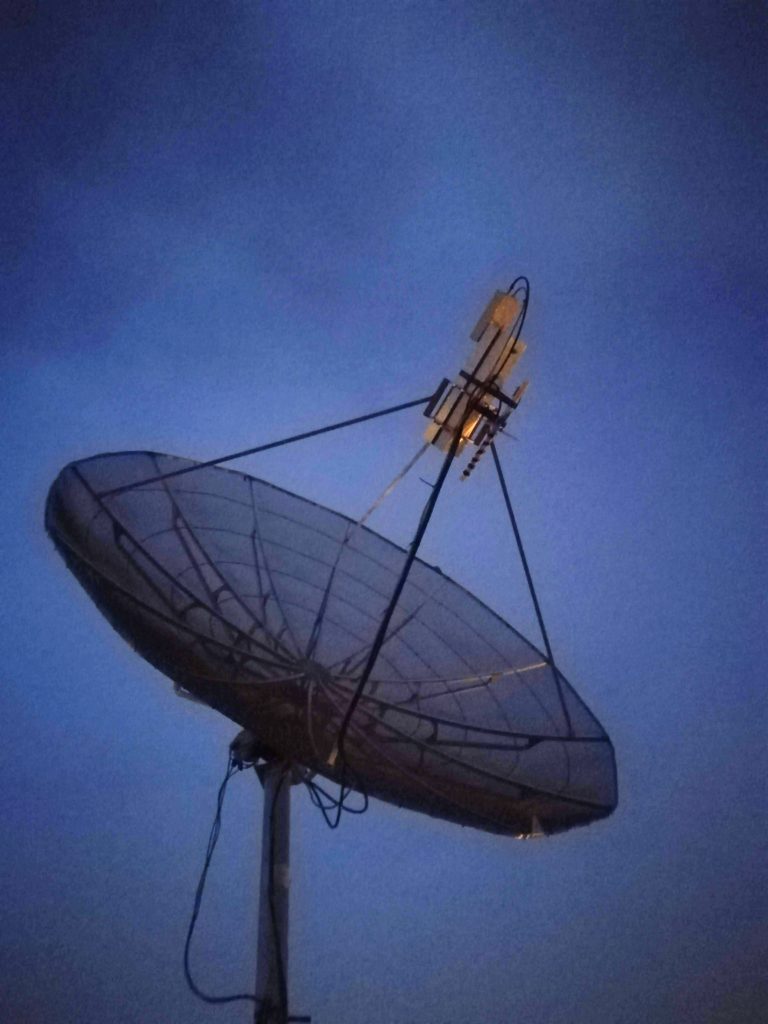
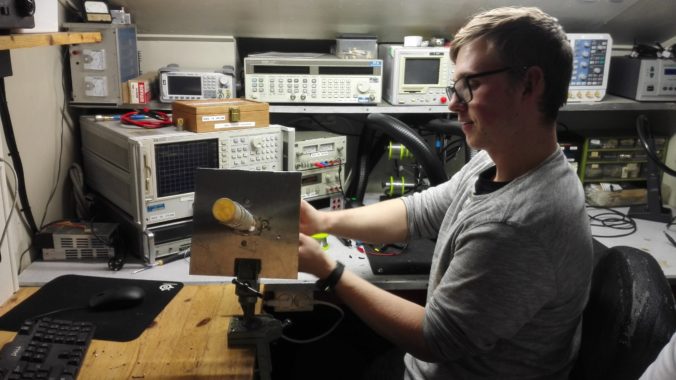
After mounting the helix, we turned on the power amplifiers, connected to the USRP, and started steering the 3 m parabolic dish towards the assumed bearing of QO-100. To assist with aiming, we used the WebSDRs previously mentioned to see if, and where, our signals were showing up. Using the motorized mount on the 3 m dish made it quite easy to align the antenna to QO-100, and we were quickly able to see our own signals.
The receive chain is solved by use of a commercial X-Band Low Noise Block Downconverter (LNB), which we placed at the center of a previously erected TV-dish which is no longer in use. We made a DC-injector (details about this can be found in this post) to be able to provide the LNB with the 12 V / 18 V it needs over the coaxial cable. Inside our shack we placed a lab supply along with a USRP N210 with a WBX-40 daughterboard. This serves as our receive chain, which we are able to access using the GQRX software provided by OZ9AEC.
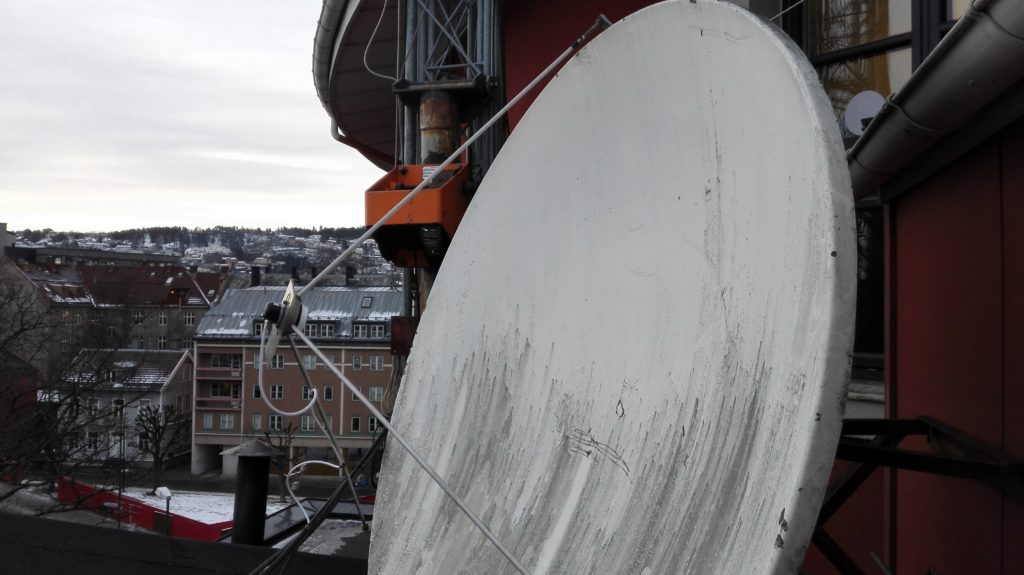
The RX dish with commercial LNB fitted at the feed. 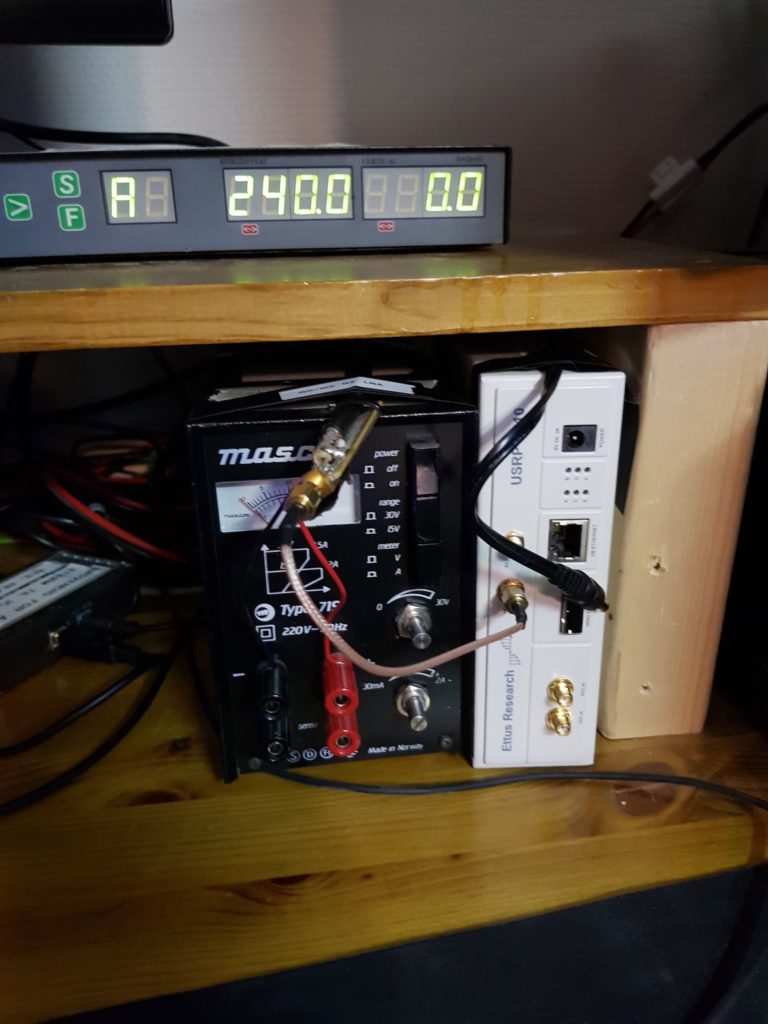
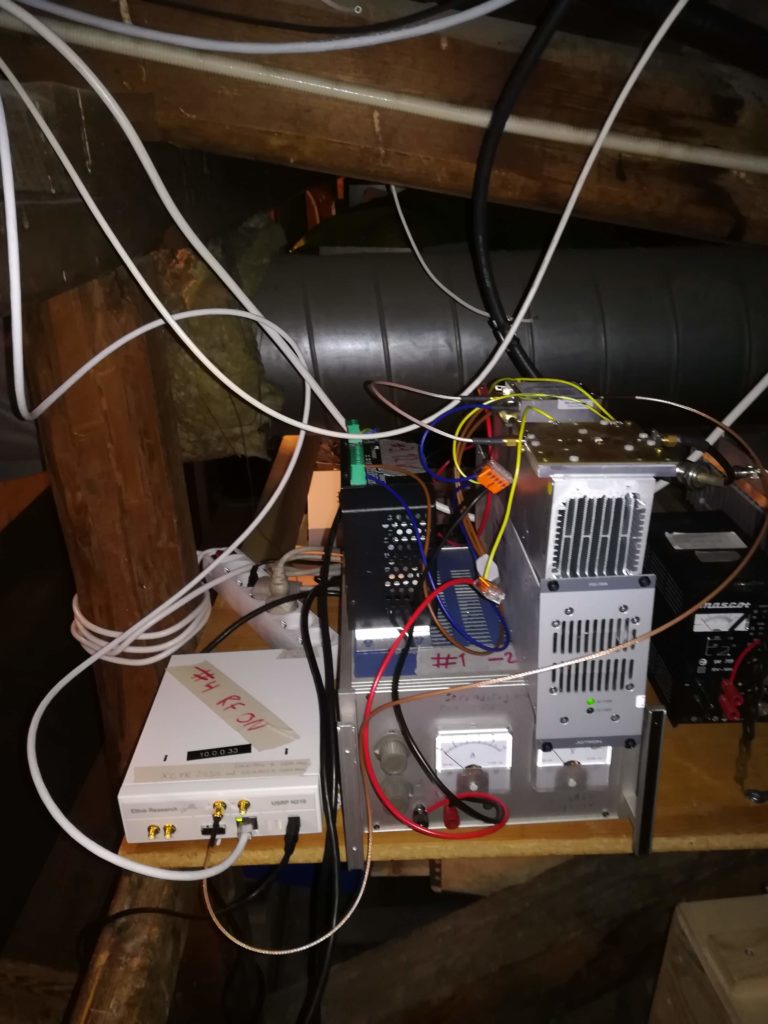
DC-injector, Lab supply and USRP N210 completes the QO-100 RX setup.
In our last post on this subject we had some issues with pointing our RX-dish towards the satellite. Partly this was because the beacons were only briefly available, since the satellite was at the time not yet commissioned, but mostly it was because we had the satellite bearing way off. The bearing became much easier to find after we had pointed our 3 m parabolic dish towards QO-100, and were able to use it as a reference for where to point.
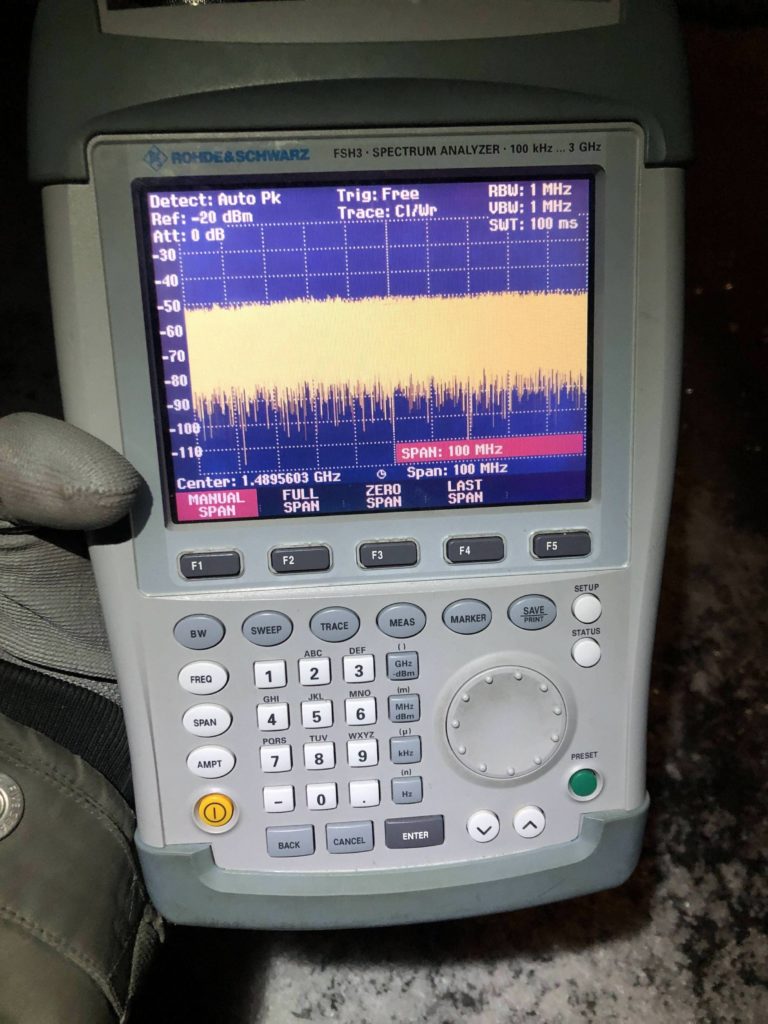

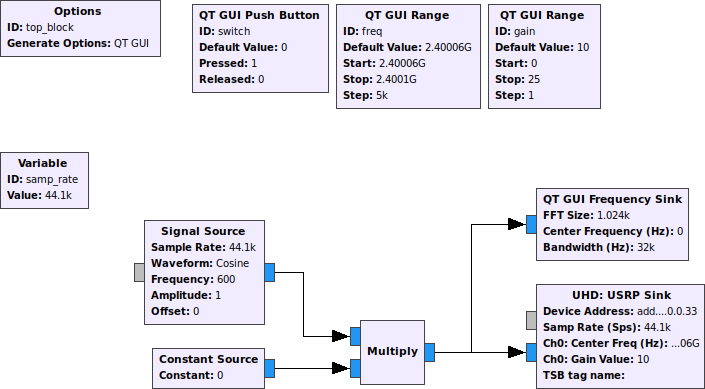
With both RX and TX chains in place it was time to test the system. After brushing up on the operating guidelines for the narrowband transponder, we were ready to attempt the first QSO. We had some trouble creating a good SSB transmitter within GNU Radio, so we ended up working the first QSO using a very rudimentary CW transmitter.
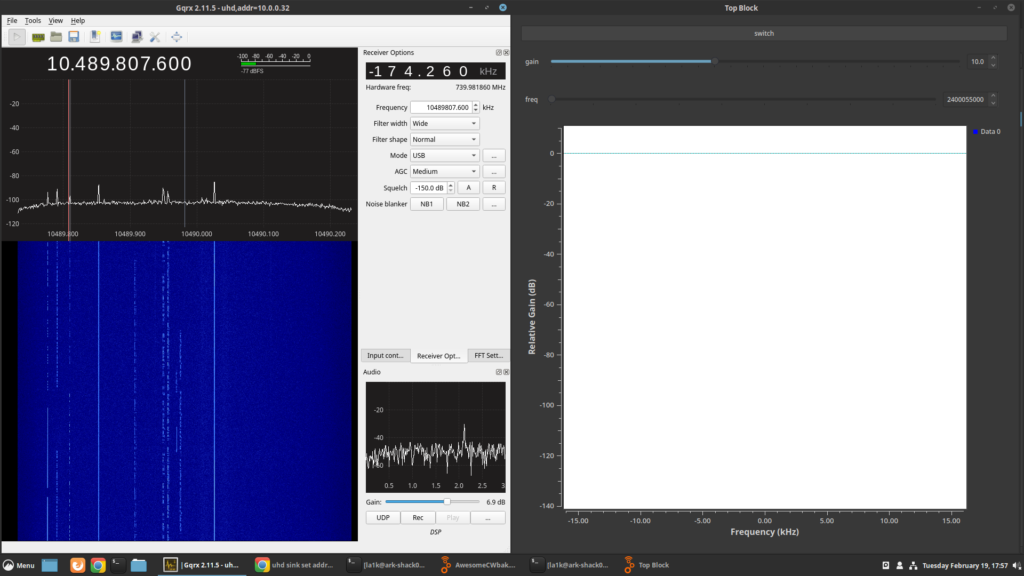

Shortly after the video above, we made our first QSO, which was with IZ2CPS.
2019-02-19 17:51:20: IZ2CPS @ 2400080.0 CW SNT:579 RCVD:579 (OP LA1BFA:
QO-100 SAT 1st QSO LOC JN45SS RX: 10489807.6MHz)
Now we need to work on improving the station, in particular our ability to transmit SSB so that we are able to access that portion of the satellite. Nevertheless, we hope that this has given some insight into how we have gotten our signals onto QO-100, and hope that many more hams will join us in this fun project in the future. We will return with a comment on this post once we work the first SSB contacts later in the week.

After some experimentation we found a solution to get on the air with SSB. Turns out that we have just enough power to reach QO-100 with SSB, so we need to utilize the available output power to its fullest.
This was probably why our earlier attempts with simpler SSB flowgraphs failed, they were not able to fully excite the amplifier. Luckily drmpeg has a constant envelope out-of-tree module for Gnuradio called gr-cessb.
Using the SSB example that is contained in the gr-cessbs apps folder, we were able to compress our SSB signal and really pack a punch. The flowgraph we used can be seen below. We also made some convenience modifications, such as an on/off button and frequency and gain sliders.
Now that we were able to hear our own “echoes” on QO-100, the QSOs soon followed.
2019-02-20 17:27:41: S57NML @ 2400210.0 SSB SNT:58 RCVD:55 (OP: LA3WUA: QO-100 JN76OD)2019-02-20 17:37:59: DB6NT @ 2400210.0 SSB SNT:58 RCVD:55 (OP: LA3WUA: QO-100 JO50VJ)
We only had time to work two QSOs before a major power outage struck our QTH, so more will have to wait for another day. It was particularly fun to work DB6NT, as we use one of his amplifiers for our QO-100 setup.