We have finally finished one of the major goals of the 1 to 10 GHz project. The mast is installed, the rotor is mounted and the 3m parabole is built.
Below is a narrated selection of pictures from the build. You can find the full album here.
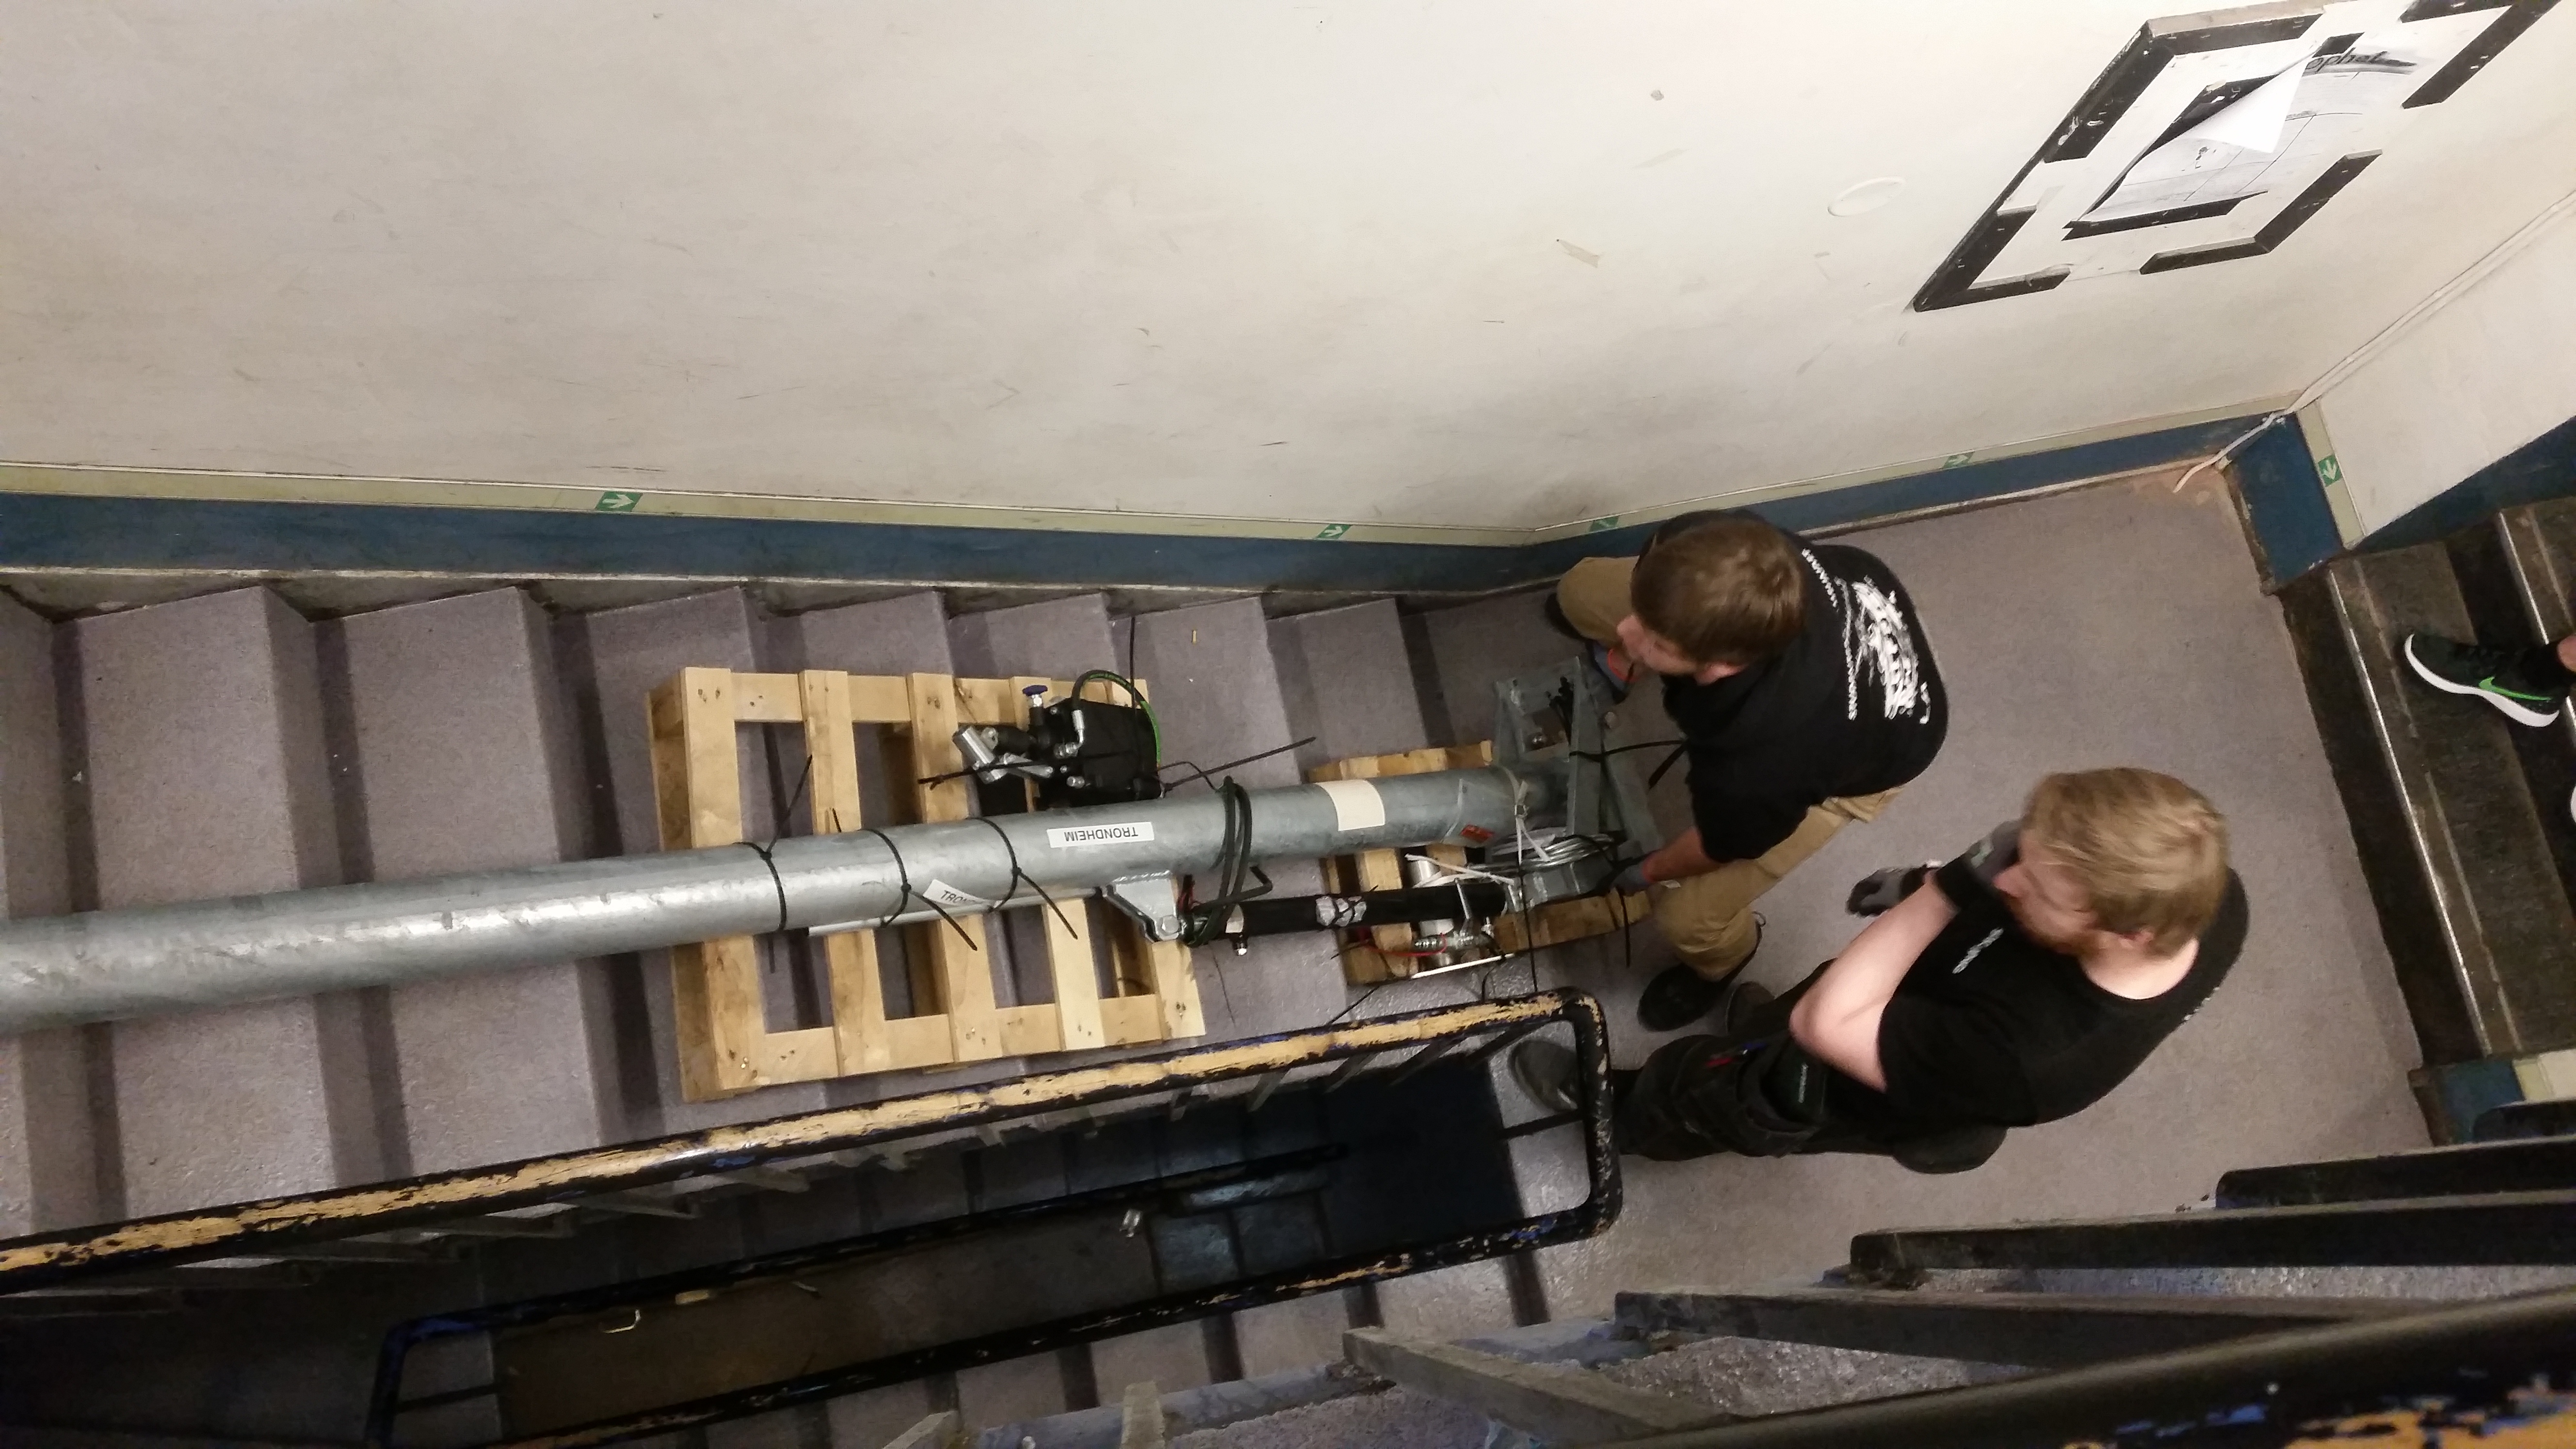
Espen Molven, LA2USA, advised that the mast would be easily liftable by two persons.

We barely made it with 4 people.
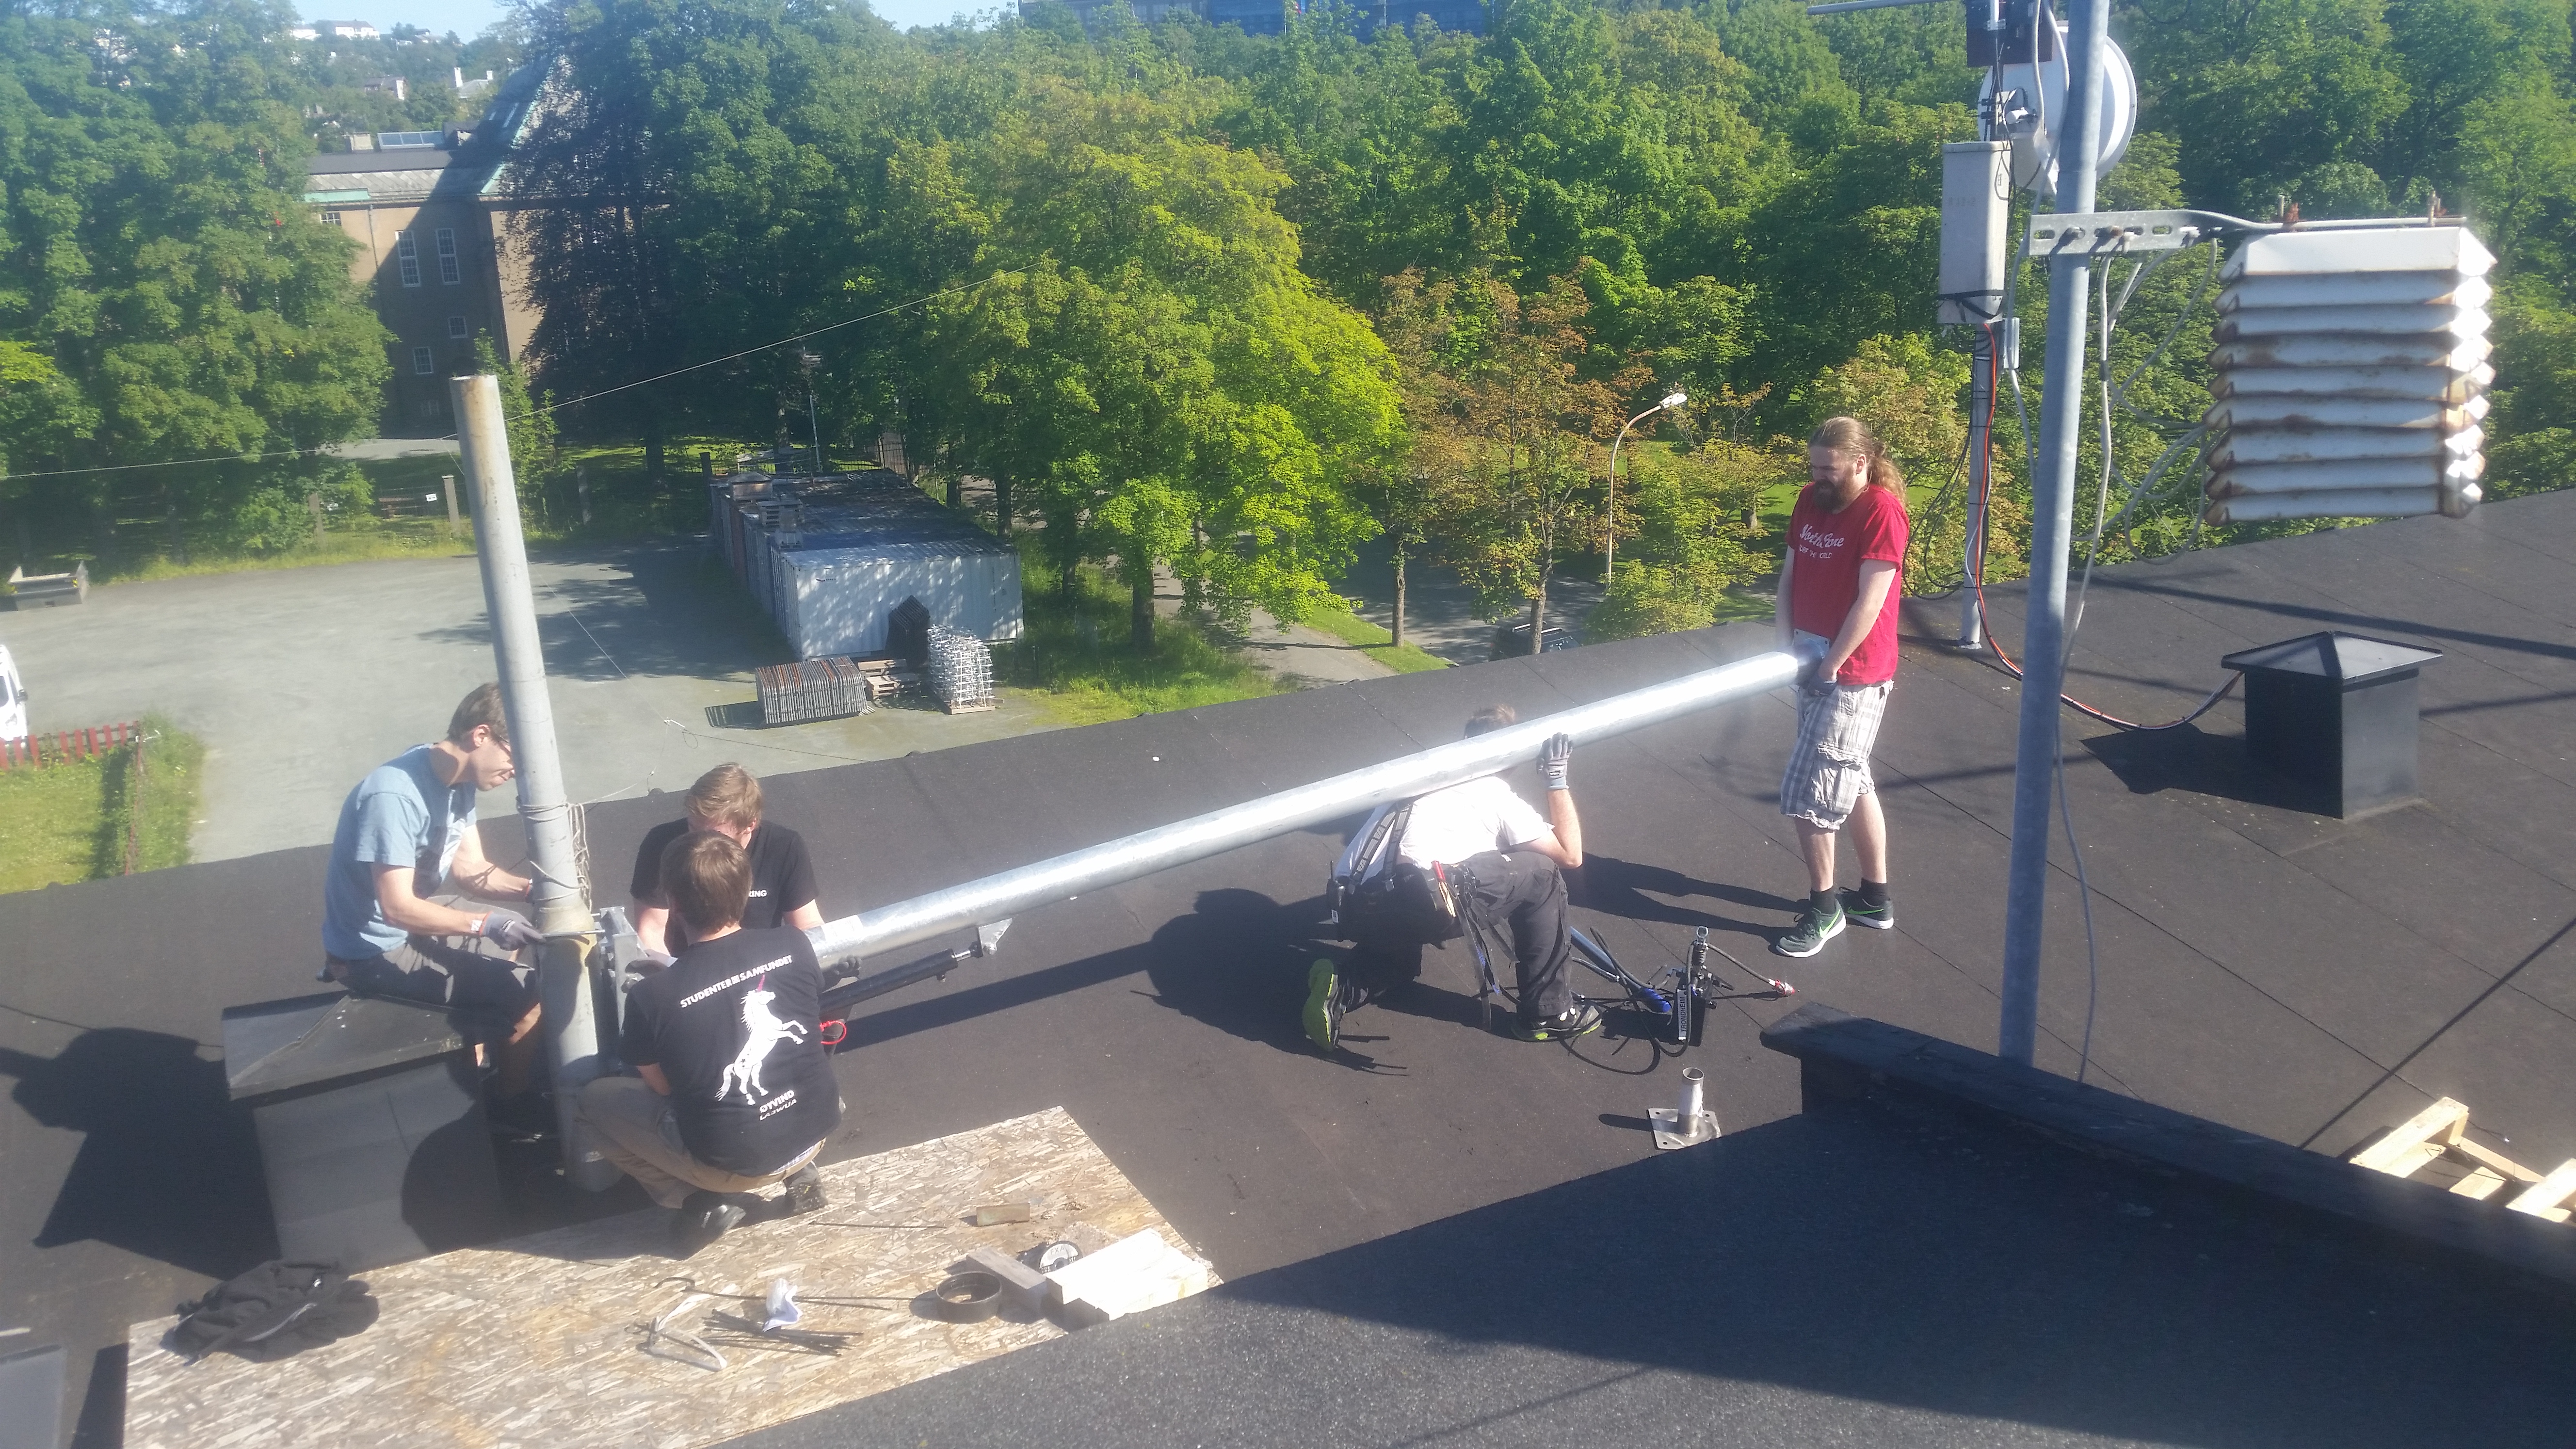
The mast was easily fitted to the lamp post.
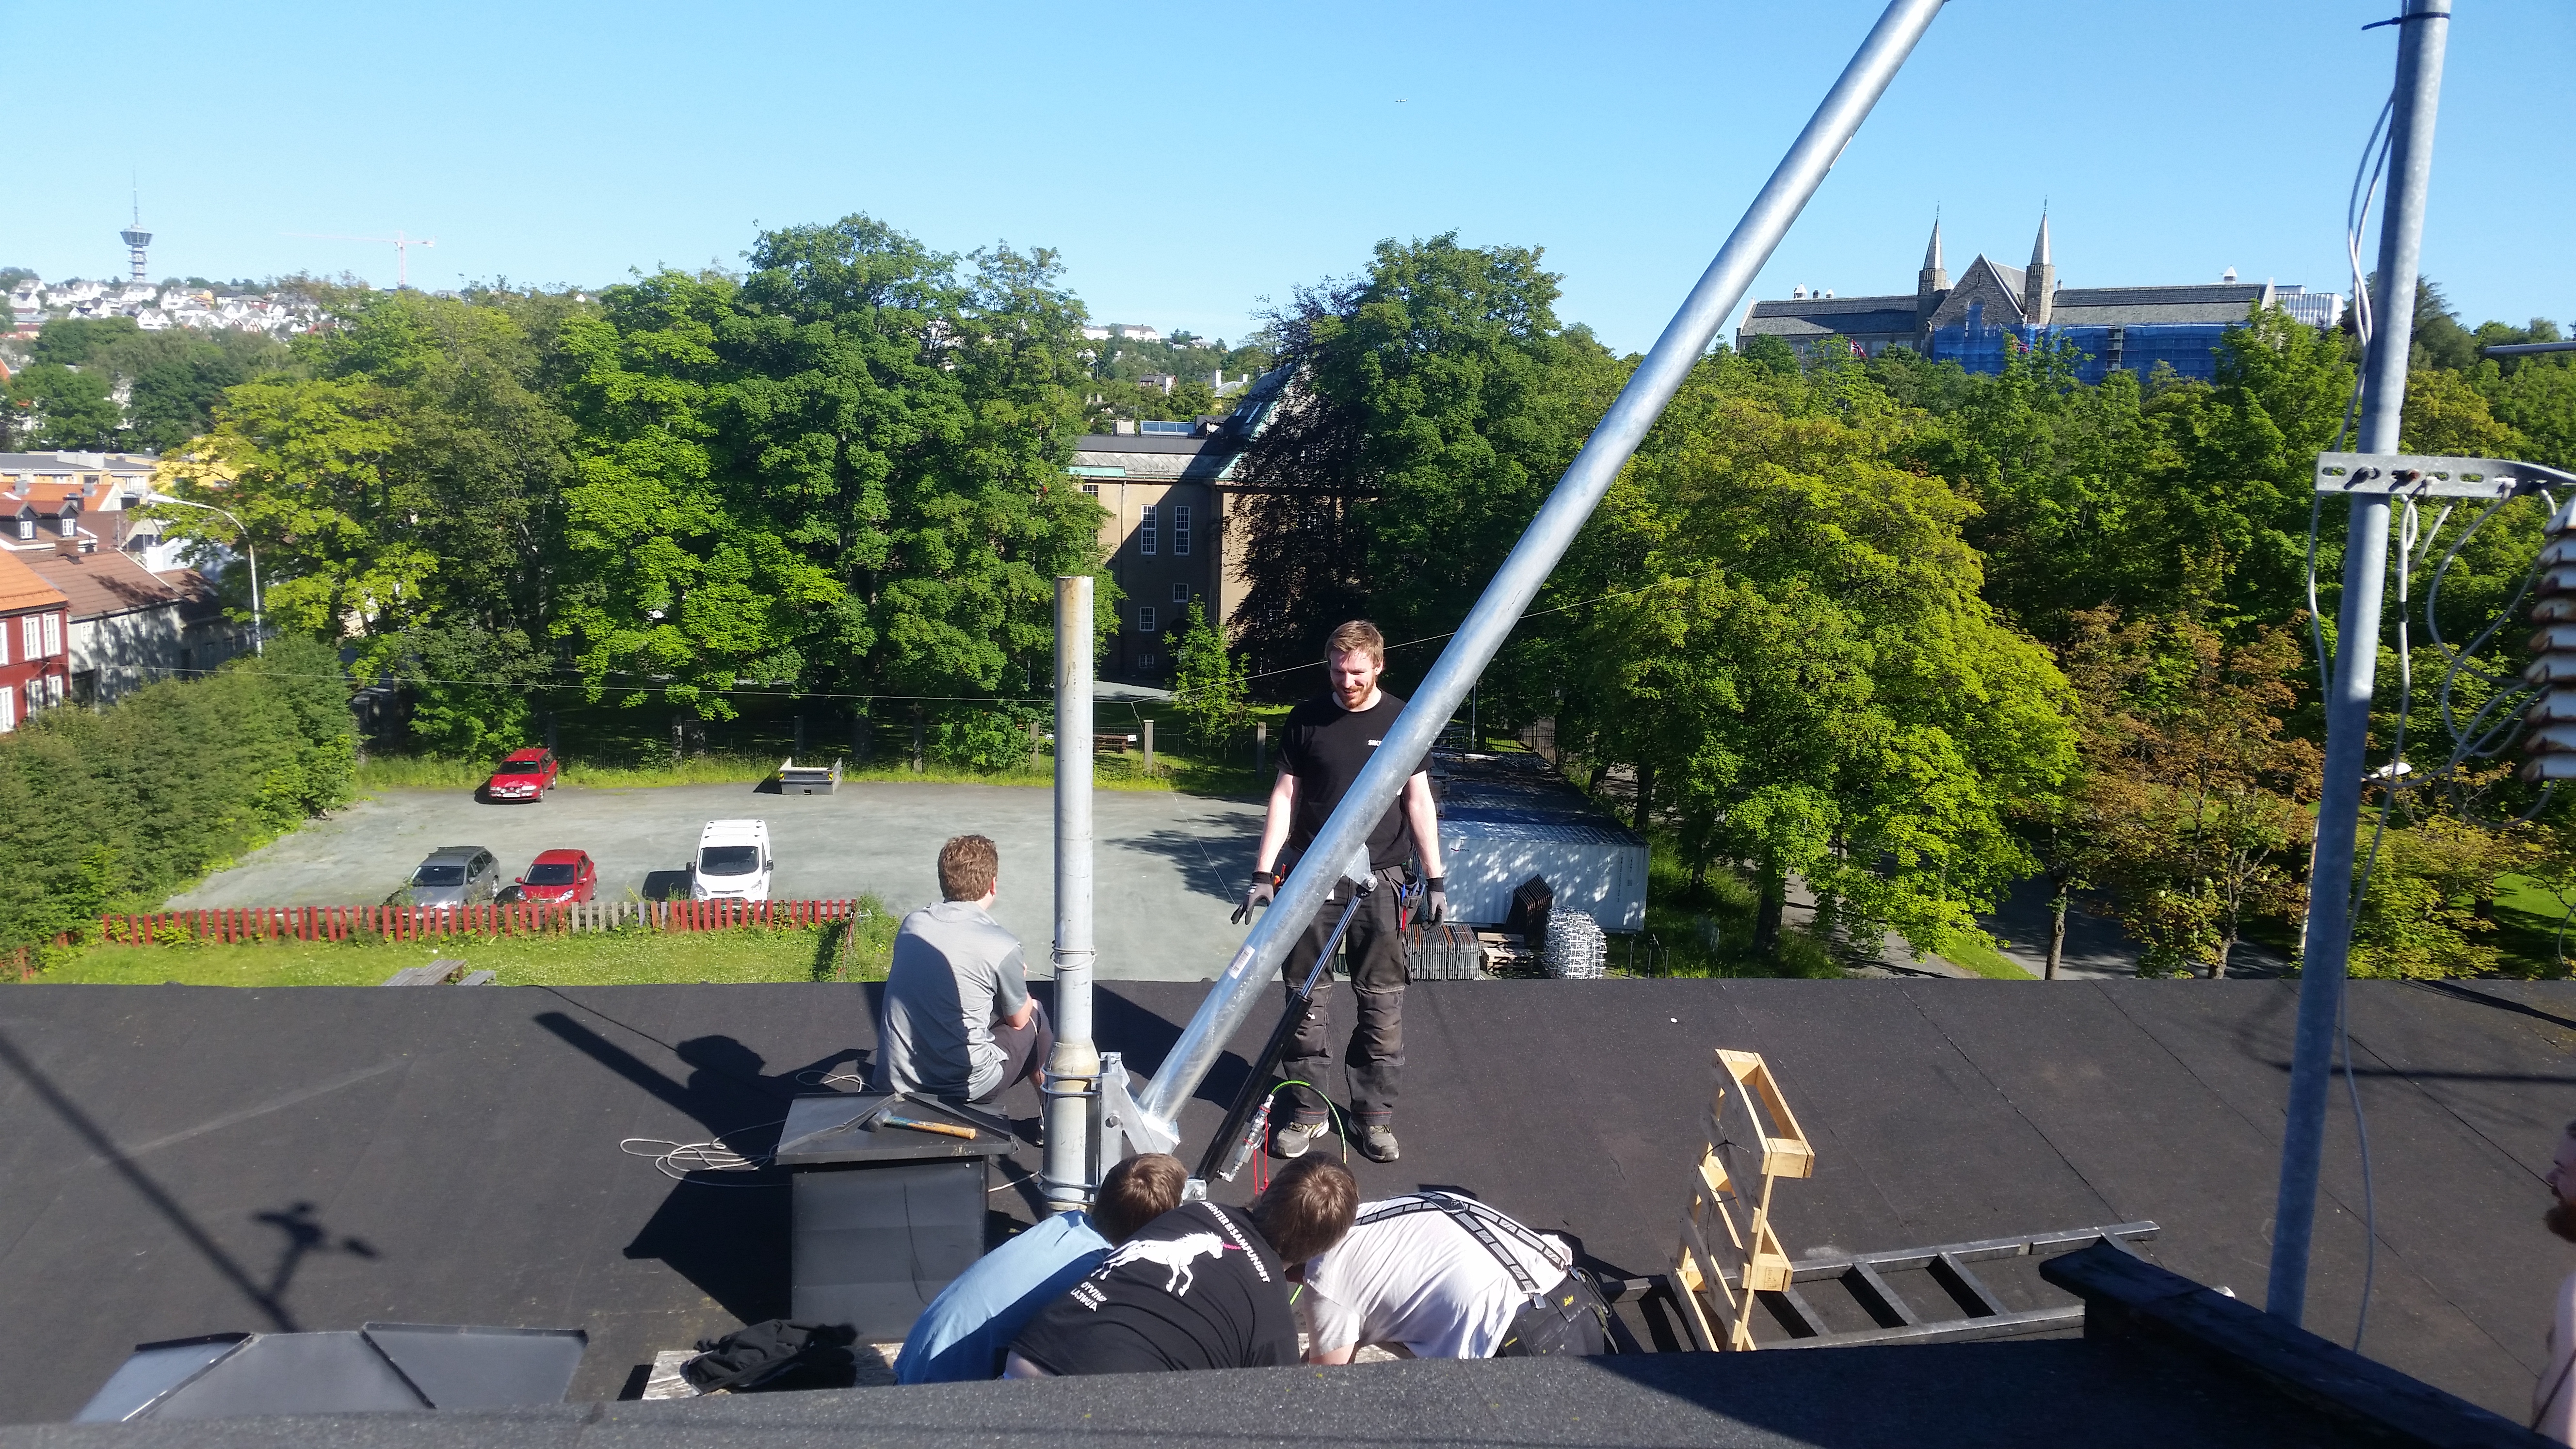
First hoisting of the mast.
The mast hoisting mechanism is really strong. Hydraylic lifting allows us to easily lift a grown man.
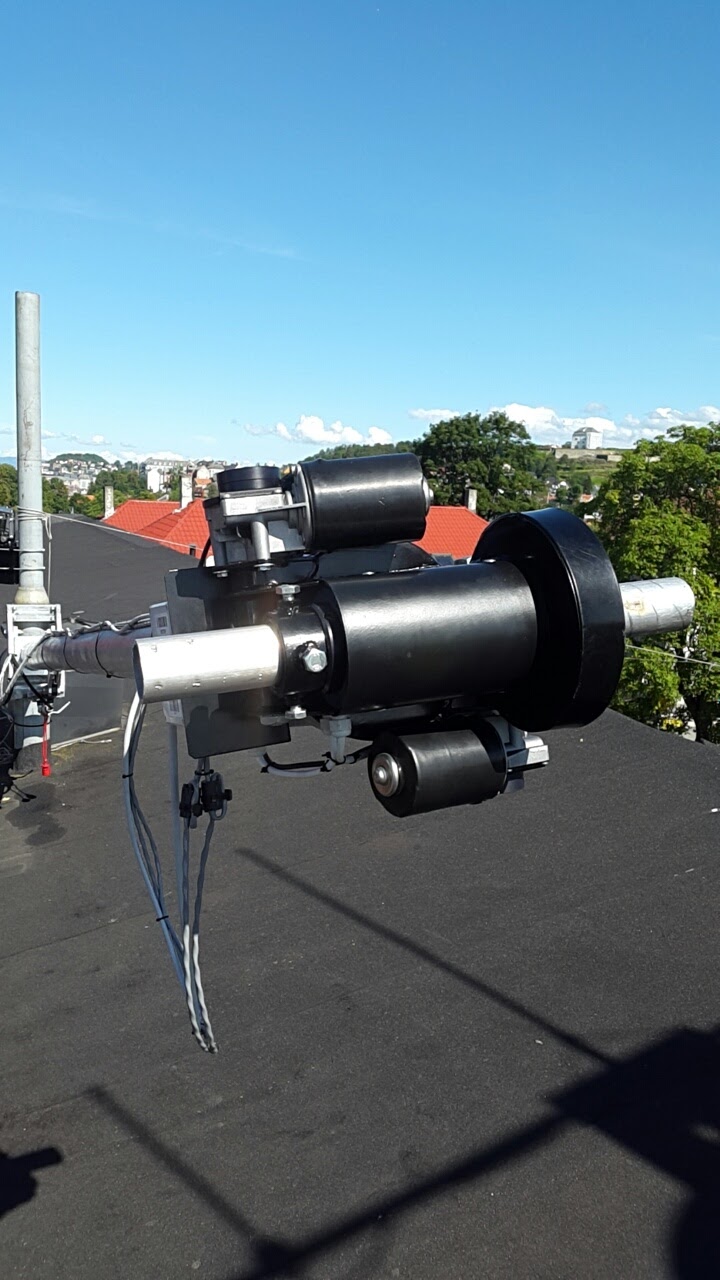
The rotor (SPID BIG-RAS/HR) mounted on the mast.
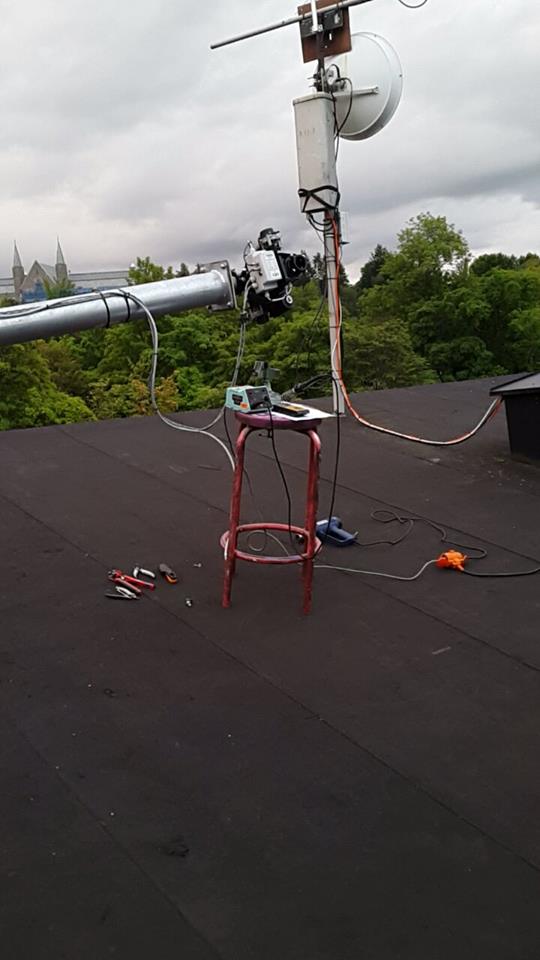
To get the rotor running some outdoors soldering was needed.
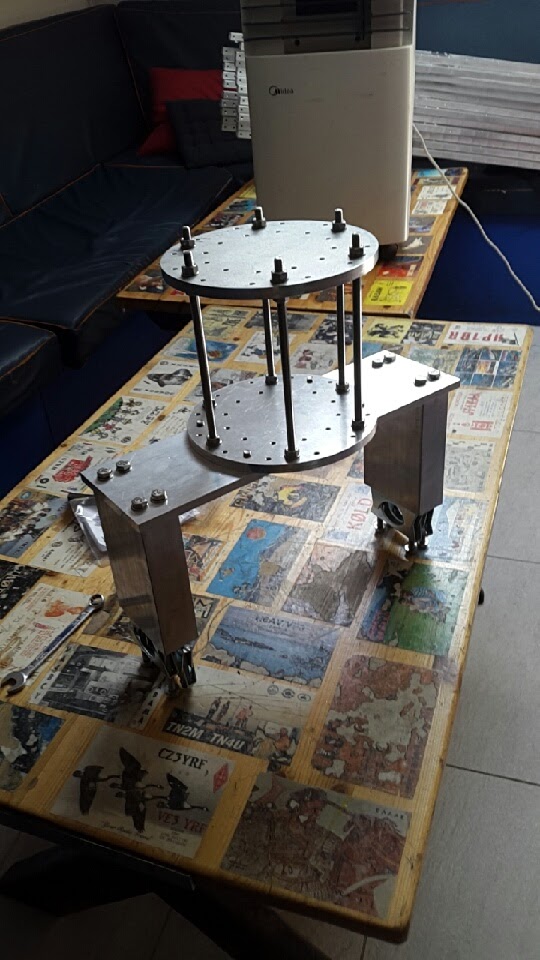
The center hub of the parababole fully assembeled.
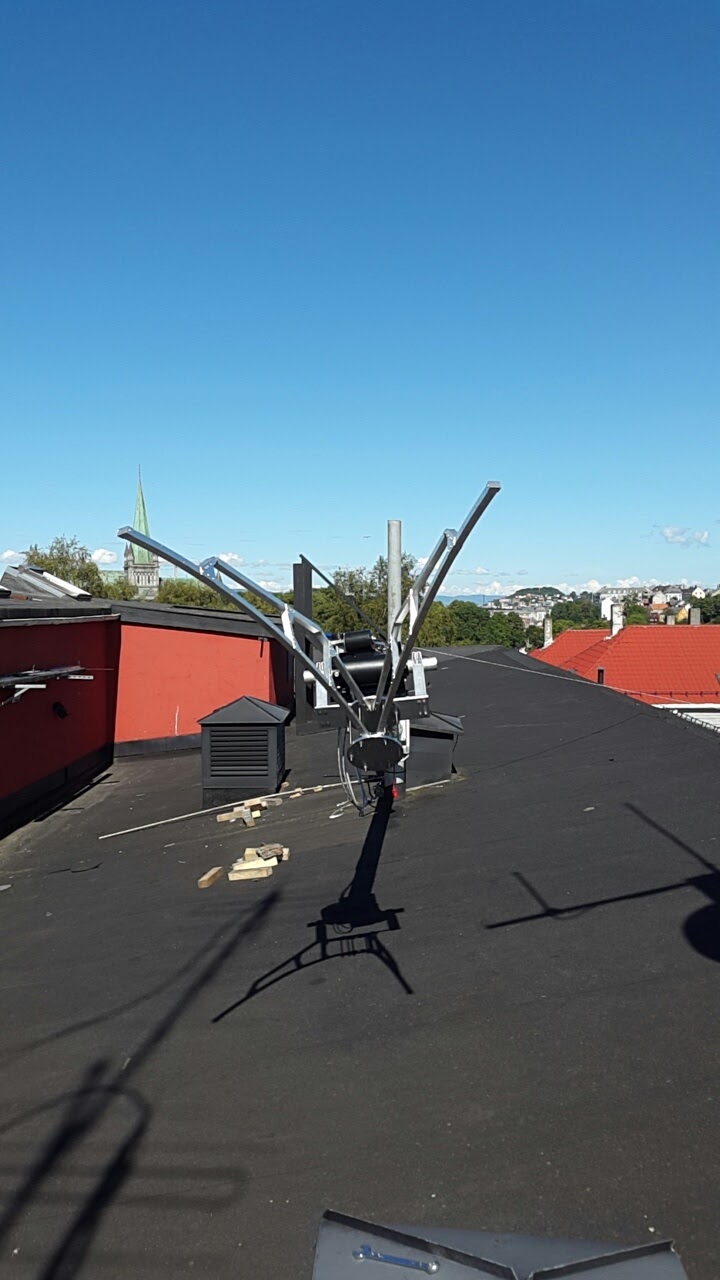
Two of twelve spokes mounted. The spokes came ready assembeled.

Progress on spoke mounting.
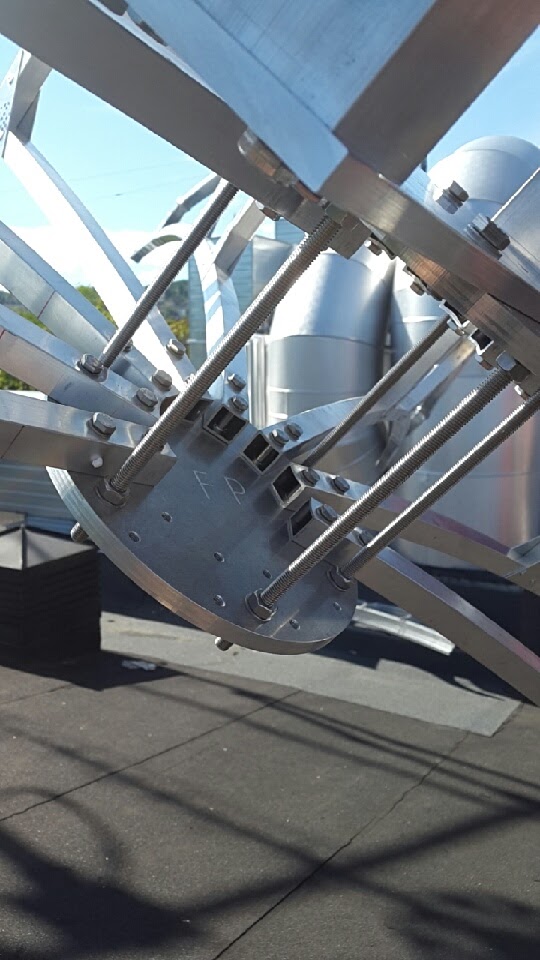
A view of the attachment point of spokes to the center hub.
All spokes in place.
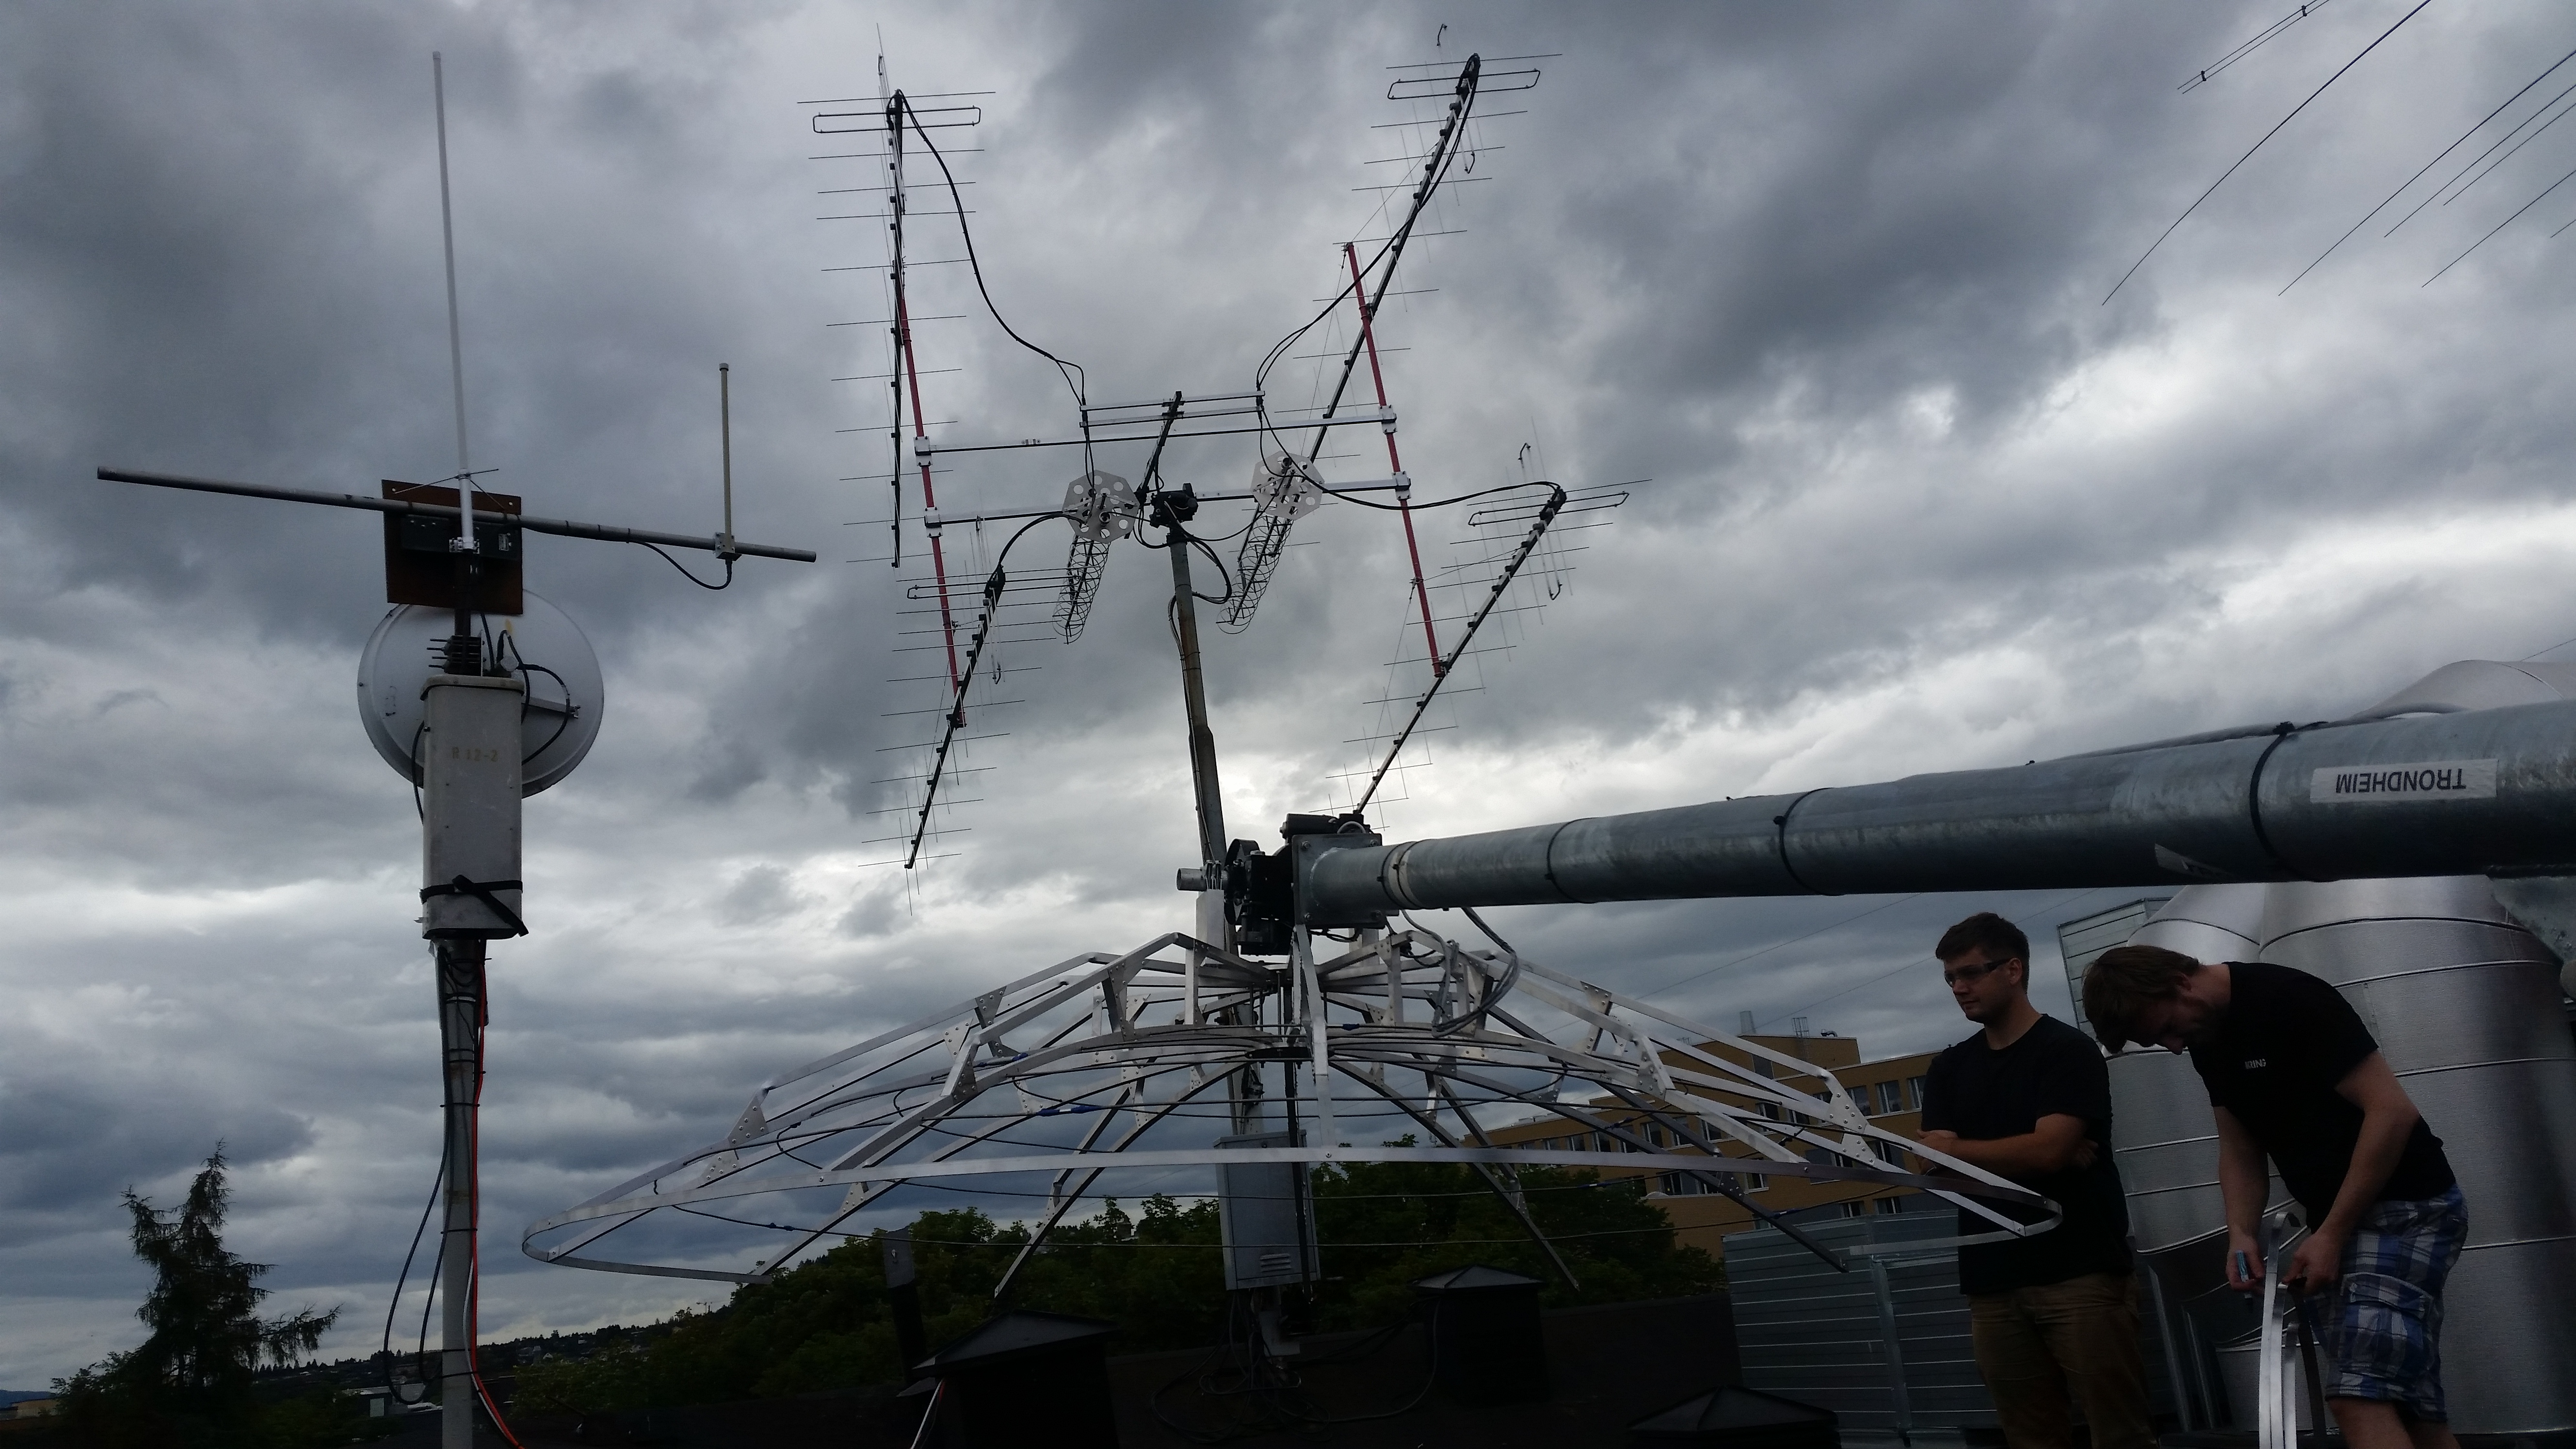
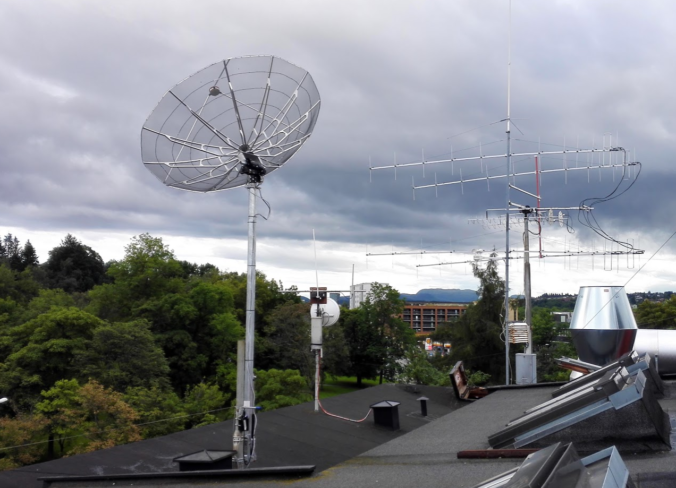
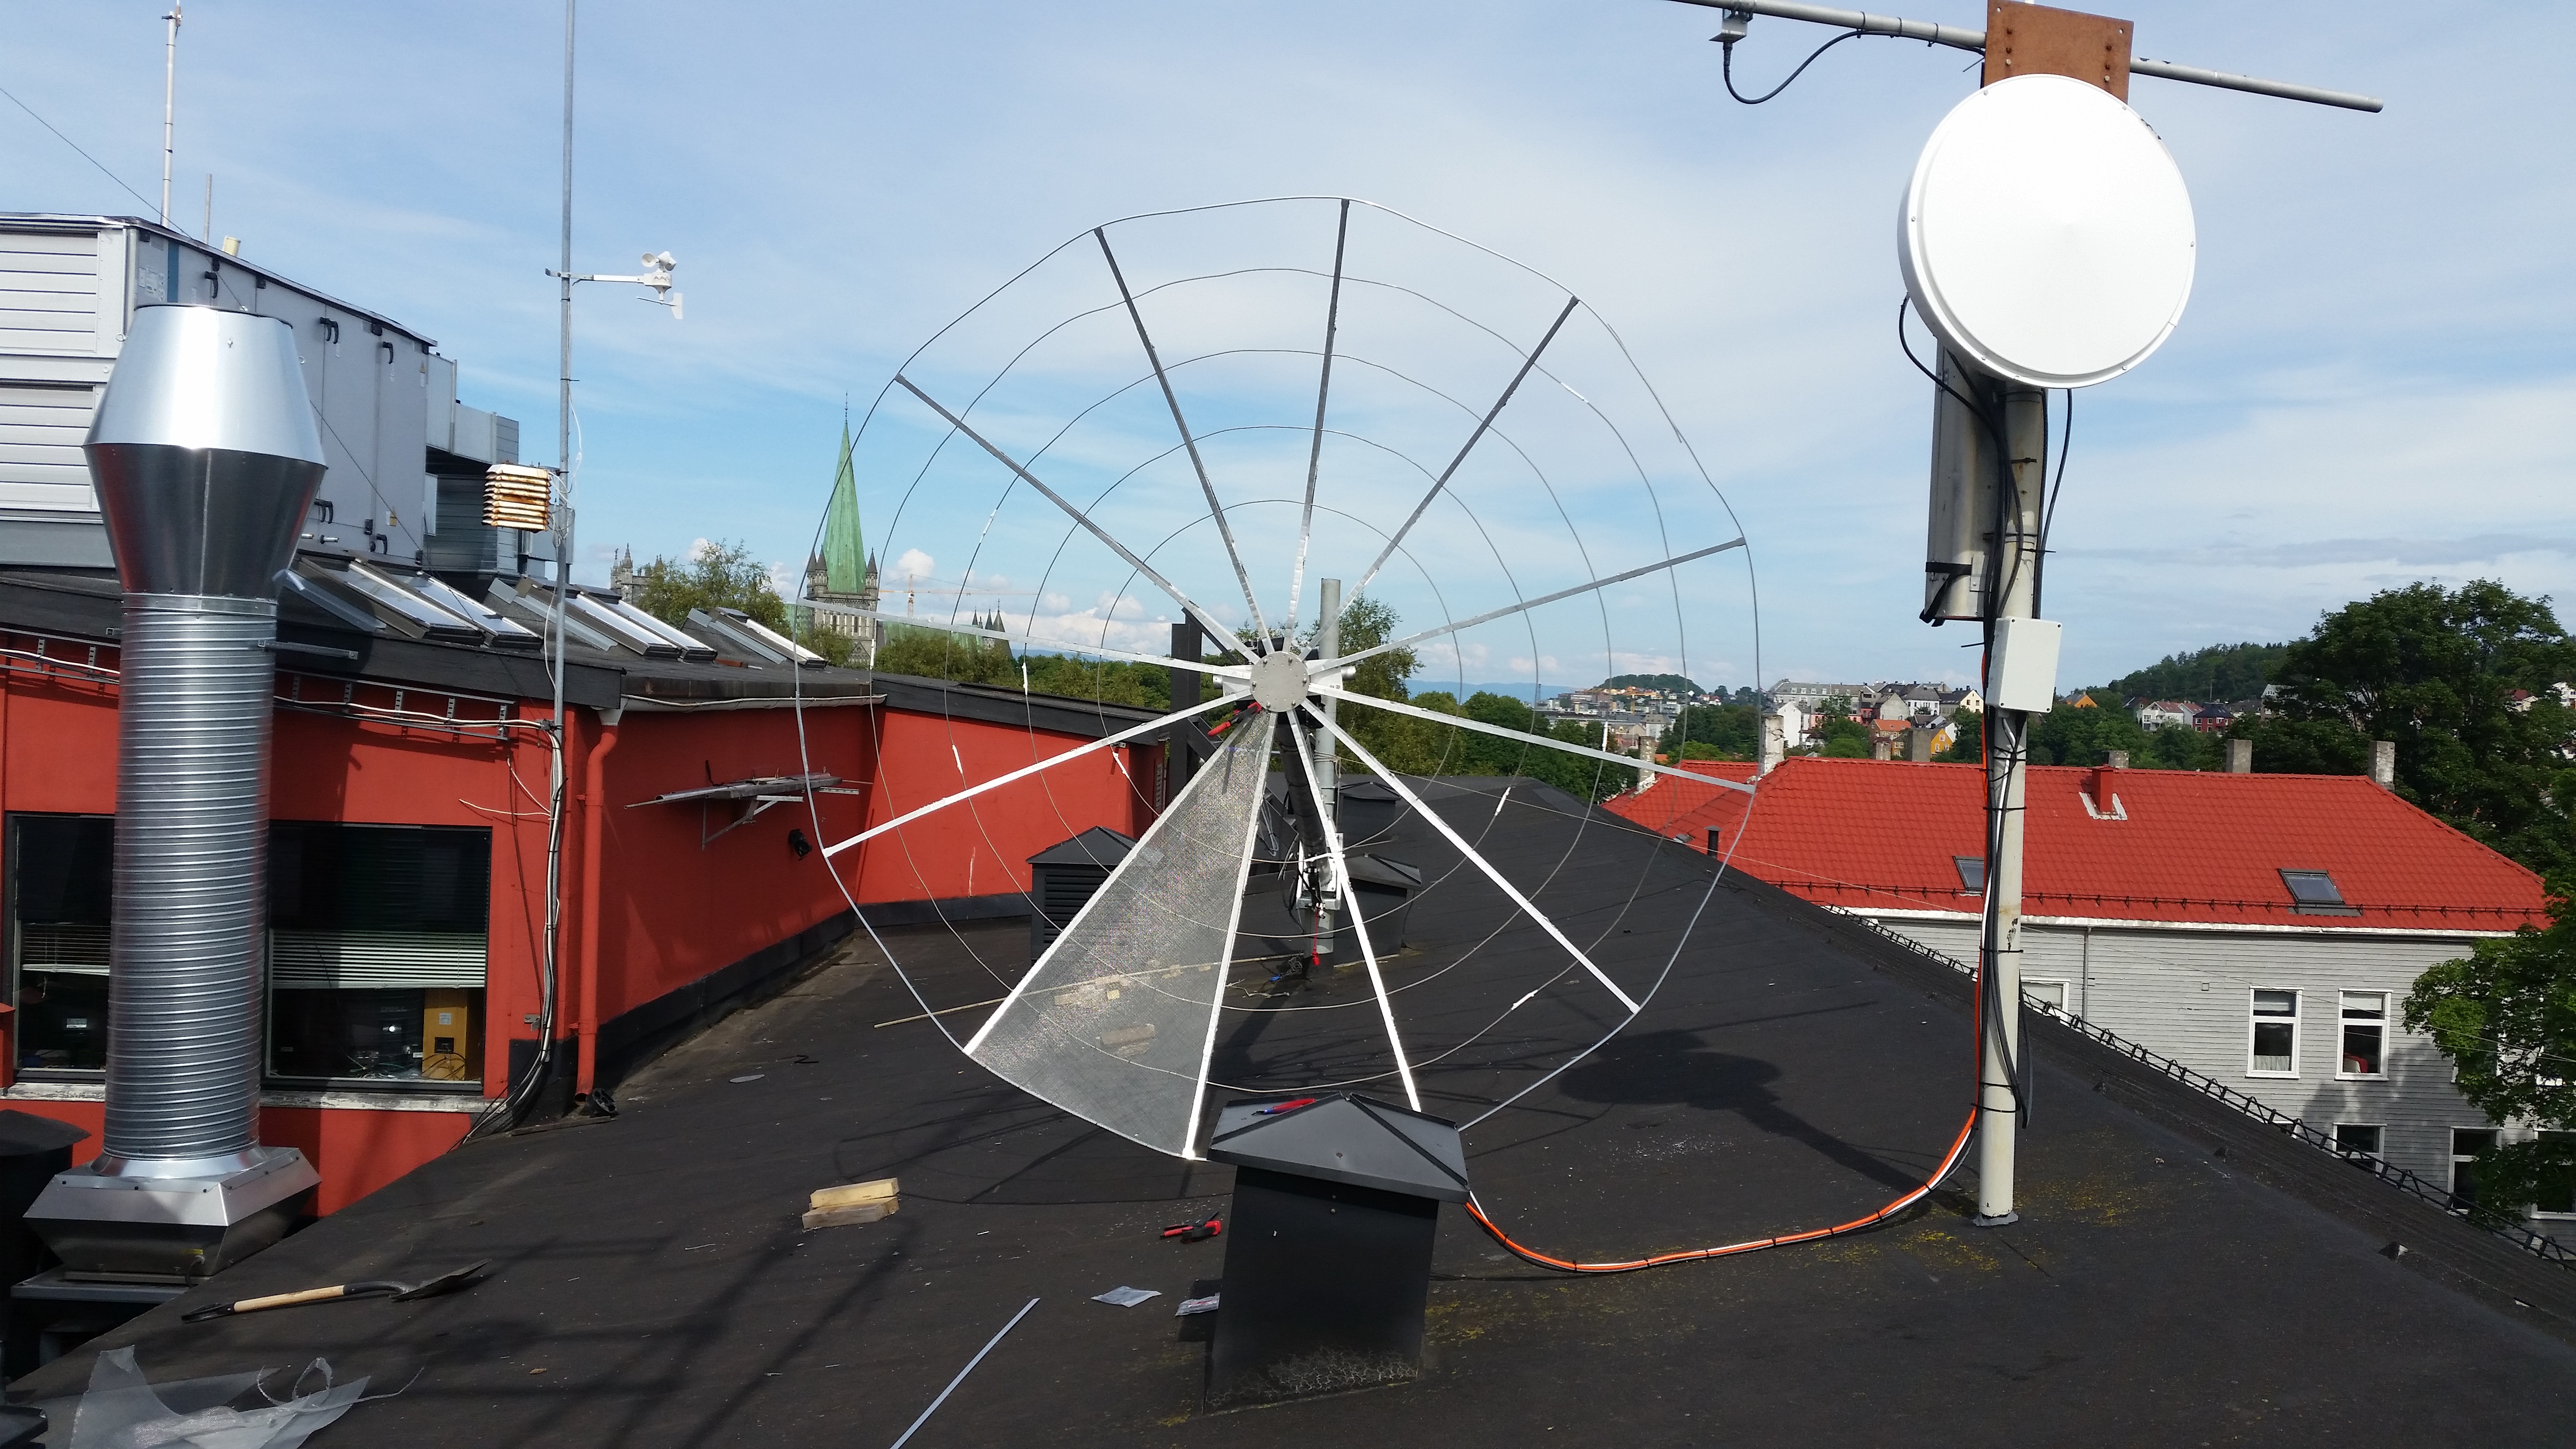
Mounting circular bracing rings around the dish. In the background, you can see our 5.8 GHz wifi link and the four bay array for 144 MHz.
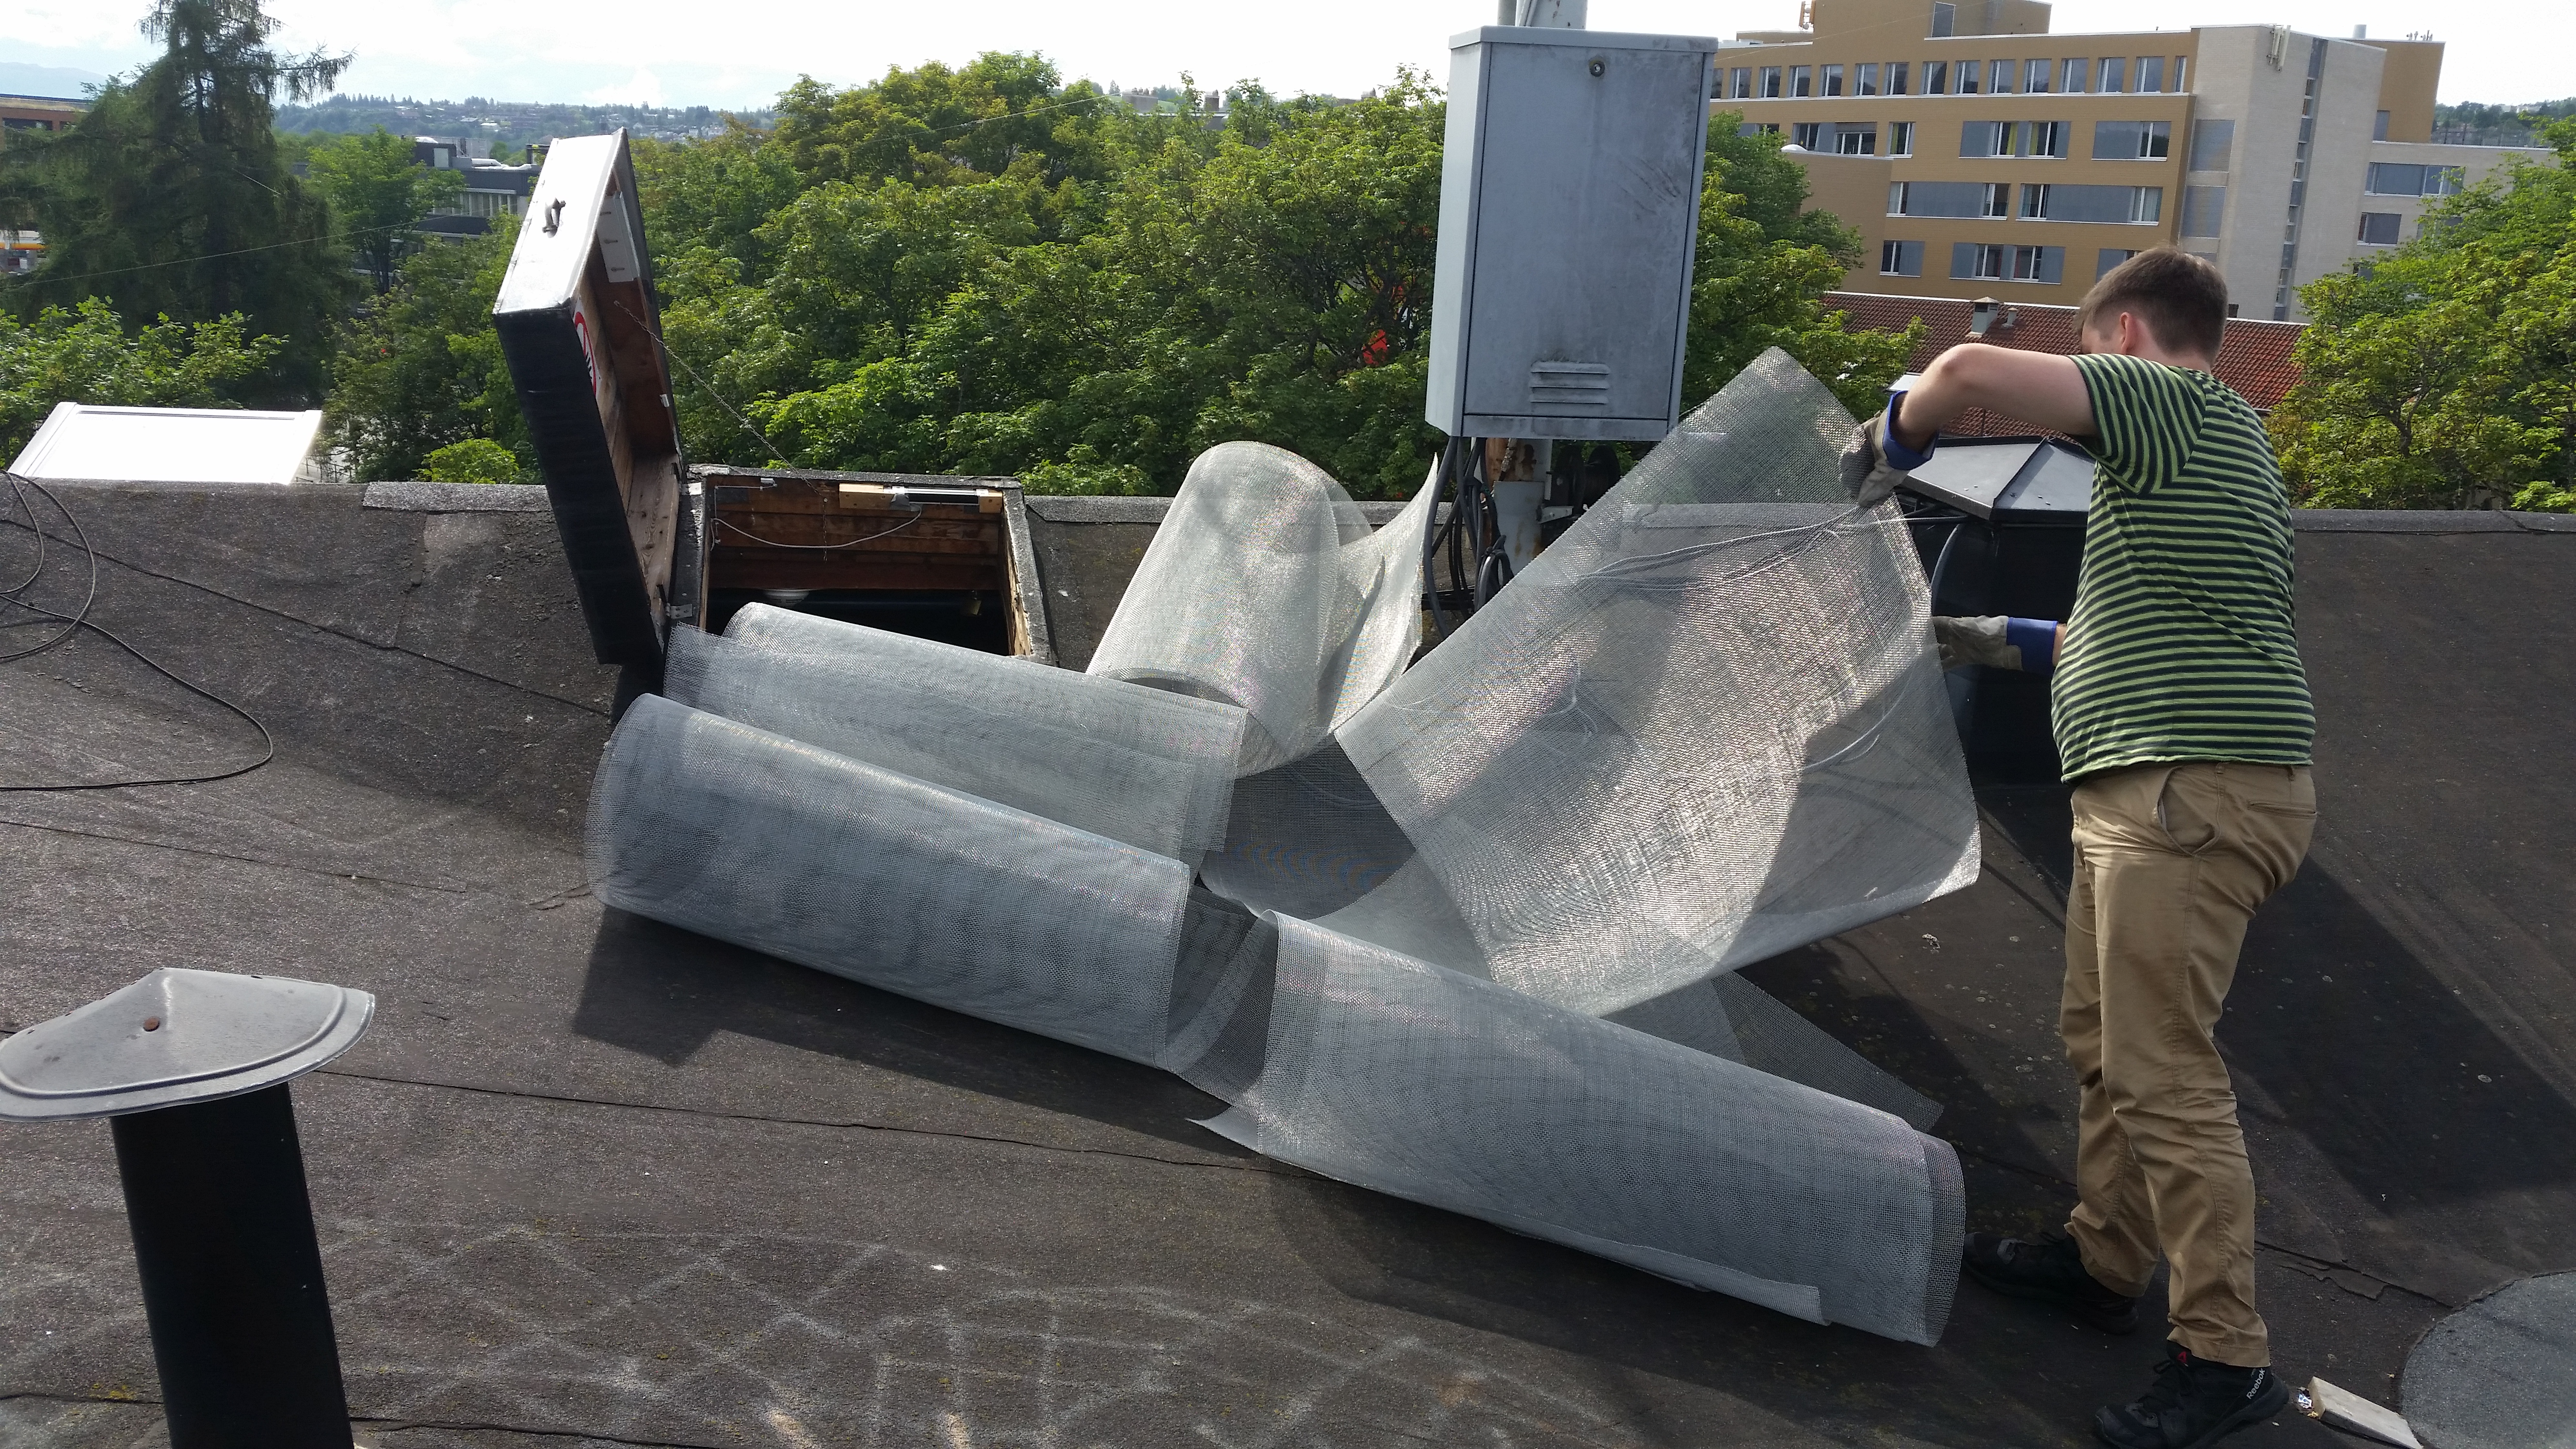
The twelve pieces of mesh that the dish is made of.
One of twelve mesh pieces mounted.
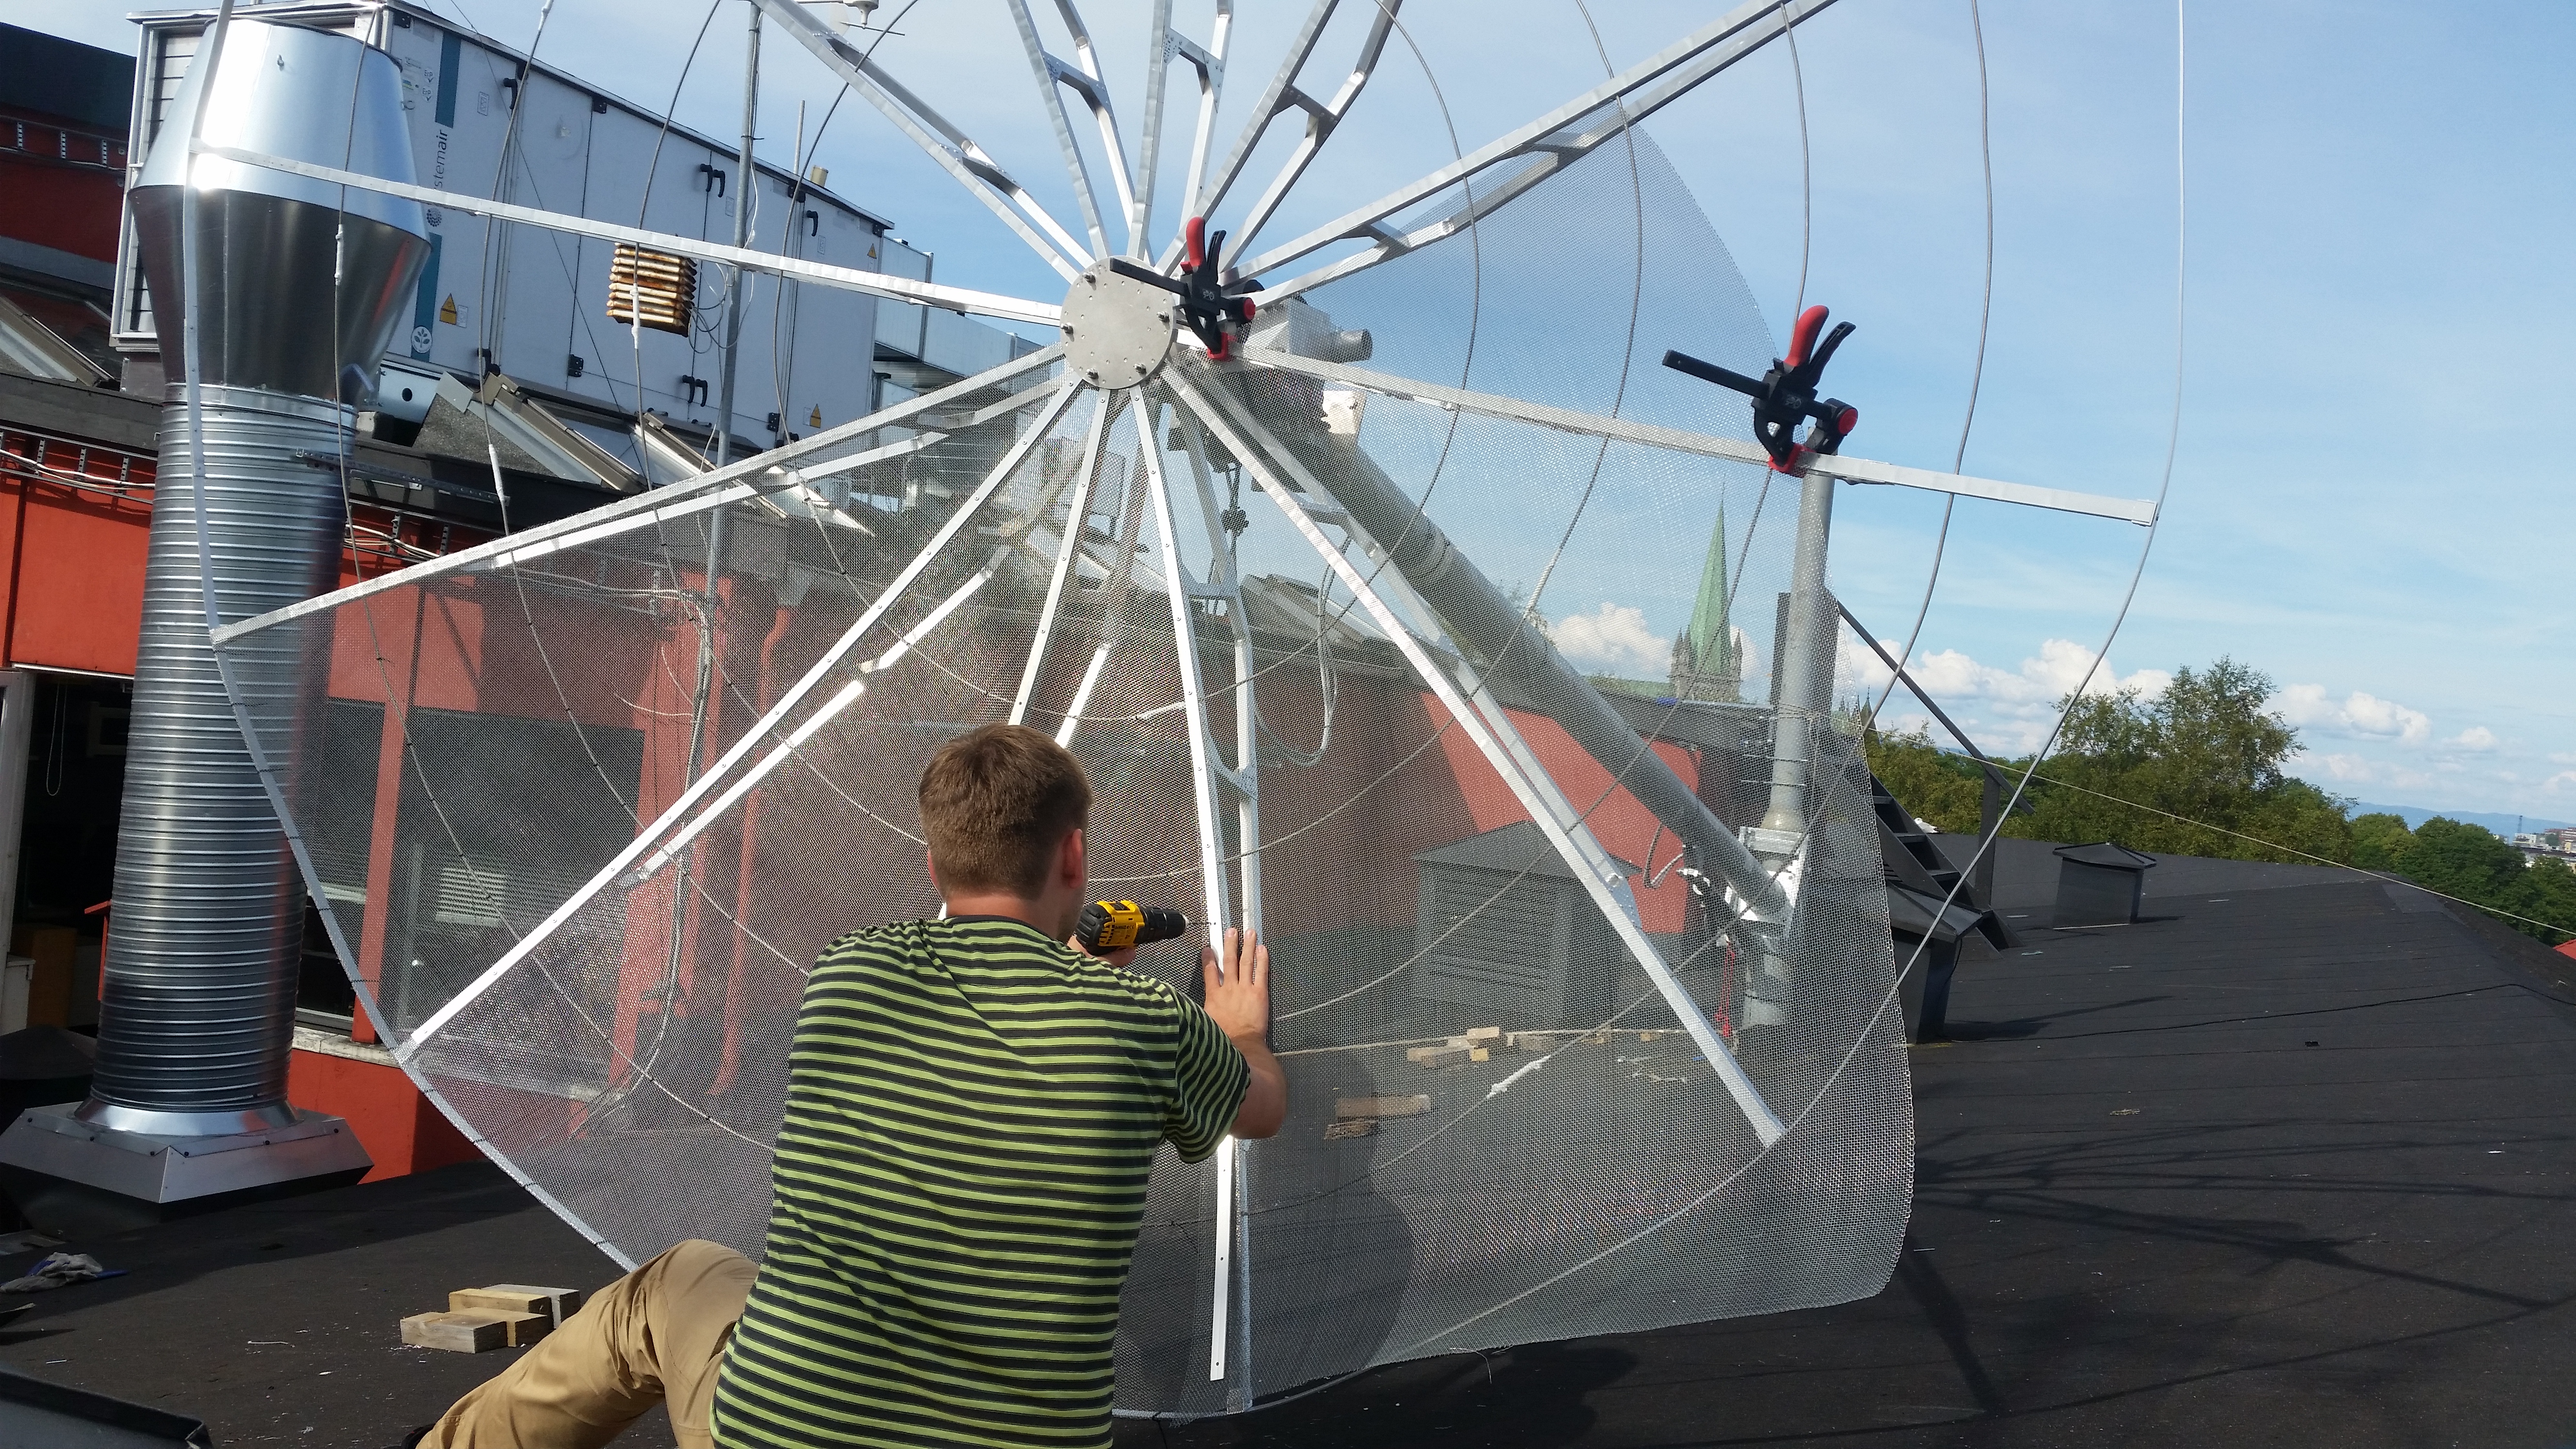
Clamps were very helpful when mounting the mesh.

Half way there. In the background are our homebrewed DK7ZB antennas for 4m and 6m.
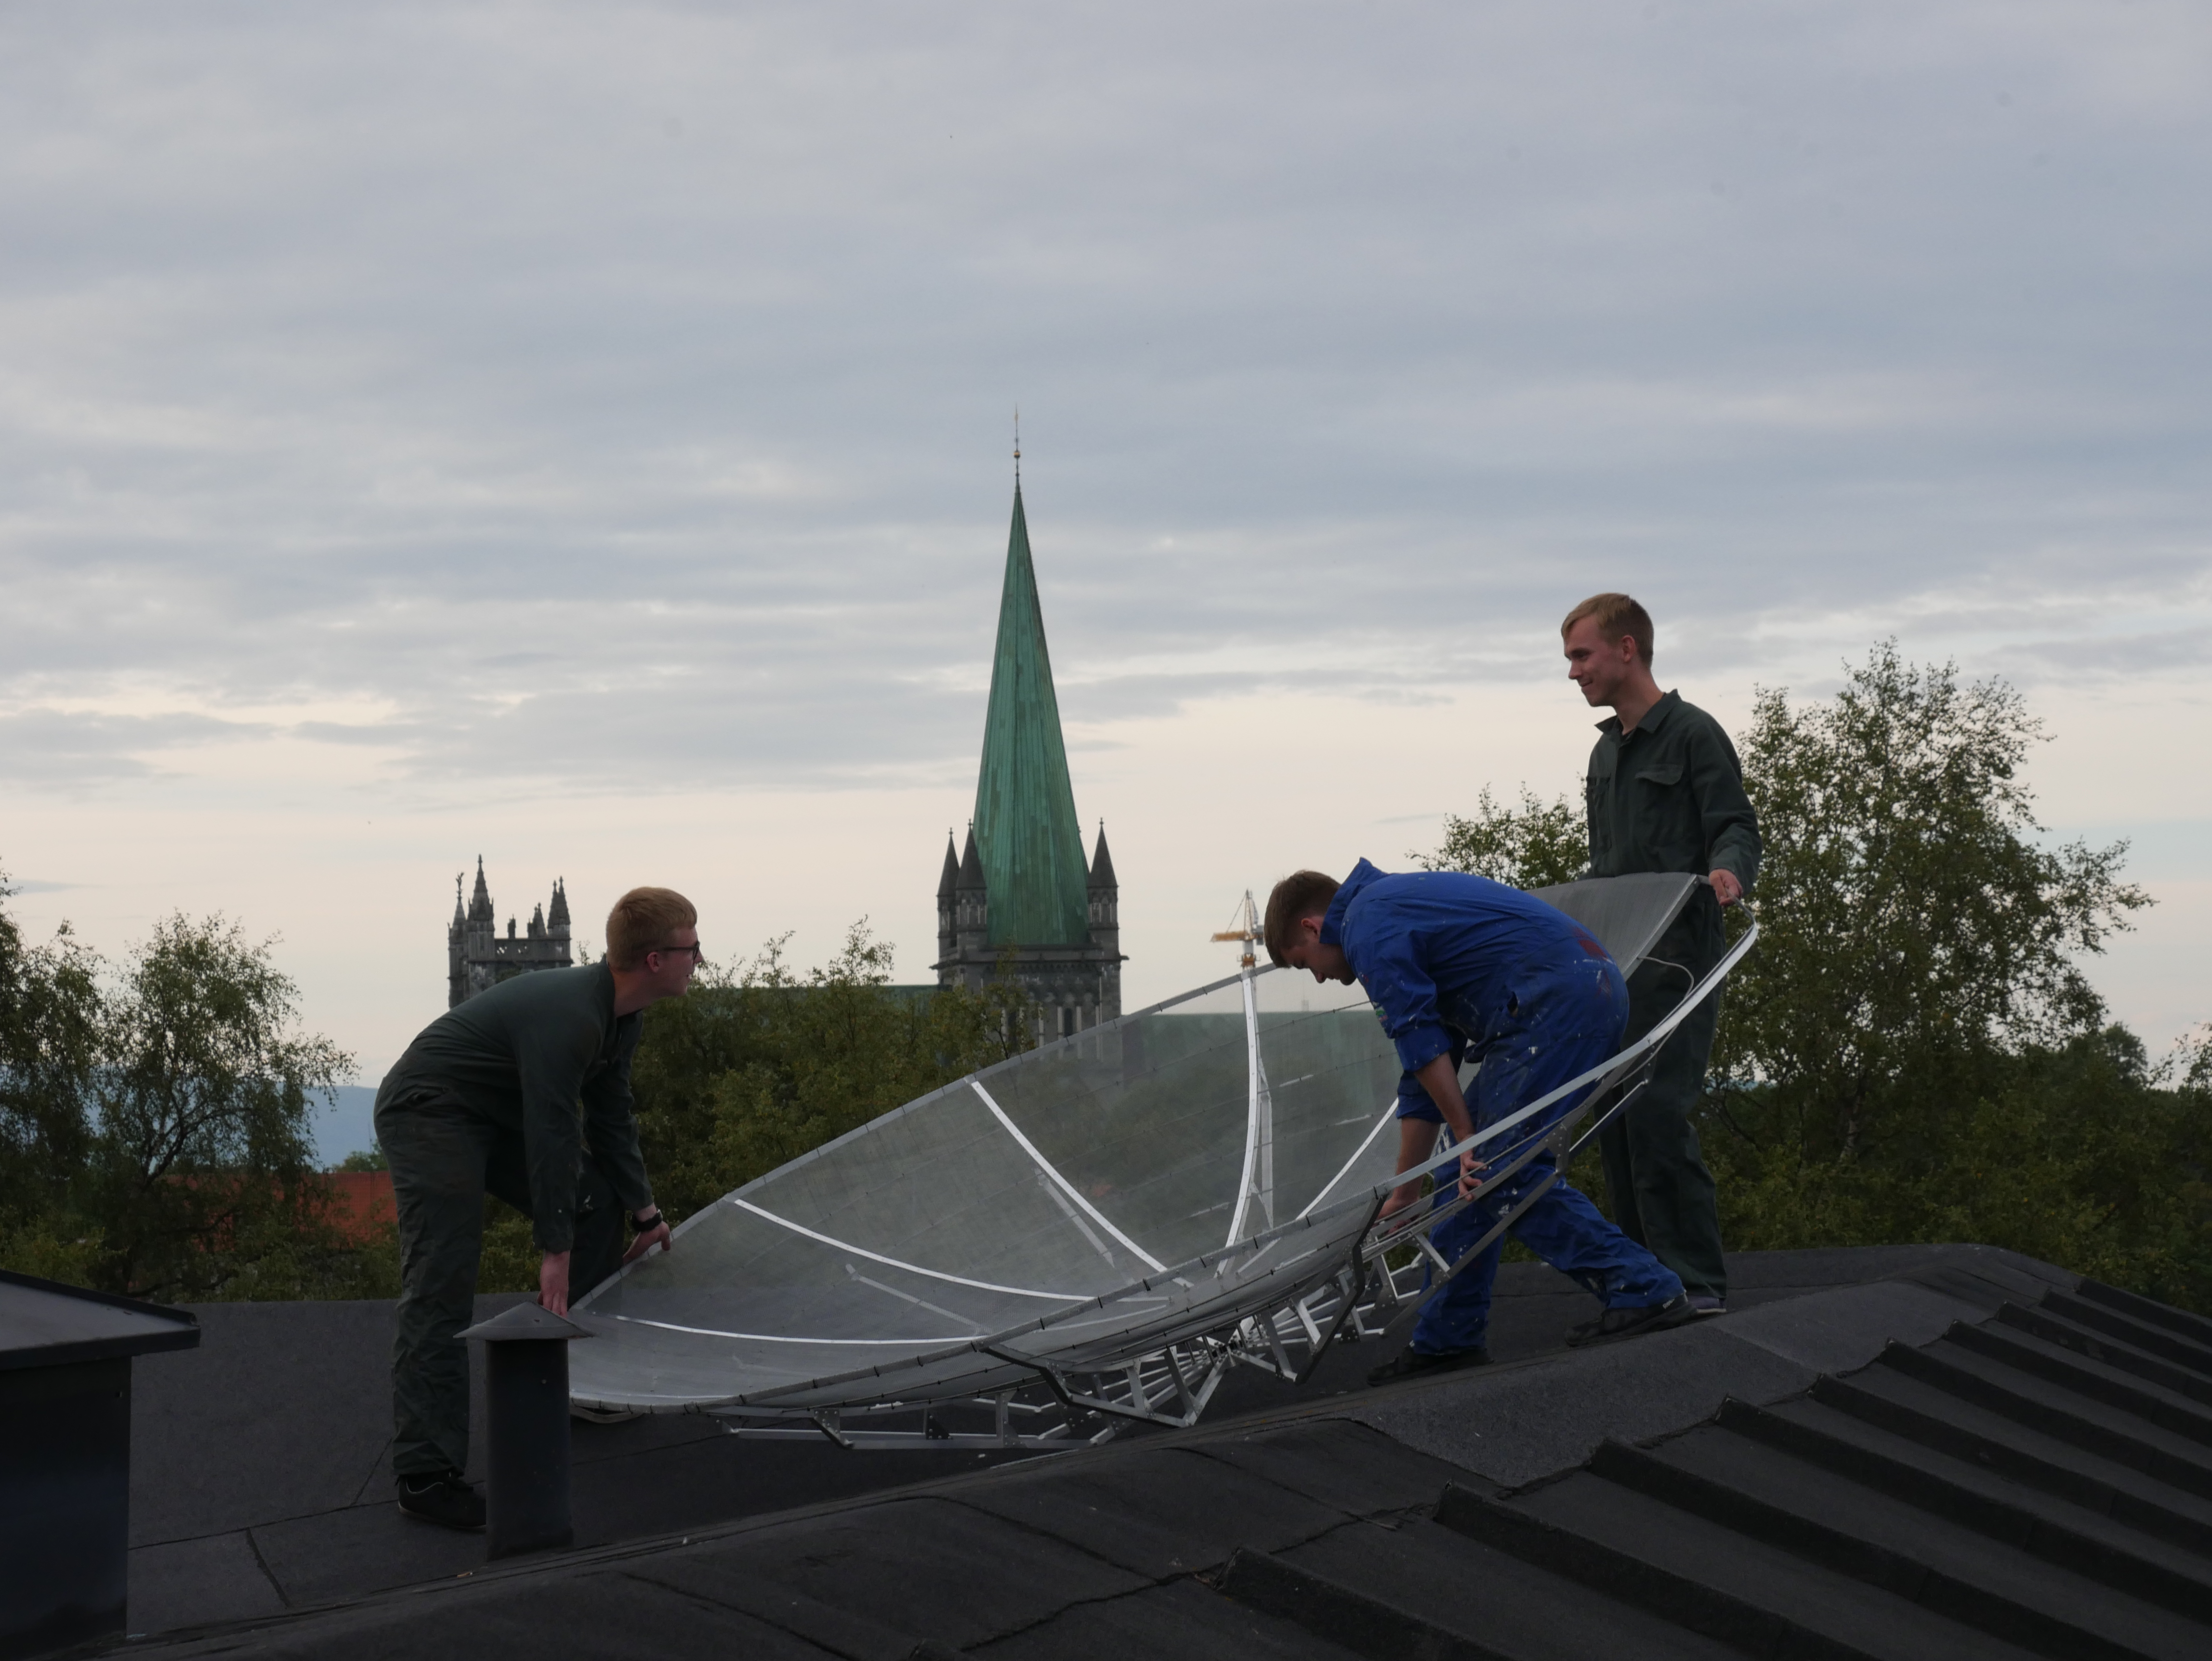
We had time to do a re-enactment of the photo from the original 5 m parabole.

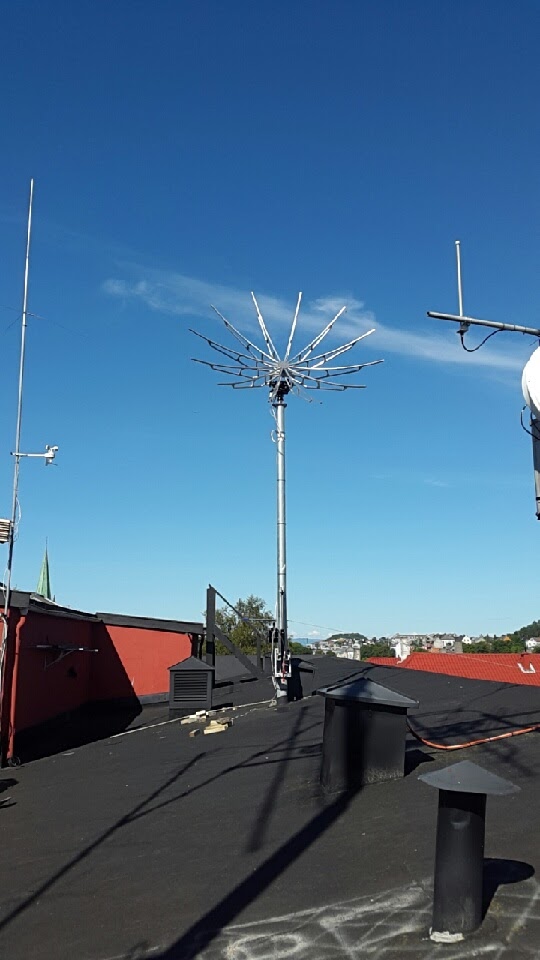
Twelve hours after starting mounting the mesh the parabole is complete!
A big thanks to everyone who helped make this possible. Stay tuned as we attempt to make our first contacts with the dish, and progress on the RF hardware.

0 Comments
7 Pingbacks